Why clamping matters on stainless fabrication
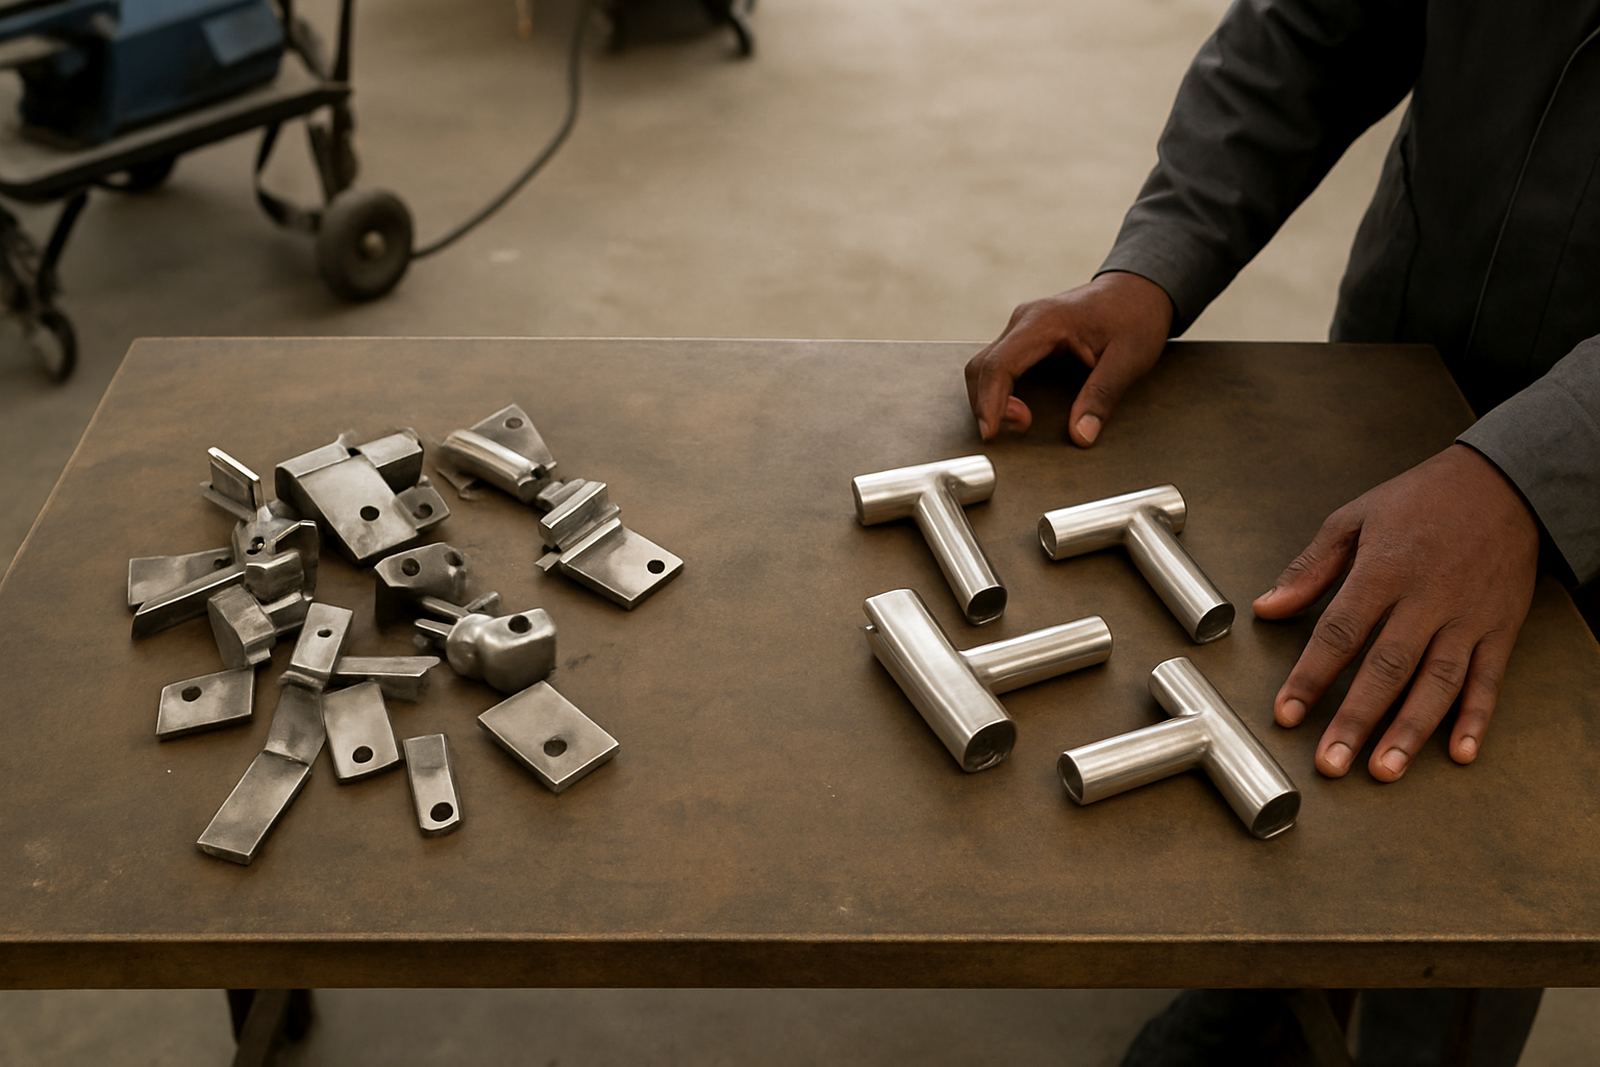
When stainless parts move during tacking or welding, the joint opens and closes in small ways that change arc length, bead shape and penetration. That is where repeatability starts to slip. For thin and medium section work, even a 1 mm gap can show up in the finished weld, especially on visible seams, frames, covers and food-grade assemblies.
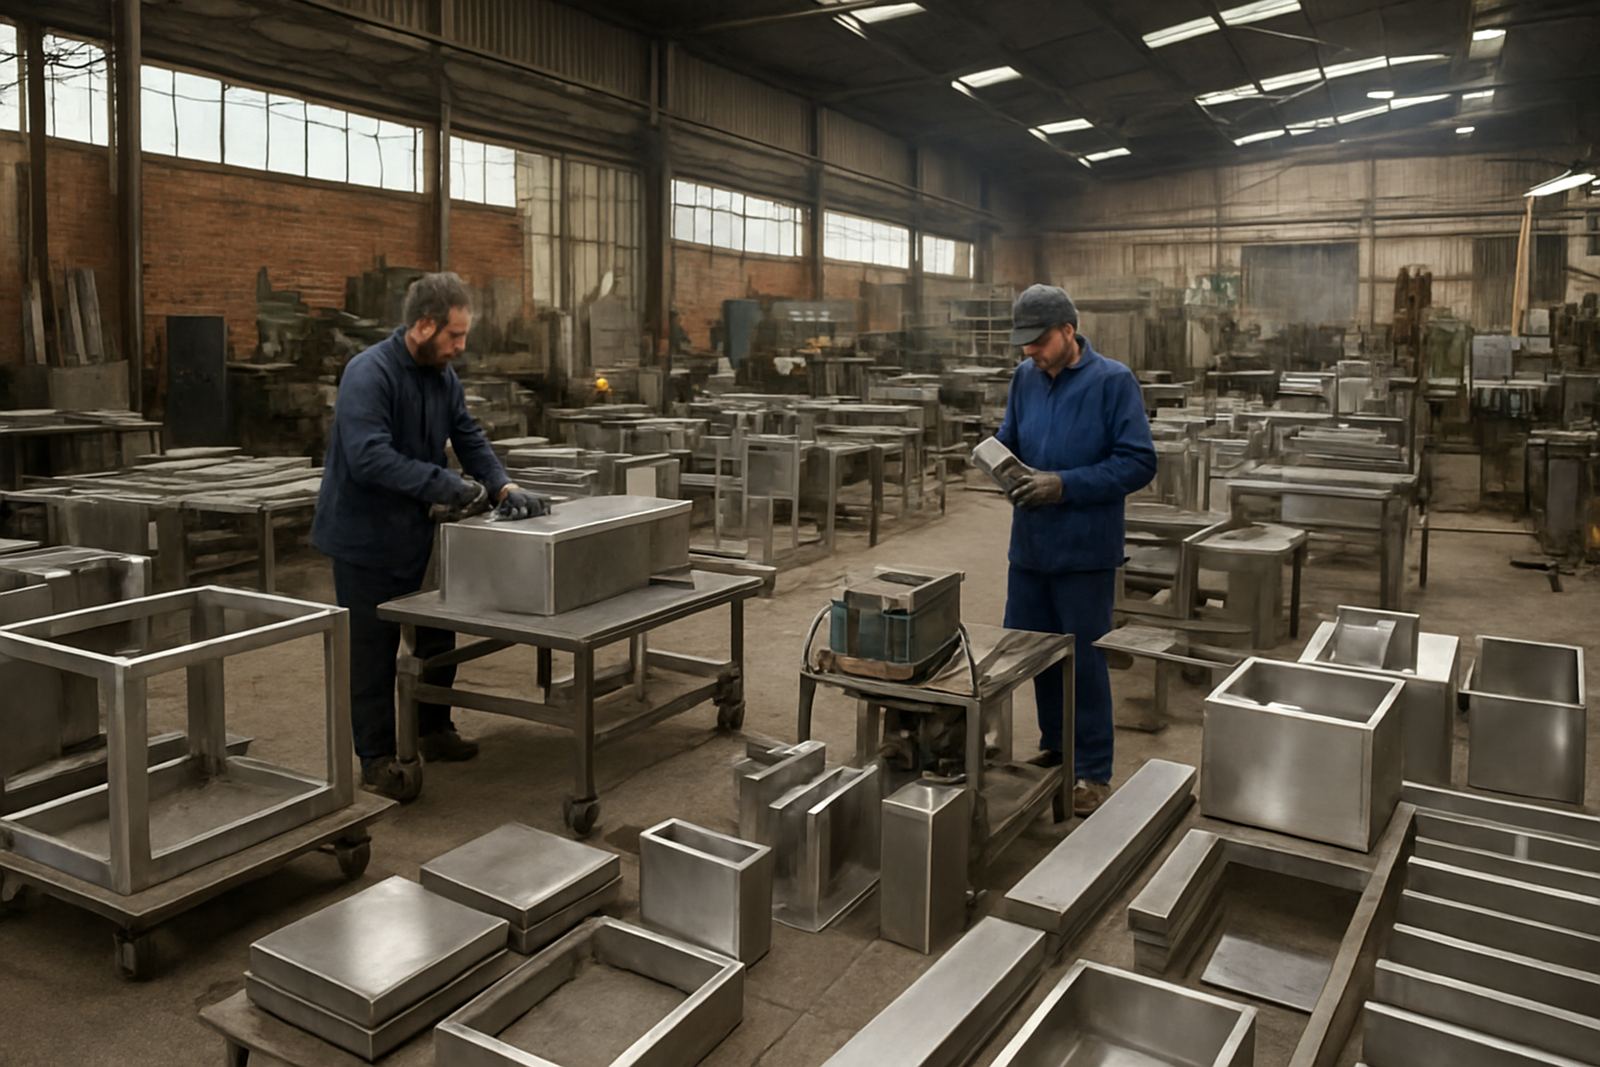
In busy shops around Spartan and Isando, the pressure is usually on speed. But speed without control creates rework. A stable clamping setup keeps parts aligned, reduces distortion and makes it easier for operators to hold the same result across a full shift. It also helps when more than one welder is working on the same job, because the setup gives everyone the same starting point.
What stable clamping should do before the torch starts
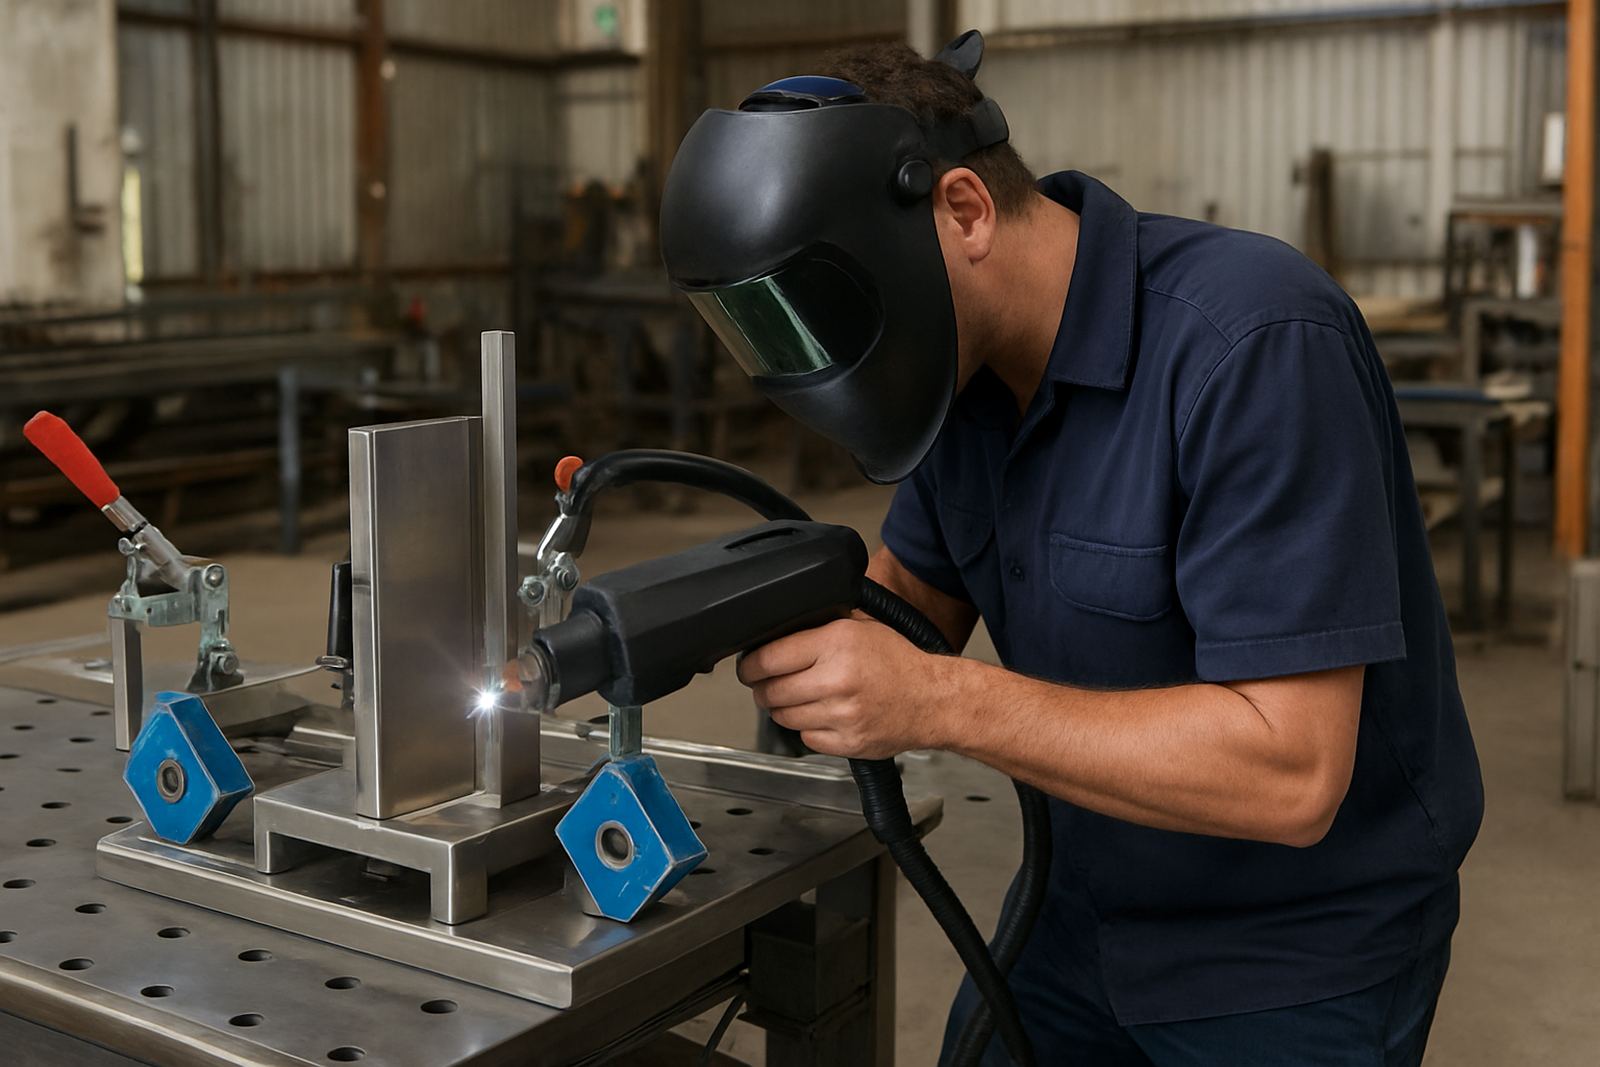
Good clamping has one job: keep the joint where you set it until the weld is complete and cooled enough for release. That means pressure needs to be firm, but not so hard that it bows thin stainless or marks the surface. On lighter gauge material, the clamp points should support the part close to the joint, not pull it across a long span.
For repeatable results, check the setup against these points:
- Parts sit flat without twist or spring-back
- The joint gap stays even from end to end
- Access for the torch is clear, with no awkward reach
- Clamp jaws do not leave heavy marks on visible surfaces
- The fixture allows fast loading and unloading between cycles
If the operator has to fight the fit-up on every piece, the clamp arrangement needs attention. A few minutes spent on setup can save hours of rework later, especially on runs with multiple short parts.
Thin sections need support, not brute force
Thin stainless is where clamping discipline pays off. Too much pressure can distort the edge before the first tack is even down. That distortion then shows up as a wandering seam or a weld that looks fine on one side and heavy on the other. For thin sheet, a backing bar, local support blocks or a well-positioned stop can be better than pushing harder.
It also helps to think about heat movement. Stainless expands quickly under a concentrated heat source, then pulls back as it cools. If the part is only held at the ends, the centre can rise or shift. A steadier approach is to hold the work close to the weld path and use short, controlled tacks before running the full seam.
In our experience, shops that get this right spend less time dressing, grinding and correcting edges. The weld looks cleaner, but more importantly the part stays in tolerance.
Medium section work needs access and sequence
Once the section gets thicker, the challenge changes. The job is less likely to move under clamp pressure, but access, sequence and distortion still matter. A solid frame or bracket can trap heat if it is clamped in a way that blocks natural movement. That is why the clamp plan should match the weld sequence, not fight it.
For example, if a fabricator in Germiston is building a stainless guard rail or equipment frame, the first welds should not lock the entire assembly too early. Leave room for controlled movement, then bring the remaining clamps in as the work progresses. This keeps the assembly square and reduces the chance of chasing the last joint out of line.
- Plan the order of tacks before full welding starts
- Use locating stops so parts return to the same position
- Leave some access for inspection, not just welding
- Release and re-check if heat build-up starts pulling the job
Simple workshop habits that improve repeatability
Good clamping is only part of the picture. The shop habits around it matter too. If the table is cluttered, if the stops are not marked, or if operators have to guess which fixture to use, the result will vary from one shift to the next. A tidy workstation and a clear clamp routine are worth more than most people expect.
It helps to standardise the small details: where the stops sit, how tightly the clamps are set, which surfaces get protected, and how the part is checked before welding. Keep the same routine for similar jobs and the process becomes easier to teach. That is especially useful where junior staff are coming up and need consistent methods, not a different answer every day.
On stainless fabrication, repeatability is often won or lost at setup. One workshop may blame the weld machine, but the real issue is that the part was never held the same way twice. A proper clamping routine removes alot of that guesswork.
A local example from a Kempton Park production floor
On a production run in the Ekurhuleni area, a shop making thin stainless covers was struggling with inconsistent seam appearance. The weld settings were close, but some pieces came out with slight pull and others needed extra dressing. The issue was traced back to clamping. The parts were being held on one side only, then pulled tight by hand before tacking.
After the clamp points were moved closer to the joint and a simple locating stop was added, the fit-up became repeatable. Operators could load the part, check the gap and weld without correcting every piece by eye. The change did not just improve appearance, it reduced handling time and kept the job moving through the day. That kind of fix is often modest, but it makes a real difference in a busy fabrication shop.
For shops in Spartan, Jet Park, Boksburg and Alberton, the lesson is the same: start with the work held properly, then build the weld around that stable setup.
Training your team to spot clamping problems early
Not every clamping issue is obvious at first glance. Some show up as wandering bead lines, uneven heat tint, small gaps at the corners or repeated rework on the same part. A trained operator learns to spot those signs early and stop the job before time and material are wasted. That is where hands-on training at the shop floor really helps.
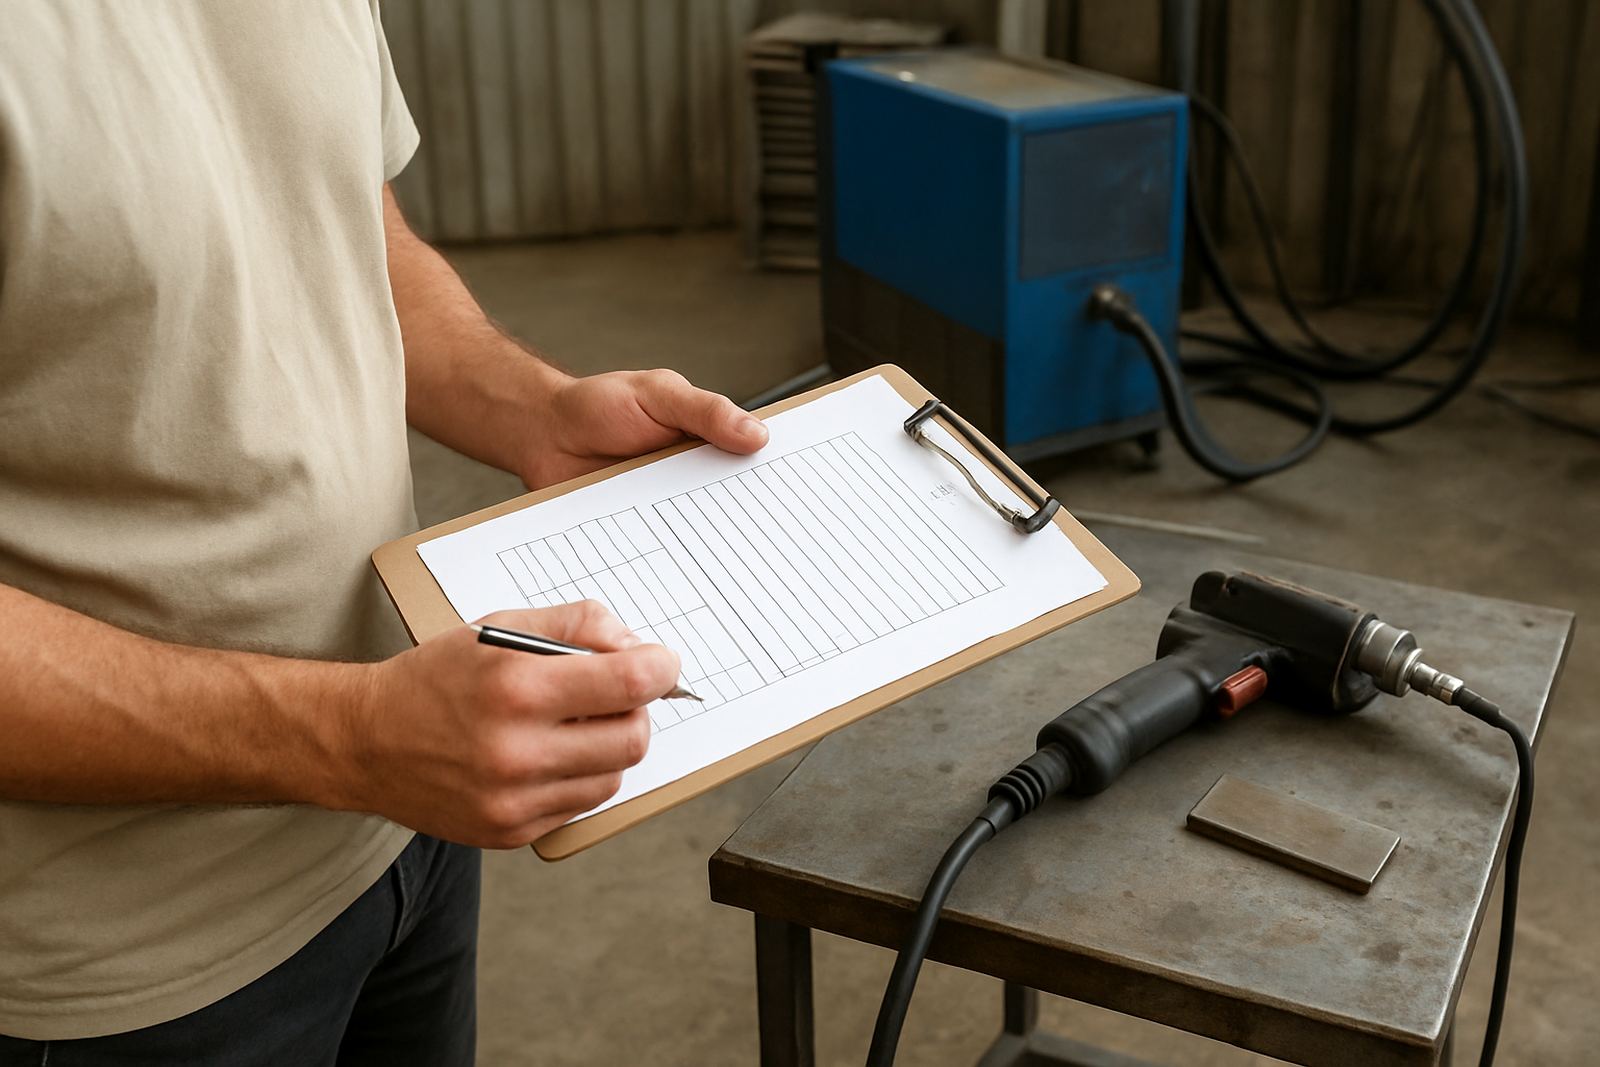
Teams should be able to answer a few practical questions before they start welding:
- Is the part sitting square in the fixture
- Will the clamp hold during the full weld sequence
- Can the torch reach without twisting the joint
- Will release pressure change the part once heat comes in
- Is the finish good enough for the customer, or will it need dressing
Laser-Welder works with stainless fabricators across South Africa on demonstrations, welding process support, operator training and production rollout. For workshops that want better repeatability, clamping is often the first place to look, because it affects every weld that follows.