Start with the right baseline, not just the last busy week
If you want to know whether a new process is paying off, begin with a clean baseline. Pick a normal production period, not a month distorted by shutdowns, stock shortages or a big once-off order. In South African fabrication shops, that matters because load-shedding, late deliveries and water cuts can all distort the picture.
Record what a job really cost before the change. Include labour hours, rework, grinding, dressing, gas use, filler use, scrap, and the time spent moving parts between bays. For stainless steel work, finishing time often hides the real cost. A weld that looks cheap on the torch can become expensive once it needs more linishing or acid cleaning.
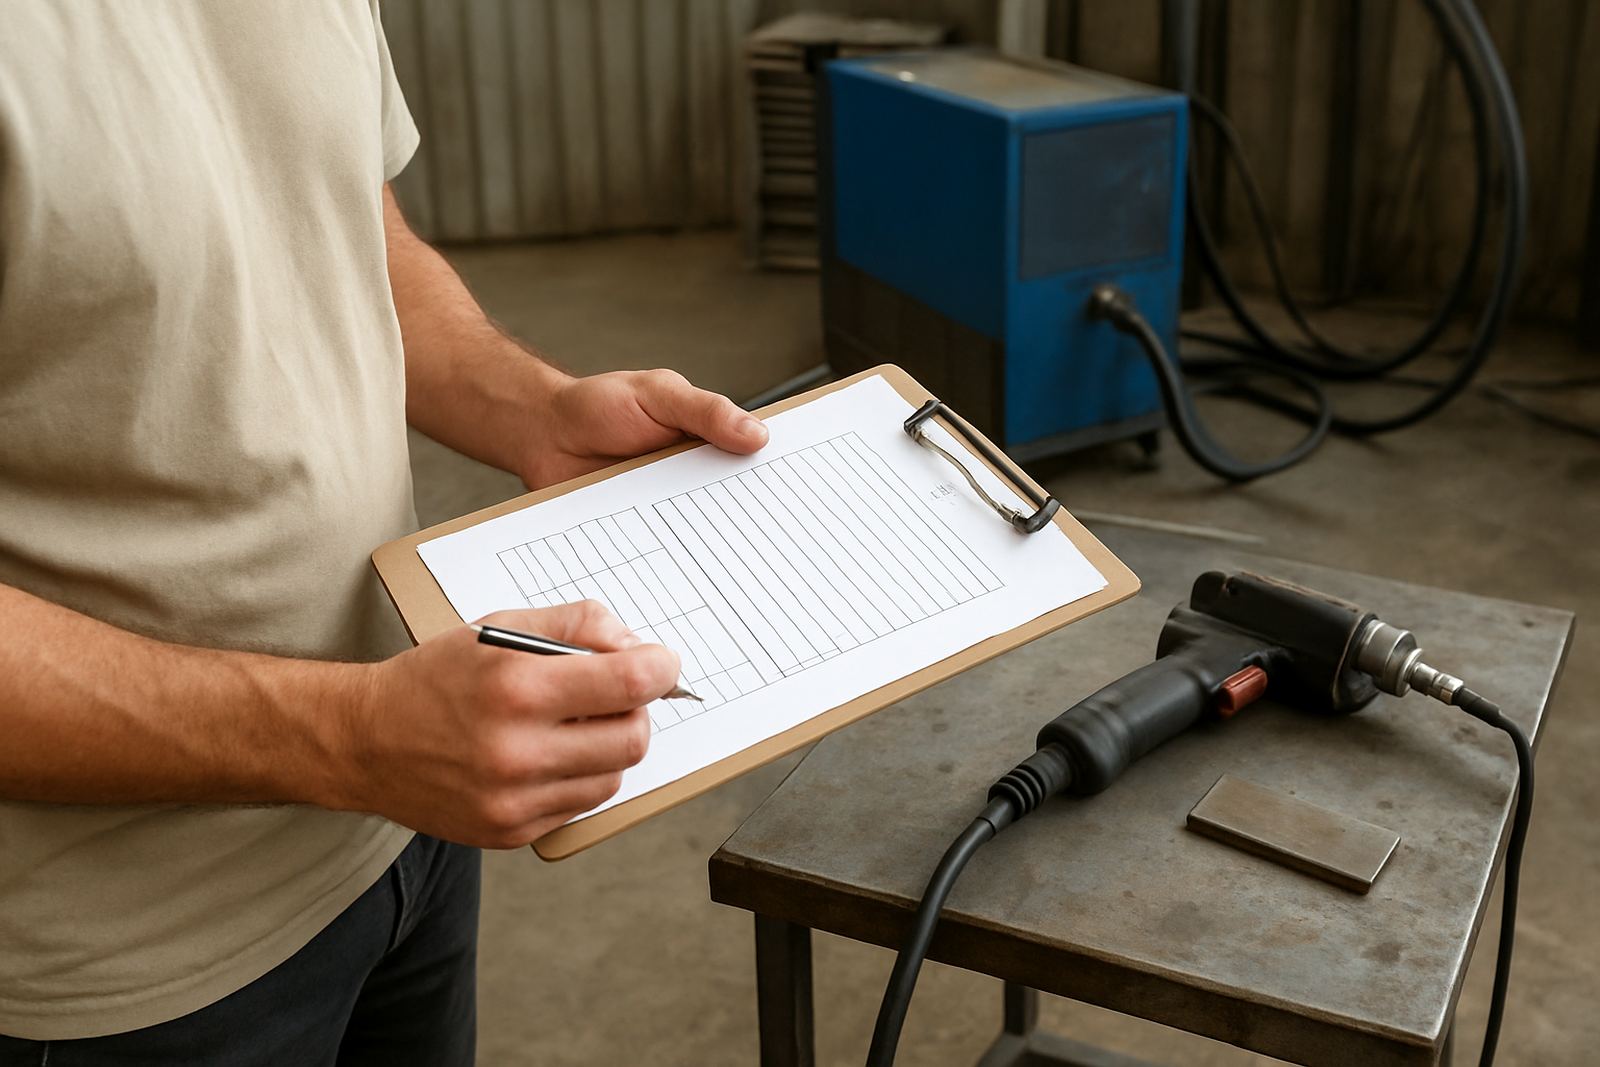
Keep the baseline simple enough for the team to use every day. If the measurement system is too clever, it gets ignored. One good sheet, one job card, and one person responsible for checking entries is usually enough.
Measure labour hours per finished metre, not just hours on site
Labour is often the easiest place to see a gain, because it is the biggest controllable cost in many workshops. But the useful number is not just hours worked. It is labour hours per finished metre of weld, per assembly, or per complete job. That gives you a fair comparison when the job size changes.
For example, if a team used to spend 14 labour hours on a stainless steel guard frame and now finishes the same frame in 9 hours, the improvement is clear. But if the new process also means fewer clamps, less repositioning and less rework, then the real gain is bigger than the labour saving alone.
- Record start and finish times for each job stage
- Separate welding time from prep and finishing time
- Track rework minutes on the same job card
- Note whether the operator was fully occupied or waiting for parts
Finishing time is where many shops lose money quietly
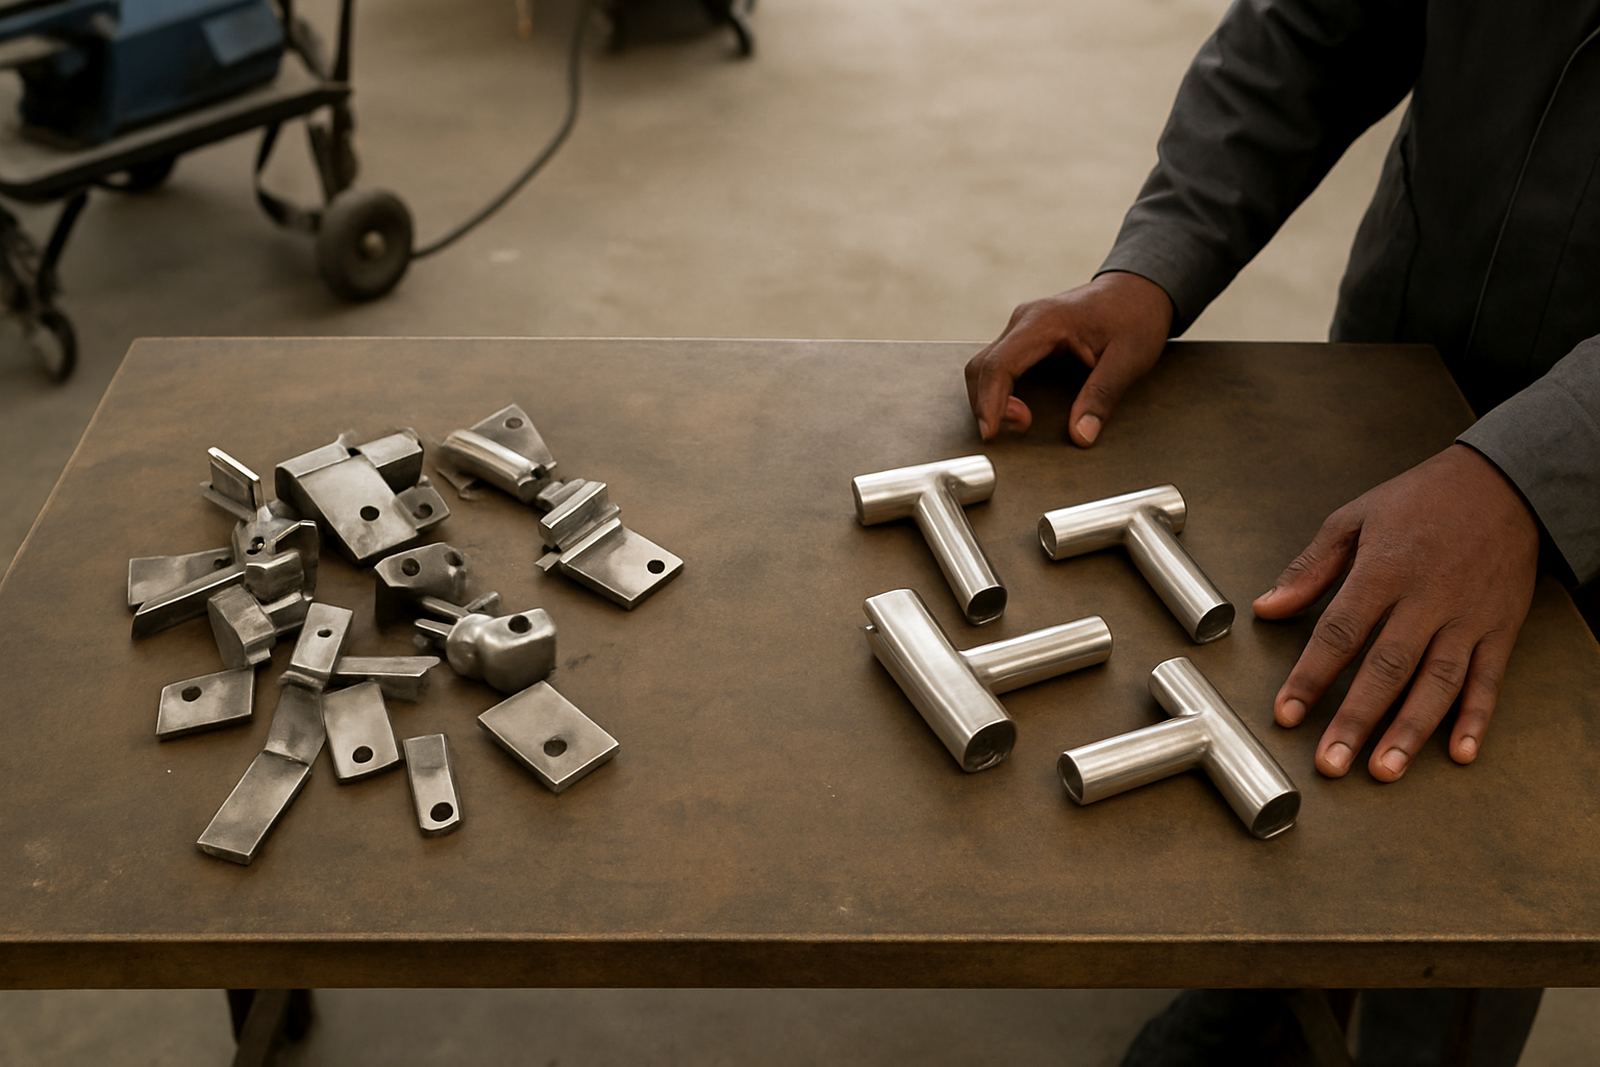
In stainless fabrication, the weld may be sound, but the finish still needs to meet the client’s standard. That can mean brushing, grinding, polishing or cleaning. A process that creates less spatter and less distortion usually saves time here, even if the weld speed looks similar on paper.
Compare the time from first arc strike to the point where the item is ready for packing or installation. This is the number that helps you see whether the process change has truly improved the job flow. If the weld is cleaner, the team can move straight to the next stage with less touch-up and fewer interruptions.
When you compare before and after, ask the fitter or supervisor to mark the reasons for delays. Was the part awkward to hold? Did heat input cause movement? Did the operator need a second pass because the joint gap was uneven? These details matter because they show where productivity is being lost.
Throughput should be counted in completed work, not just machine time
Throughput tells you how many finished items leave the workshop in a set period. That may be metres of pipe, number of enclosures, or complete assemblies. It is one of the clearest ways to see whether a process change is helping the business, especially when labour is tight or deadlines are getting shorter.
Do not only count how long the equipment was running. A machine can be active and still produce poor throughput if operators are spending too much time aligning parts, cleaning joints or correcting distortion. The better question is: how many good parts did the team finish per shift?
- Count accepted parts at the end of each shift
- Separate first-pass acceptance from reworked items
- Measure output per operator, per bay or per line
- Compare weekdays, not only peak overtime periods
If you are comparing two processes, keep the same job mix where possible. A small cabinet run should not be compared with a heavy structural batch and called a fair test. You want the same material thickness, similar joint types and roughly the same finishing spec.
A Kempton Park example from a stainless steel shop floor
One Kempton Park stainless workshop supplied units for food-grade installations around Ekurhuleni and Gauteng. The team had strong welders, but the process relied on a lot of post-weld grinding and the finish was inconsistent. Jobs often looked complete on the welding bay, then sat waiting for dressing and correction before handover.
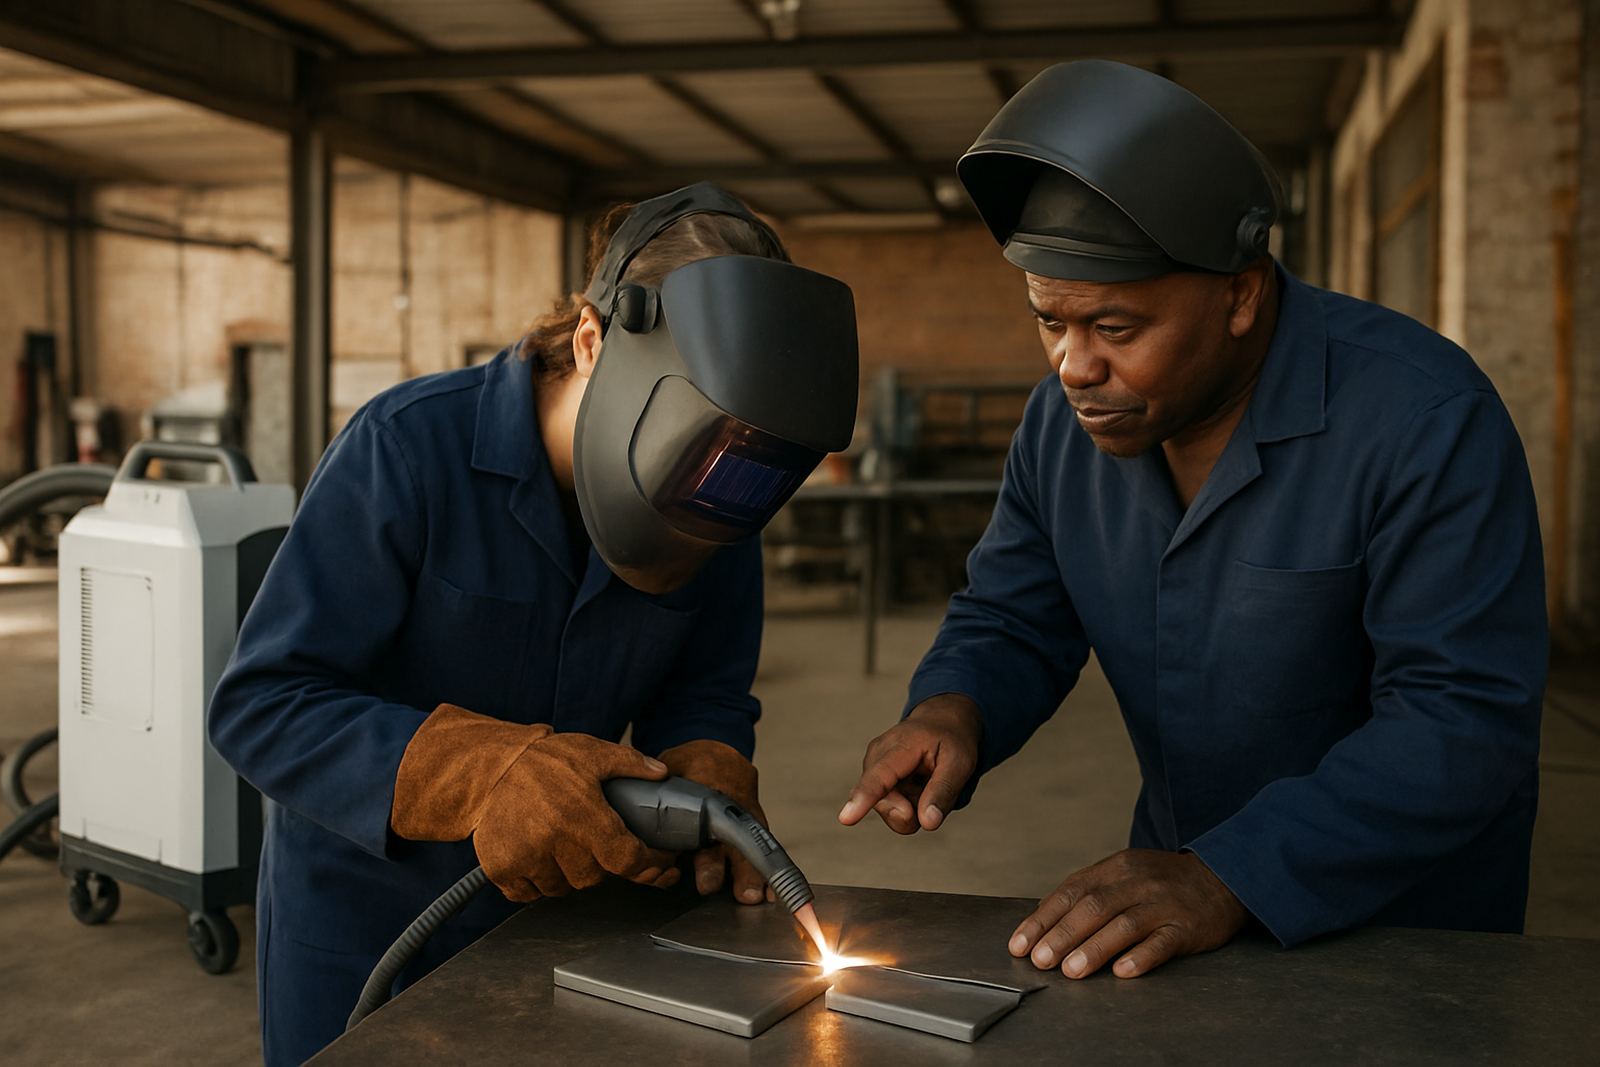
After introducing handheld fibre laser welding on selected thin-gauge stainless parts, the workshop measured three things for six weeks before and after the change: labour hours, finishing minutes, and completed assemblies per shift. The baseline showed a lot of time lost to rework and heat distortion. The post-change figures showed shorter finishing time, less cleanup and more parts reaching dispatch on the same day.
The owner did not need a fancy report to see the gain. The numbers showed fewer labour hours per job and better throughput, while the fitters said the parts were easier to handle. That is the value of measuring properly. You can prove what improved and where the money is actually being saved.
Set up a fair comparison your team will trust
The best productivity study is one your supervisors and operators will believe. Keep the rules clear and keep the sample long enough to smooth out bad days. A single quick test can be misleading, especially when power cuts, machine downtime or material issues interfere.
When we work with fabricators in Spartan, Isando, Jet Park, Edenvale, Germiston, Boksburg and Alberton, the strongest results come from shops that compare like with like and keep their records honest. The aim is not to make the numbers look better. It is to show where the process is paying for itself and where more training or maintenance is needed.
- Use the same part family for the comparison
- Track data over several shifts, not one afternoon
- Include scrap, rework and downtime in the total
- Review the numbers with the operators who do the job
Once you have the facts, you can decide whether the change belongs in production, needs more training, or should stay as a specialist process only.
What to do after the numbers are in
After the first review, do not stop measuring. Productivity gains often slip if the team goes back to old habits, or if the machine is not maintained properly. Check performance monthly, then compare it against the original baseline. That way you can see if the improvement holds up in real workshop conditions, not just during a trial.
A practical improvement should show three results: lower labour hours, less time spent on finishing, and higher throughput of acceptable work. If one of those is missing, the process may need adjustment. The numbers will point you there faster than guesswork ever can.
For fabricators working through tight deadlines, municipal inspections or offshore humidity, that kind of discipline matters. It helps you keep quality steady and plan your output with more confidence.