Why rework keeps showing up in stainless jobs
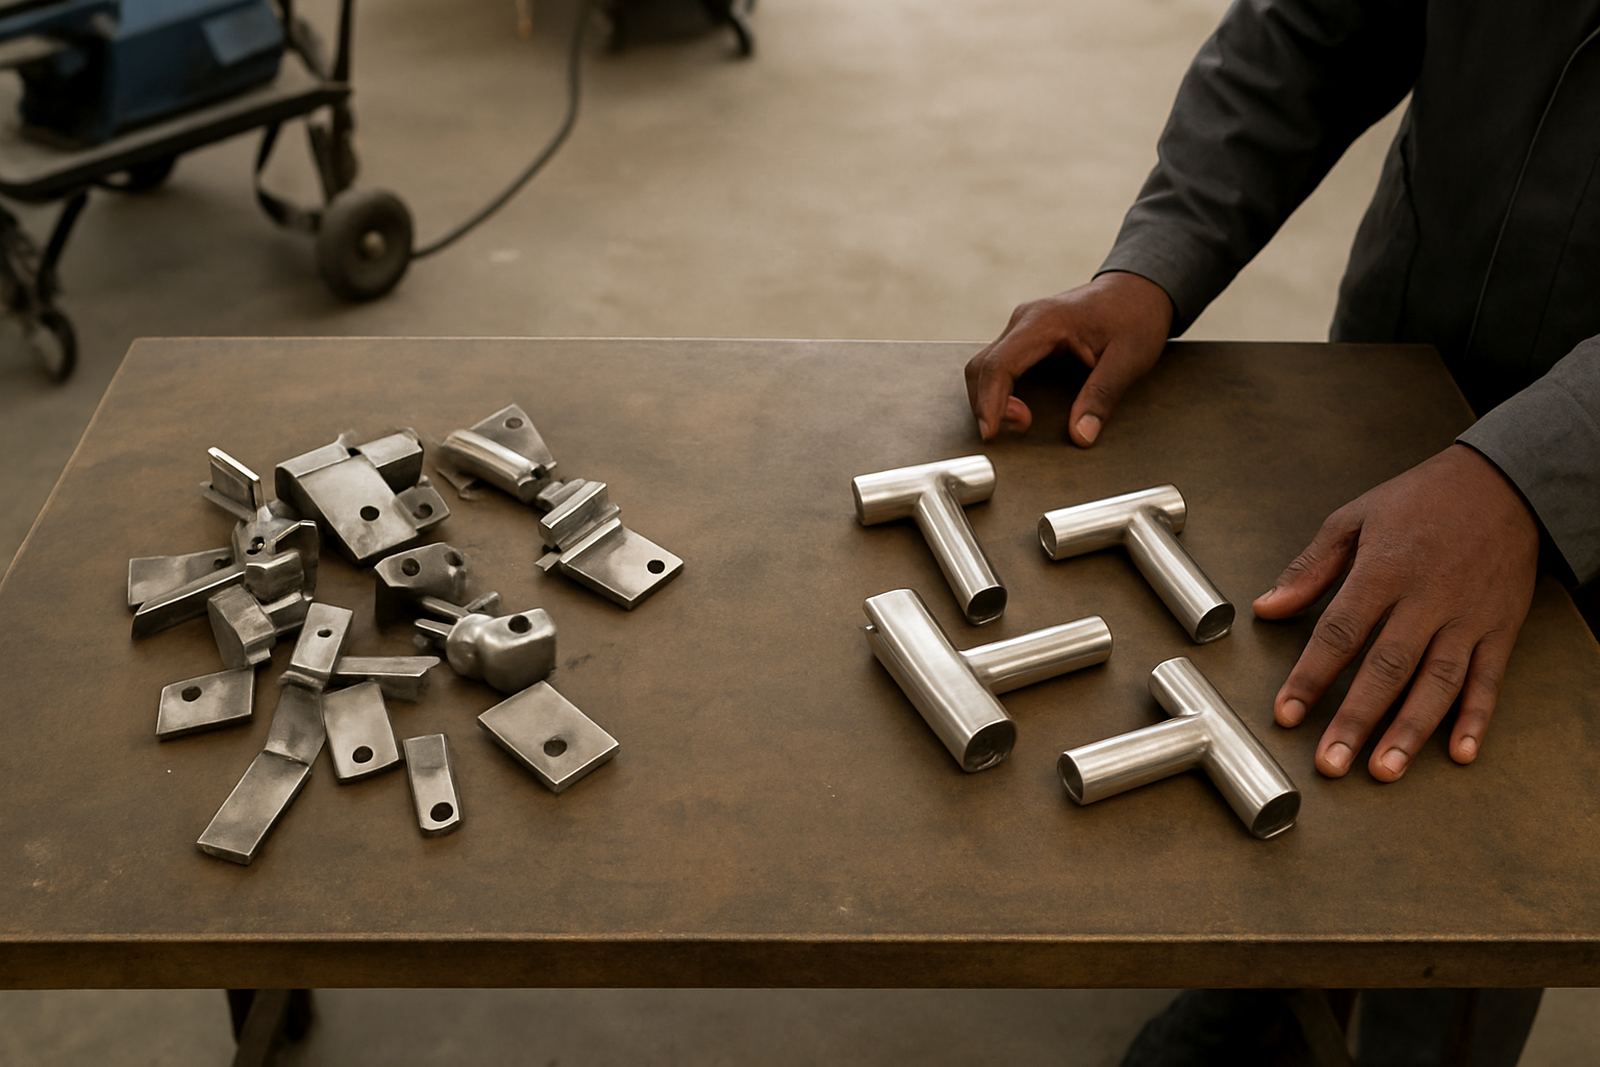
Most rework does not begin at the torch. It begins when material is cut poorly, edges are left dirty, fit-up is rushed or the wrong settings are used for the joint. In stainless work, those early mistakes show up later as heat tint, distortion, undercut, porosity or an unsightly finish that needs grinding and redoing.
In a busy Ekurhuleni shop, a missed step can affect the whole shift. One operator tweaks the fit-up, another changes travel speed and the third tries to save time by welding over unclean edges. The result is often the same, more hours spent repairing than building. A steady process does not remove all defects, but it does make them easier to prevent and far less costly.
- Cut parts to consistent size so fit-up does not become guesswork.
- Keep stainless-only tools and brushes separate from mild steel tools.
- Check joint gaps before welding, not after the first pass.
Preparation work that saves hours later
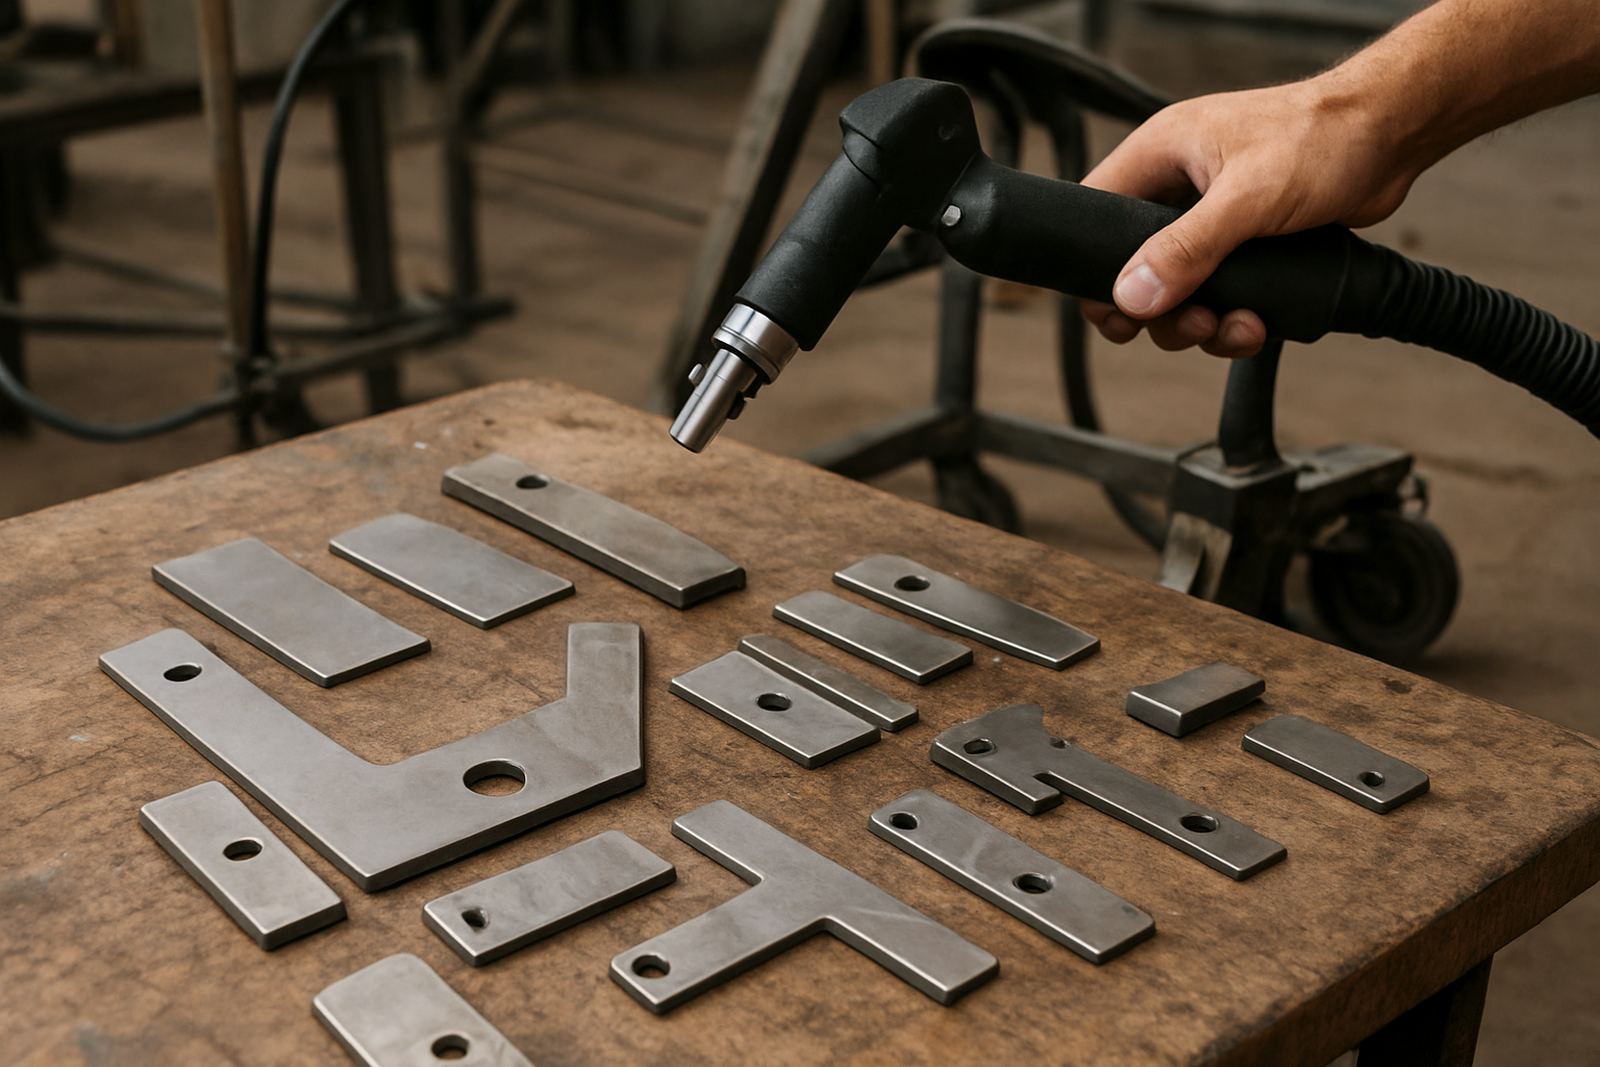
Good preparation is the cheapest quality control you can buy. Stainless steel needs clean edges, clean handling and stable clamping. If parts arrive with oil, marker residue, oxide or fingerprints from handling, the weld zone has to work harder to produce a clean result. That becomes even more important in coastal or humid areas where surface contamination can build up quickly.
Before welding, give the team a simple checklist and keep it visible near the bench. It should cover cut quality, edge cleanliness, joint alignment, tack placement and material identification. If the job involves thin stainless sheet, make sure the heat input plan is agreed before the first tack is struck. A few extra minutes at the prep stage can prevent an hour of dressing, polishing and rework later.
- Degrease all contact areas before fit-up.
- Use proper clamping so the joint stays in position during welding.
- Confirm grade and thickness before setting amperage or wire feed.
Setting the process before production starts
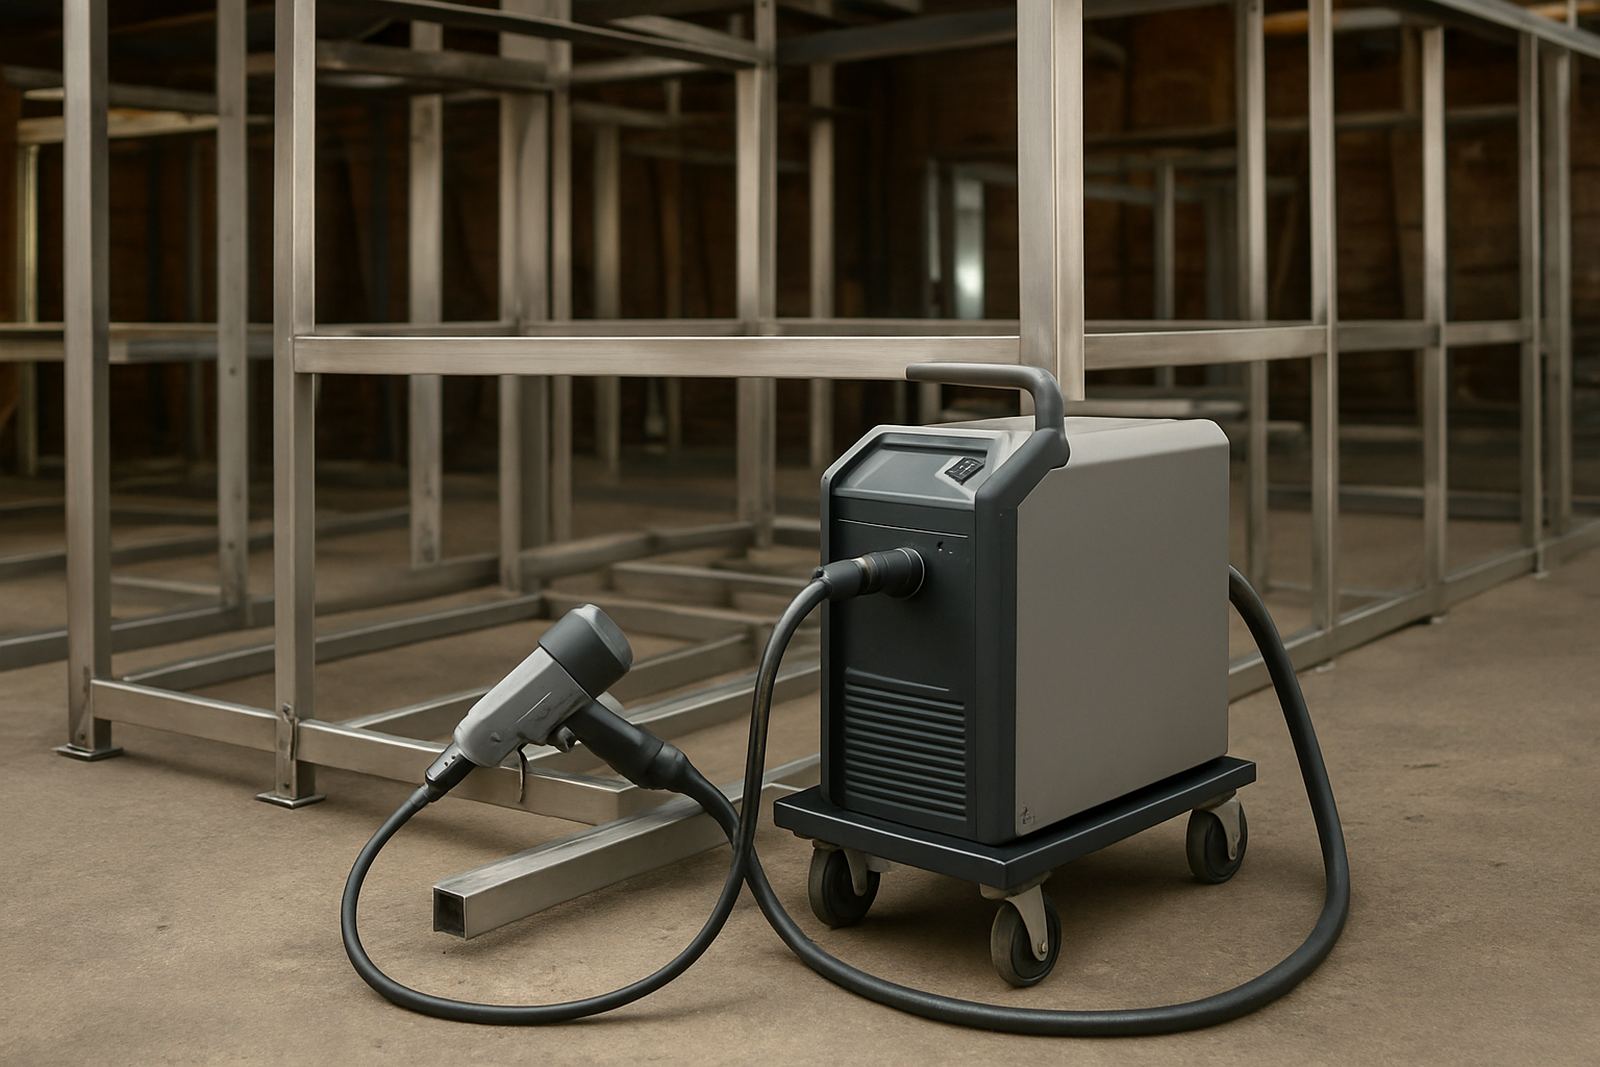
One of the fastest ways to avoid rework is to lock in the process before full production starts. That means choosing the right gas mix, correct nozzle condition, clean liners and consistent wire delivery. On handheld fibre laser systems, it also means checking focus position, travel speed and the operator’s technique on a test piece before moving to customer parts.
At Laser-Welder demos in Spartan, Kempton Park and on-site at fabrication shops nationwide, we often see the same issue: the machine is capable, but the process is not yet disciplined. Once the team agrees on parameters and confirms a clean test weld, quality becomes much more repeatable. That is especially useful for shops handling stainless balustrades, tanks, kitchen equipment or architectural frames where appearance matters as much as strength.
- Run a sample coupon before the job goes live.
- Keep travel speed and angle consistent from one operator to the next.
- Record the settings that worked so the next batch starts right.
Tack welds, alignment and distortion control
Small alignment errors turn into expensive corrections once heat goes in. Stainless moves quickly, especially on lighter sections, and if tack welds are weak or uneven the assembly shifts during welding. That is when holes need filling, corners need reworking or an otherwise neat job has to be cut apart and reset. A steady tack strategy is one of the best habits a shop can build.
Use tacks that are strong enough to hold but small enough to remove or blend cleanly. Place them symmetrically so heat pulls are balanced. On longer assemblies, work in a sequence that spreads heat rather than concentrating it in one section. In a Germiston shop making custom stainless counters, this kind of sequence control can be the difference between a flat top and a part that needs straightening the next morning. It saves time, and the finish stays cleaner too.
- Check diagonals before final welding begins.
- Place tacks at equal intervals to control movement.
- Use a welding sequence that balances heat across the part.
Operator training that pays for itself
Rework drops when operators understand not only how to weld, but why a process fails. Training should cover joint prep, contamination control, heat management, finish expectations and what a good test weld looks like. A worker who knows how to spot a poor root, excessive tint or weak fusion can correct the issue before the full job is affected.
Training also helps new operators settle in faster, which matters when a workshop is under pressure to meet delivery dates. Refresher sessions are useful too, because habits slip when people are rushed. In practical terms, a short session on cleaning, clamping and setting up a handheld fibre laser welder can prevent repeated mistakes and reduce the amount of grinding, polishing and remaking after inspection. That is real money back into the job.
- Train operators on visible defect recognition.
- Use one standard setup method across the workshop.
- Refresh skills after equipment changes or new product runs.
Inspection points that catch faults early
Inspection should happen in stages, not only at the end. A quick check after prep, another after tacking and a final look after welding catches problems while they are still easy to fix. The earlier a defect is found, the less metal is removed and the less time gets wasted. This is where simple discipline beats heroics every time.
Good inspection does not need complicated paperwork. A torch, a clean surface and a clear set of acceptance points are often enough for day-to-day work. Look for even bead profile, no visible porosity, no excessive discolouration and no movement in the assembly. If the finish will be seen by a client or architect, take the extra step to inspect under proper light. Many rework calls can be avoided by spotting a fault before the job leaves the bench.
A Spartan example: less grinding, more output
One local fabrication shop in the Spartan area was spending too much time correcting stainless assemblies after final inspection. The parts were sound, but the prep varied from one shift to the next and operators were setting up by habit rather than by a fixed method. After a process review, the team introduced a simple prep checklist, standardised tack placement and ran test pieces before production started.
Within a short period, the shop reduced time spent on dressing and remake work. The biggest change was not the machine, it was the discipline around the machine. That is the point for any shop from Kempton Park to Boksburg: cleaner prep, clearer checks and consistent settings can improve output without adding more labour. If your team works in stainless every day, that kind of control is worth far more than chasing every problem after it appears.
- Review one job at a time and fix the process, not just the defect.
- Keep notes on what caused rework so the same fault is not repeated.
- Bring in support early when a process keeps drifting off target.