Why sample choice changes the result
Test parts are not just bits of scrap. They set the standard for the whole trial, and if they are too clean, too small or too easy to hold, the machine may look better than it will on the floor. If they are damaged beyond normal work, you can end up rejecting a process that would have performed well on proper production parts.
For stainless steel fabricators in Spartan, Kempton Park, this matters because many jobs are repeat orders with tight visual standards. A hand held fibre laser welder can give excellent results, but only if the samples reflect the same material, thickness and joint type that your team handles every day.
- Use parts from normal production, not special one-off pieces.
- Match the same grade of stainless steel where possible.
- Keep thickness, edge prep and joint gap realistic.
- Include the finish your customer expects, whether brushed or polished.
Match the test piece to the job type
The best sample is one that copies the real work order as closely as possible. If your shop builds catering equipment, medical frames, tanks or architectural trim, then the test should use the same style of joint and the same material thickness. A 1.2 mm sample behaves very differently from 3 mm plate, and a flat lap joint is not the same as a corner on a stainless enclosure.
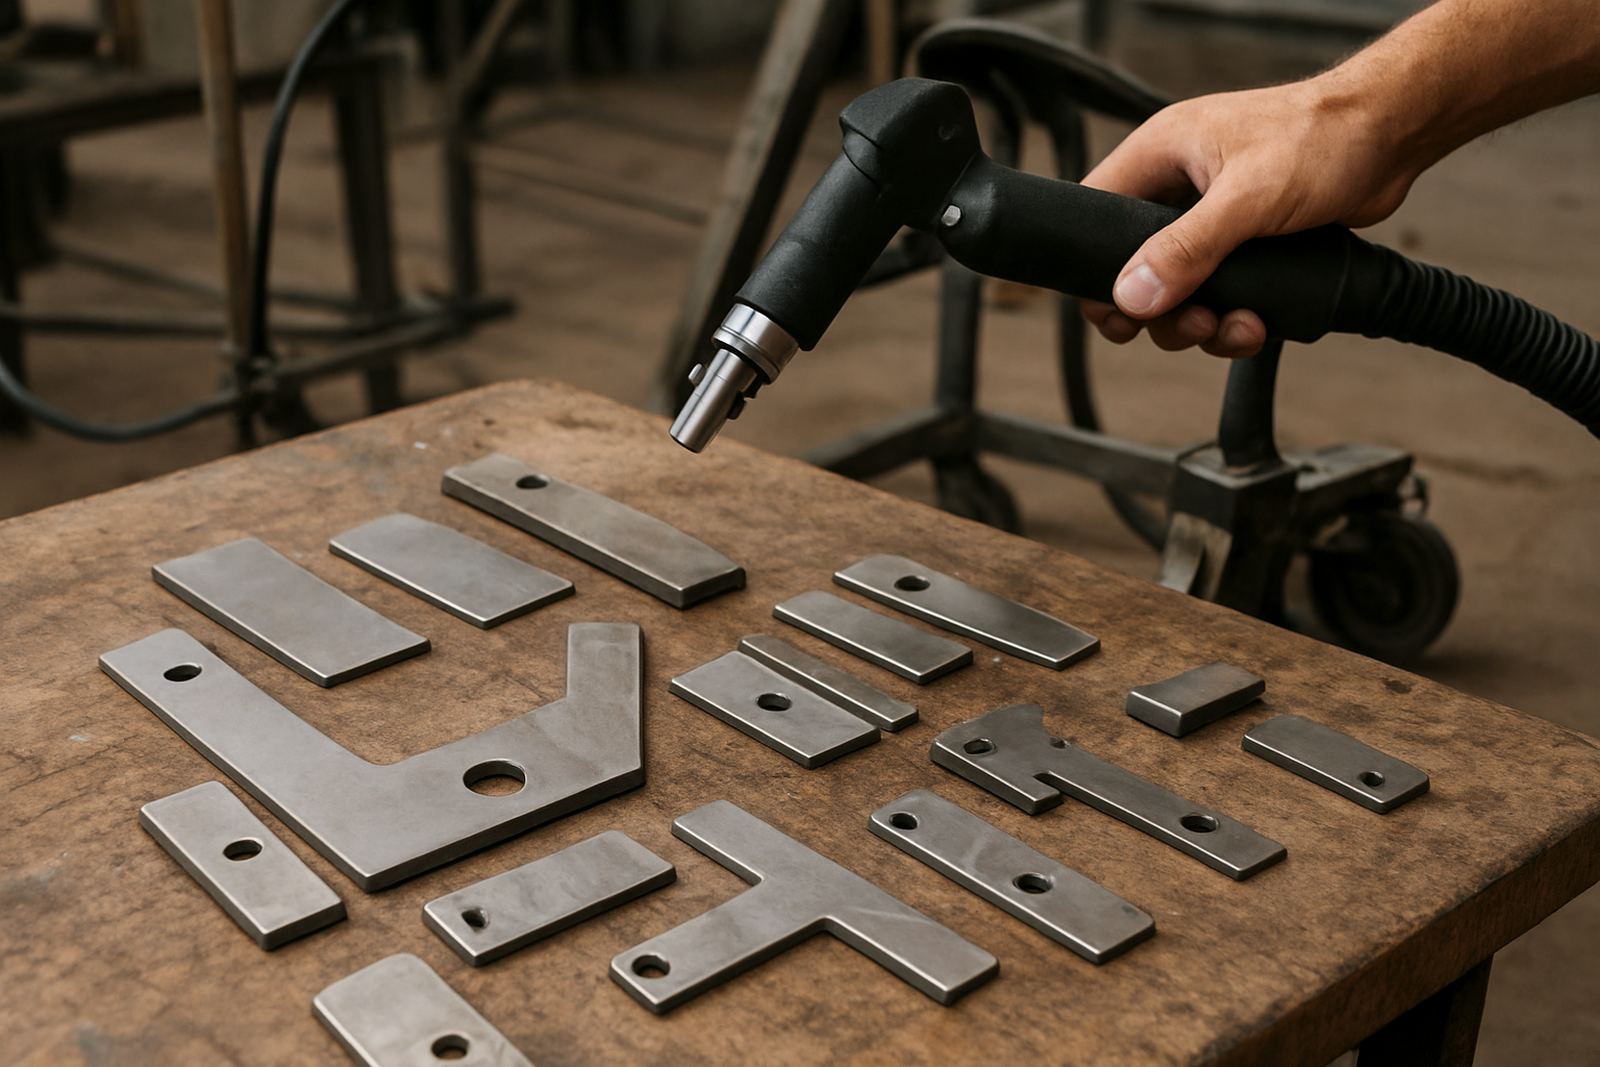
Try to bring a few variations rather than one perfect piece. That helps you see how the machine handles small differences in fit-up, heat control and surface condition. It also shows whether the operator can keep a clean seam when the part is not ideal, which is often the real test.
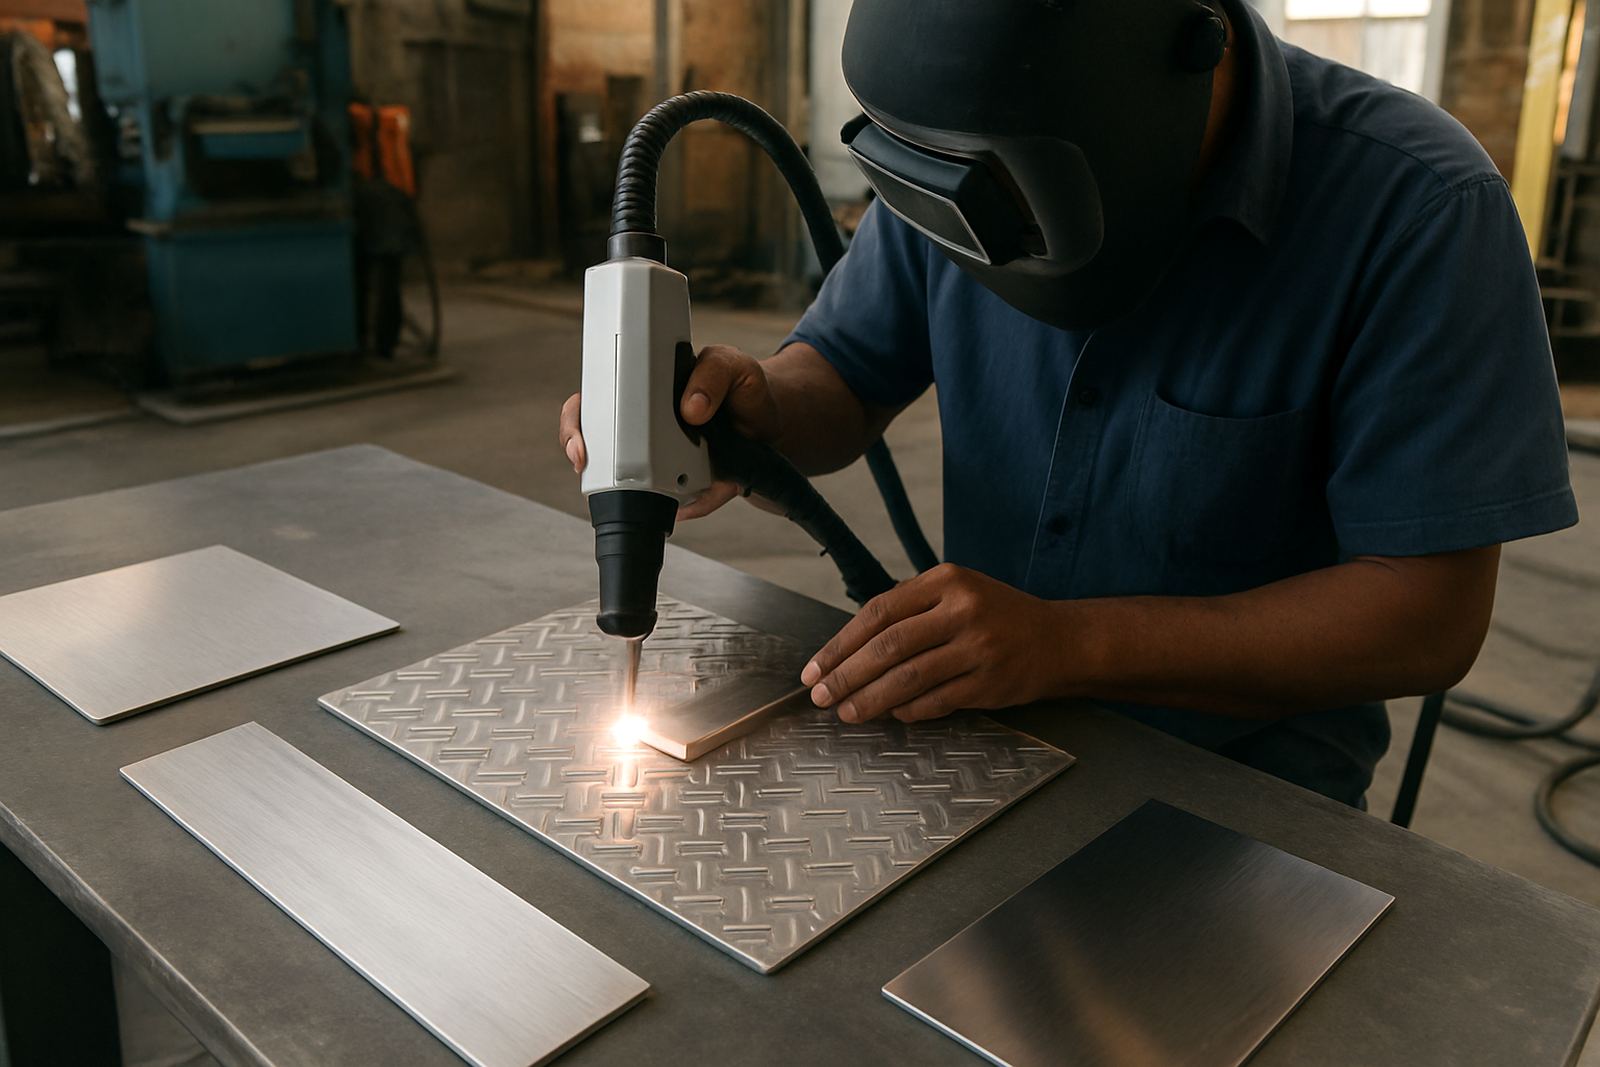
- Flat sheet to sheet for light fabrication and covers.
- Tube to plate for frames and support structures.
- Corner joints for cabinets, housings and box sections.
- Patch repairs or small cut-outs if your shop does rework.
What to avoid when selecting trial parts
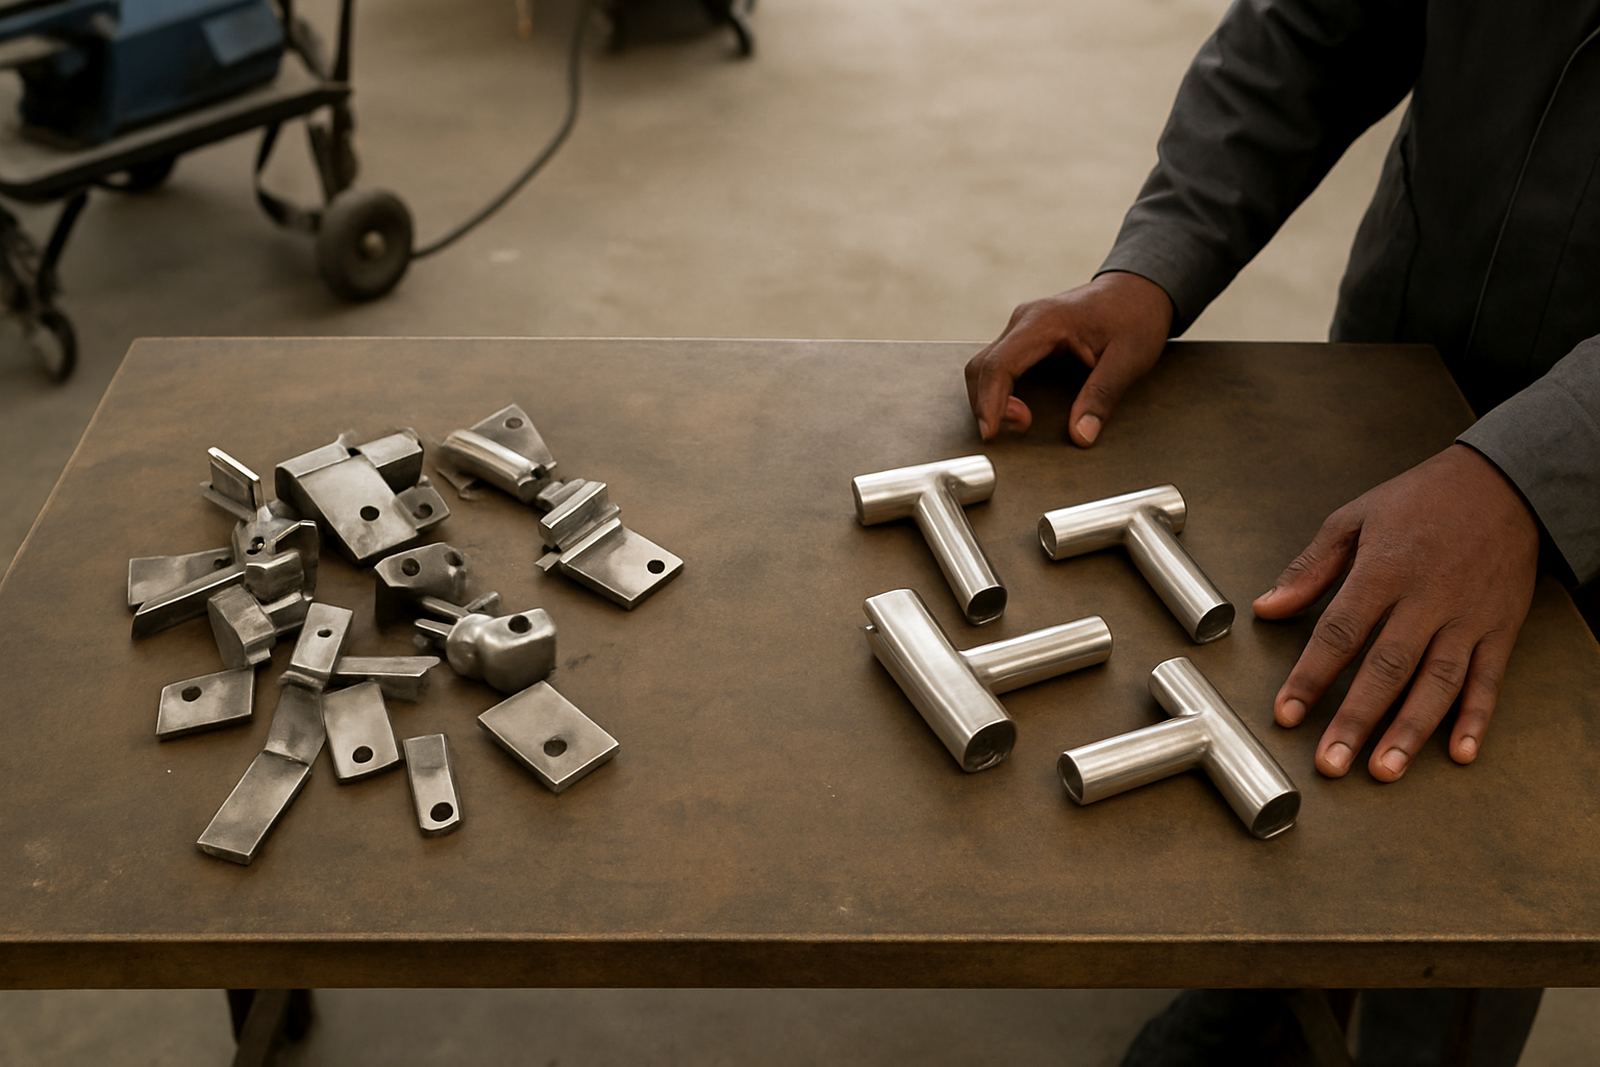
It is tempting to pick the neatest offcut on the bench, but that can hide problems. Freshly cleaned samples with perfect edges and no distortion give a false sense of ease. On the other hand, rusty, oily or badly warped parts can waste time and distract from the welding itself.
A fair trial sits in the middle. The parts should be in usable condition, with the same sort of prep your team can manage on a normal shift. If the shop has limited time between load-shedding interruptions, choose samples that can be set up quickly and repeated without a lot of extra grinding or clamping.
Also avoid mixing unrelated metals in the same test batch. Keep stainless steel separate from mild steel and aluminium so the results are easier to read. It sounds simple, but in a busy workshop it gets missed more often than people admit.
- Do not test only on polished show pieces.
- Do not use distorted parts unless distortion is the issue being checked.
- Do not mix grades unless you are comparing them on purpose.
- Do not rely on tiny samples that cannot show heat movement properly.
Build a fair comparison set for your team
If more than one operator will use the laser welder, prepare a small set of sample parts and keep the setup the same for each person. That gives you a better idea of training needs, hand control and process consistency. It also helps if you are comparing laser welding against TIG or spot welding, because everyone works from the same starting point.
For a fair comparison, record the same details on each sample. You do not need a full laboratory report, but you do need enough information to repeat the result later. A neat trial sheet is often more useful than a pile of good looking beads with no context.
- Material grade and thickness.
- Joint type and approximate gap.
- Cleaning method used before welding.
- Operator name and training level.
- Machine settings, travel speed and shielding setup if used.
How local workshop conditions affect the trial
South African shops work under practical limits that can change how a test goes. In Ekurhuleni, many fabricators in Spartan, Isando and Jet Park are balancing production, shift pressure and power interruptions. A sample that takes 20 minutes to set up may be fine in theory, but not useful in a shop where the team needs quick turnarounds.
Coastal humidity in places like Durban or Gqeberha can also affect surface condition, especially if samples sit around before the test. Rust film, moisture and fingerprints all change the weld prep. If a trial is being done at a client site in Alberton or Germiston, make sure the samples are stored dry and handled with clean gloves, or at least wiped down properly before the first pass.
A practical example: a Kempton Park stainless fabricator brought in cabinet corners from a normal production run, not special test coupons. Because the parts had the same bend lines, the same 1.5 mm sheet and the same small fit-up errors the team sees daily, the trial showed exactly where the operator needed more control. That was more useful than a perfectly machined sample ever would have been.
What to inspect after the weld
Once the test weld is done, inspect it the same way you would inspect a production part. Do not stop at first impressions. A shiny bead is not enough if the back side is undercut, discoloured or too hot for the surrounding panel.
Look at the finish, penetration, distortion and repeatability. If the part will later be ground, painted or passed to another process, check how much rework is needed. That is where laser welding often earns its place, because a clean weld can save time at finishing and reduce reject rates.
- Check the front and rear of the joint.
- Look for undercut, pores and discoloration.
- Measure any movement or pull in the part.
- Note how much cleaning was needed after welding.
- Compare the result against your normal production standard.
Choose samples that support training and rollout
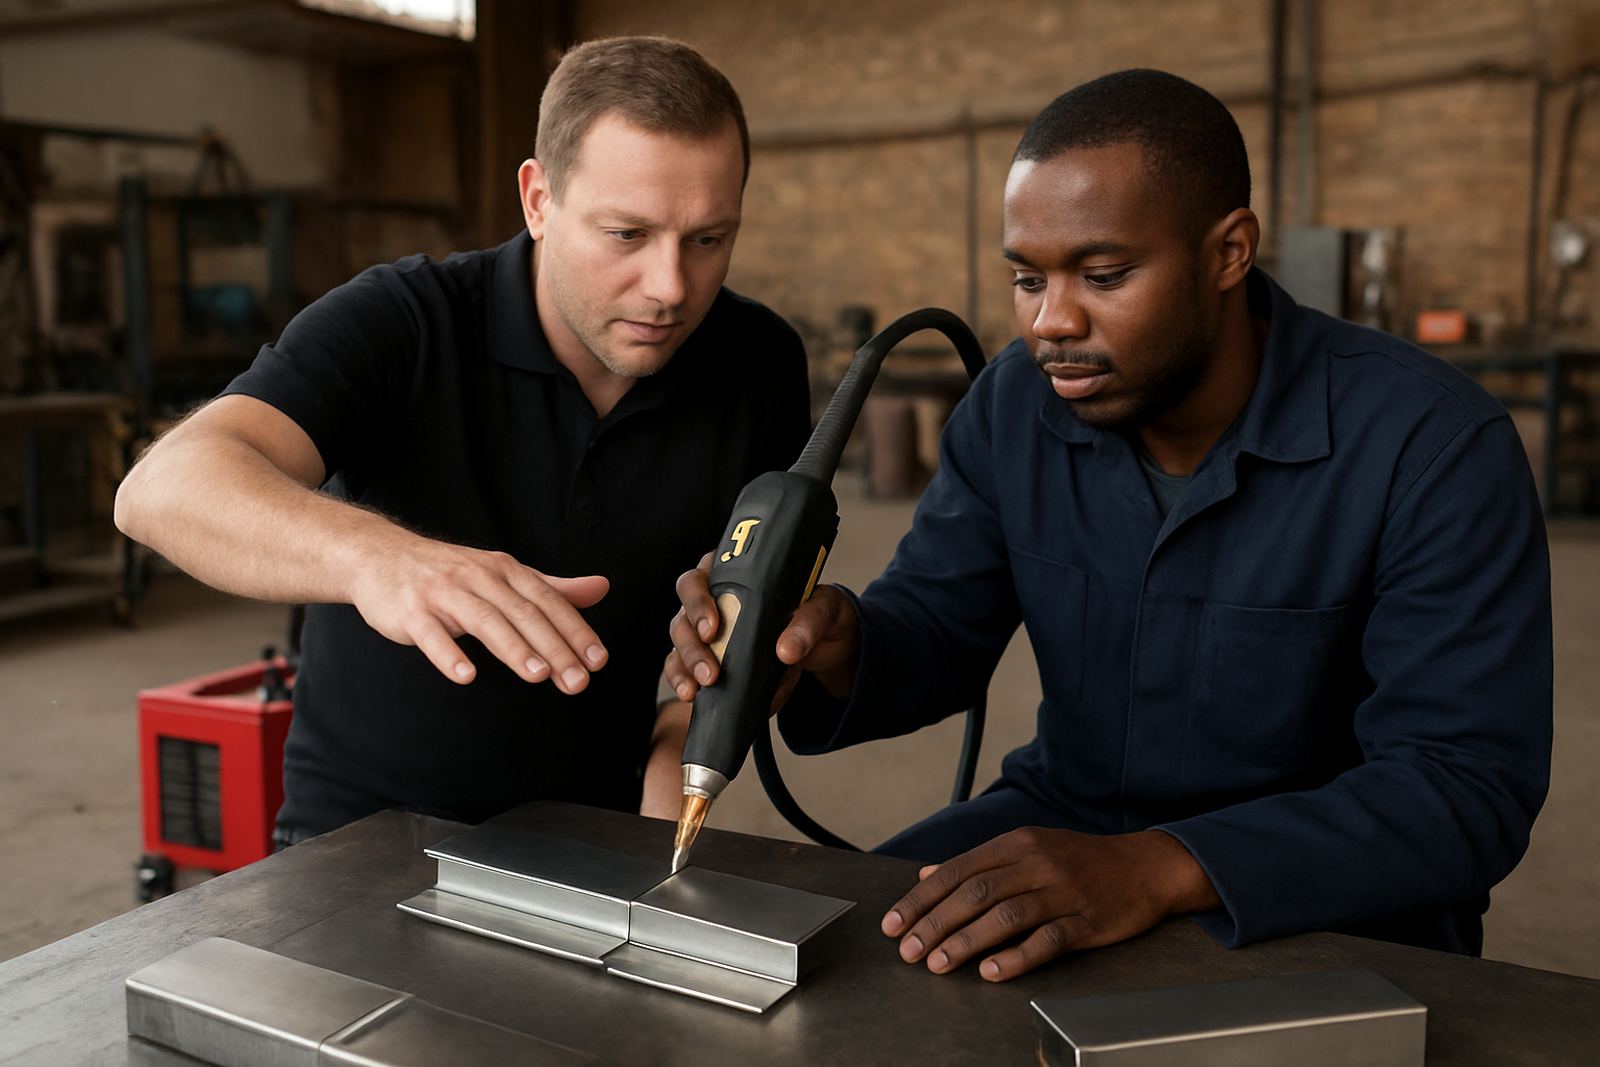
Good test parts do more than prove a machine. They help operators learn the right technique before the equipment goes into daily use. That is why Laser-Welder uses shop demonstrations, weld testing and refresher training with fabricators across South Africa. The right sample makes it easier to teach hand position, speed and seam control without wasting material.
If you are planning commissioning, production rollout or process optimisation, keep the same sample style available for follow-up visits. That way you can compare the first trial with later results and see if the team has improved. It also helps with preventive maintenance checks, because any change in weld quality is easier to spot on a known sample than on random scraps.
For a new machine or a new operator, the test part should answer one simple question: can this setup make the weld we need, on the parts we actually build? If the answer is yes, you have a useful basis for the next step. If not, the sample has already saved you time and money.