Why the starting finish changes the welding job
On stainless steel, the surface finish sets the tone before the first tack is made. A brushed sheet, a mirror-polished panel and a standard mill finish all react differently to heat, handling marks and weld discoloration, so the same job can need very different prep and clean-up.
For fabricators in Spartan and Isando this matters on day one. If you are working on kitchens, medical items, decorative trims or architectural panels, the customer is usually buying the finish as much as the component. A visible weld on a satin panel is judged against the grain, while on a polished item even small heat marks stand out immediately. That means your process must match the finish, not just the thickness.
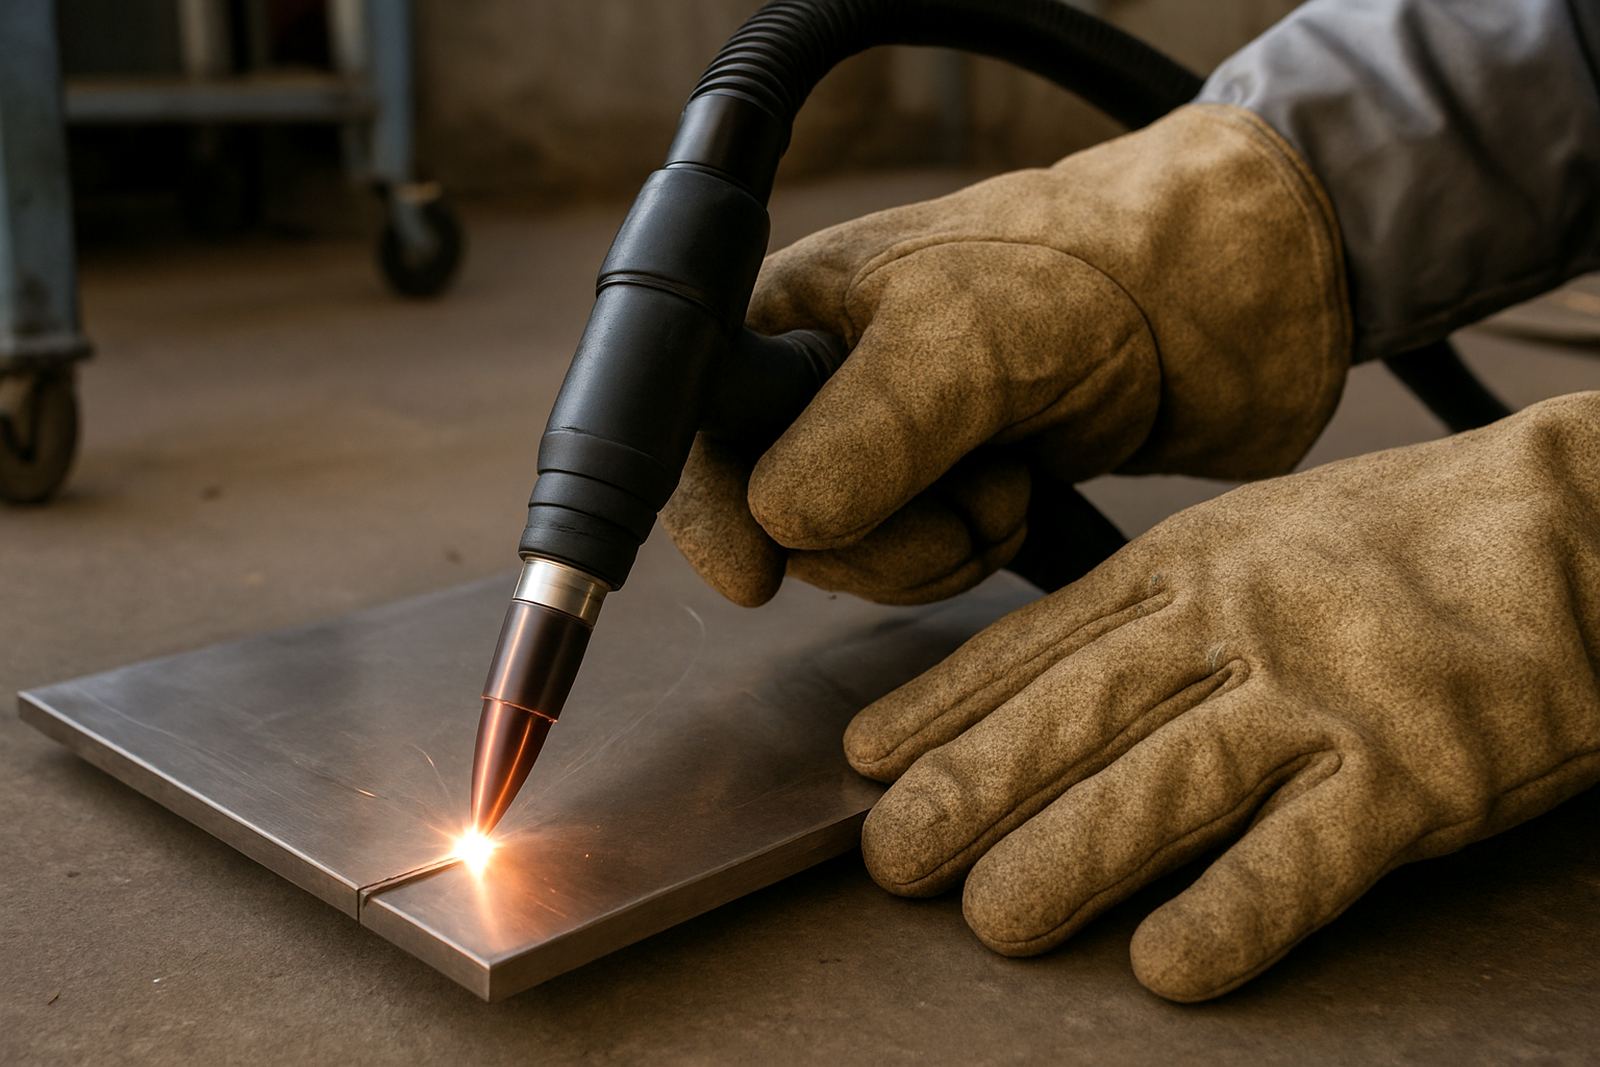
Tight heat control and a narrow weld bead make handheld fibre laser welding useful, but they do not remove the need to understand the finish. If the parent metal is already scratched, the weld may be perfect and still look poor. If the surface is too rough or contaminated, the seam can pick up blemishes that take extra correction later.
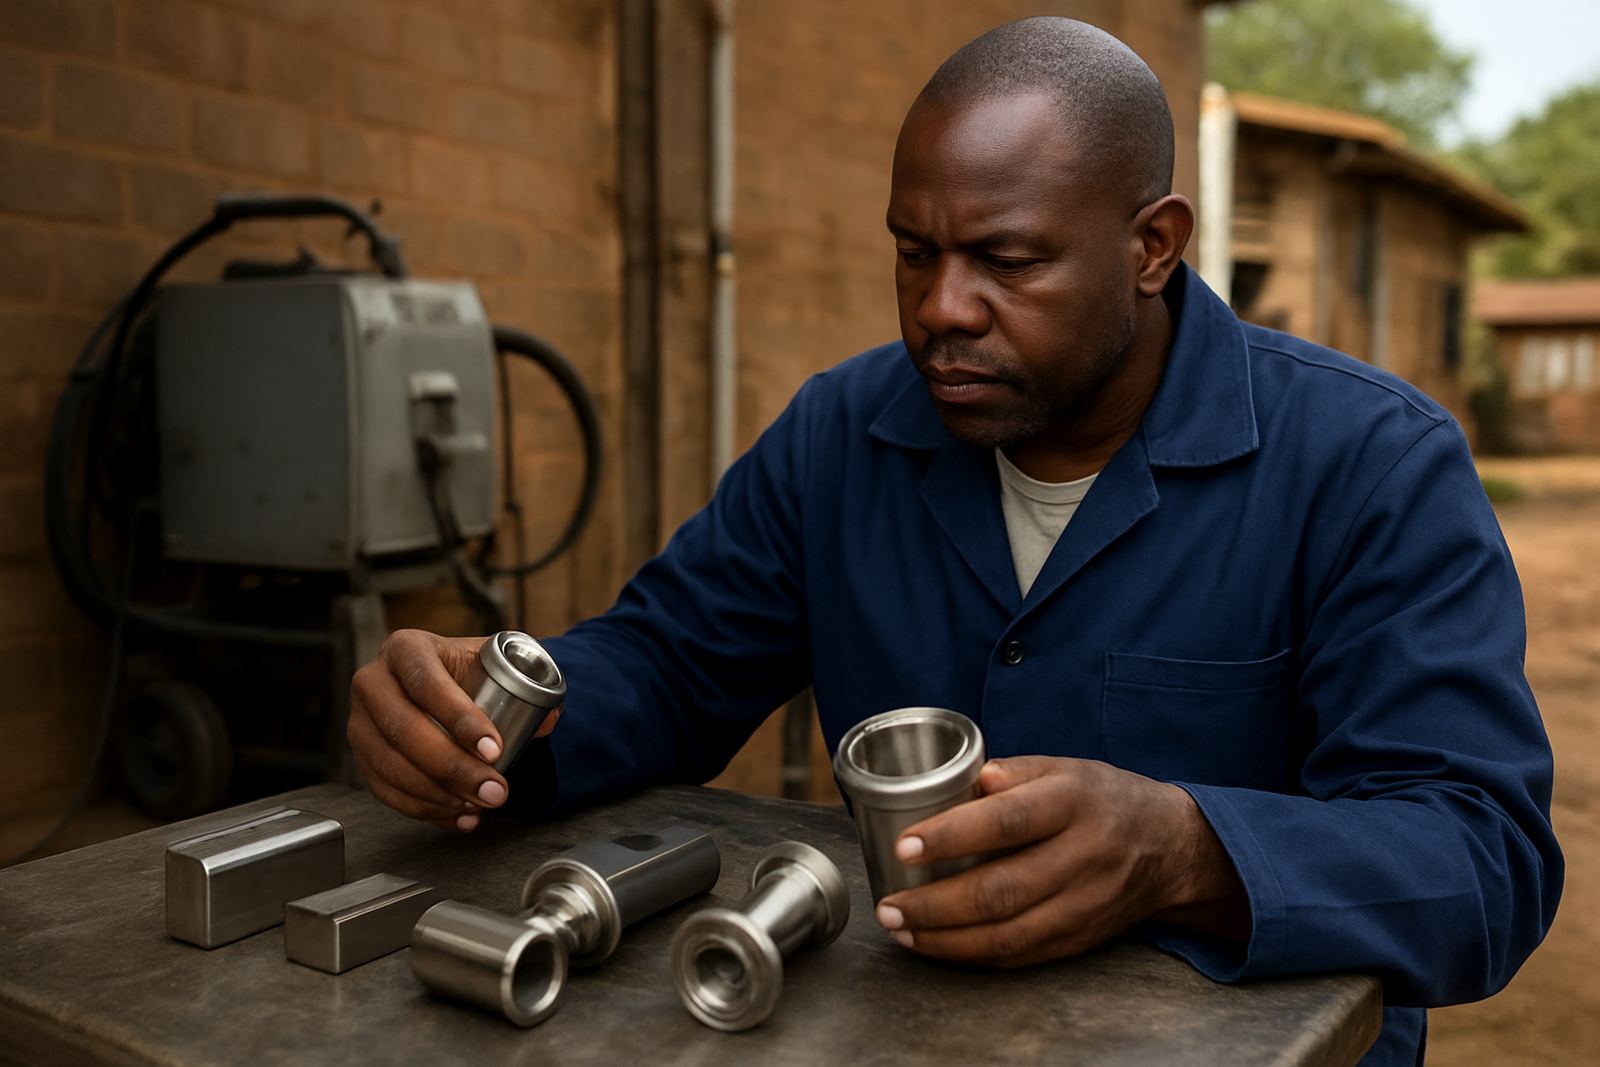
Mill finish, brushed finish and mirror polish are not equal
Mill finish stainless is often the easiest to live with in a production shop because minor marking is less obvious. It is common on internal parts, frames and equipment covers where a uniform factory look is acceptable. Brushed and satin finishes need more care because the direction of the grain must stay consistent across the whole job.
Mirror polish is the most demanding. Any heat tint, finger mark or spatter stands out immediately and may need mechanical and chemical correction. That adds time and can shorten the margin for error on thin material, especially when the job moves through multiple handling stages before installation.
- Mill finish hides light handling marks better but still needs clean prep.
- Brushed finish requires grain direction to be matched after welding and finishing.
- Mirror polish needs very low heat input and careful post-weld cleaning.
- Protective film helps, but it must be applied and removed without trapping dirt.
In practice, the finish often decides how you clamp the job, where you start the weld and how quickly you move into clean-up. A small slip here can mean a rework loop that eats into the full day.
Heat tint, colour change and why customers notice it fast
Stainless can discolour around the weld even when the join is sound. That colour change is a sign of oxide formation from heat exposure, and on visible work it can be the first thing a customer sees. On a brushed panel in Kempton Park or a display unit in Boksburg, blue, brown or straw colouring can trigger a complaint long before anyone checks the strength of the weld.
Laser welding reduces the heat affected zone compared with many traditional methods, which helps keep the finish cleaner. Still, the result depends on joint fit-up, travel speed, shielding, cleanliness and how the operator handles the beam. If the edge gap is too wide, the process has to work harder and the finish can suffer.
Where appearance matters, the correction plan should be agreed before production starts. That may include light abrasive blending, pickling, passivation or polishing steps depending on the grade and final use. Leaving this decision until after the welds are complete usually costs more.
Surface prep that saves time later
Good prep is not about making the shop look tidy, it is about reducing rework. Stainless should be free of oil, dust, marker residue and carbon steel contamination before welding. If a mild steel brush or grinder has been used on other jobs, keep it away from stainless work to avoid cross contamination.
For decorative work, cleaning around the joint is just as important as cleaning the joint itself. Tape residue, solvent film and fingerprints can all affect the final appearance. In humid areas close to the coast, surface moisture and storage conditions matter too because condensation can sit on sheet stock and show up later as staining or inconsistent weld colour.
- Wipe the joint with a clean lint-free cloth before welding.
- Use stainless-only tools for brushing and finishing.
- Store sheet and cut parts off the floor, away from dust and moisture.
- Check protective film for trapped grit before cutting or fitting.
When workshops in Germiston or Alberton are busy, it is tempting to rush the prep stage. That is usually where the later correction starts.
Matching weld quality to the final use of the product
Not every stainless job needs the same visual standard. A dairy skid, an extraction duct and a reception counter do not carry the same finish expectations. The right question is not simply whether the weld is strong enough, but whether the seam matches the part, the environment and the customer’s cleaning routine.
If the item will be washed daily, handled by staff or exposed to chemicals, the weld area needs a finish that supports corrosion resistance and easy cleaning. For food related work, small ridges and crevices can hold residue. On public-facing items, rough blending can show through paint or powder coat later if the final coating is thin.
That is why process optimisation matters. A better weld profile can reduce the amount of sanding, grinding or re-polishing needed after fabrication. In a small workshop this saves labour; in a larger production environment it keeps throughput steady when load-shedding or schedule pressure already makes planning difficult.
How demos and training help teams read the finish before they weld
Many finishing problems start because operators learn the weld, but not the surface it must sit on. A team can produce a solid joint and still miss the visual standard if no one has shown them how different finishes react under heat and handling. Training at the fabrication shop makes that easier to correct because the actual material, lighting and workflow are in front of the team.
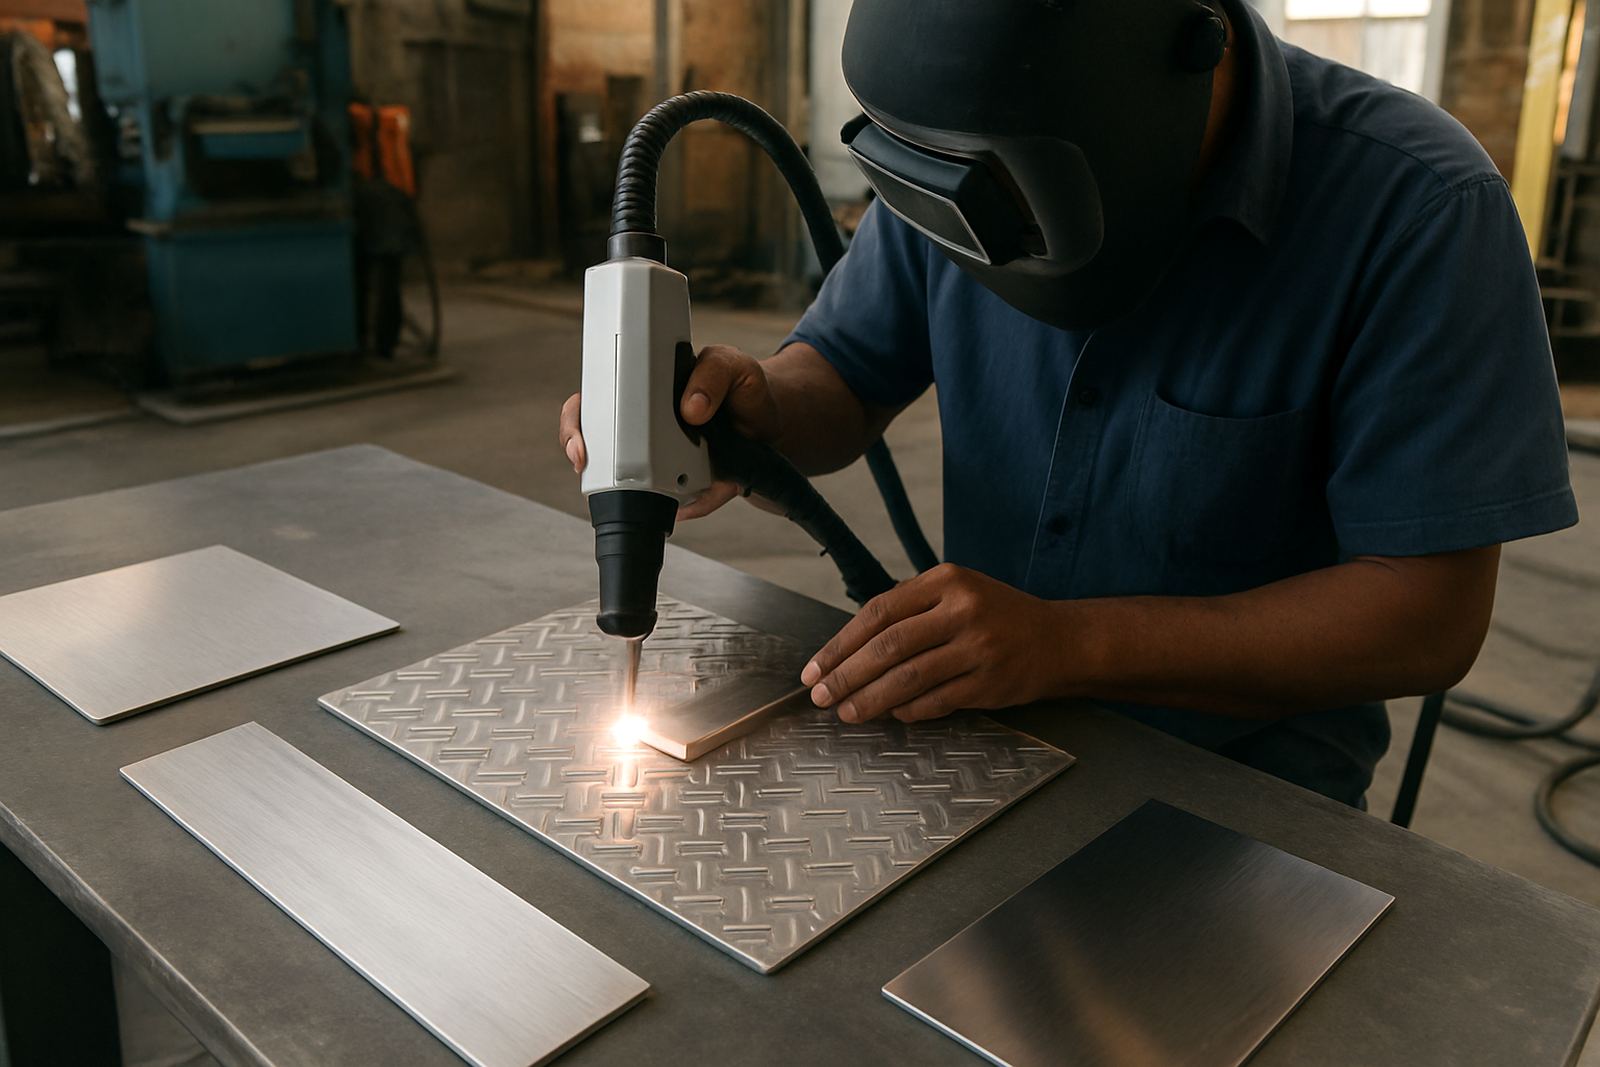
During a demo, it helps to compare the same weld on brushed, mill and polished stainless so the differences are visible straight away. Operators can see how small changes in torch angle, speed and clean-up affect the final appearance. This is practical learning, not theory for a notebook.
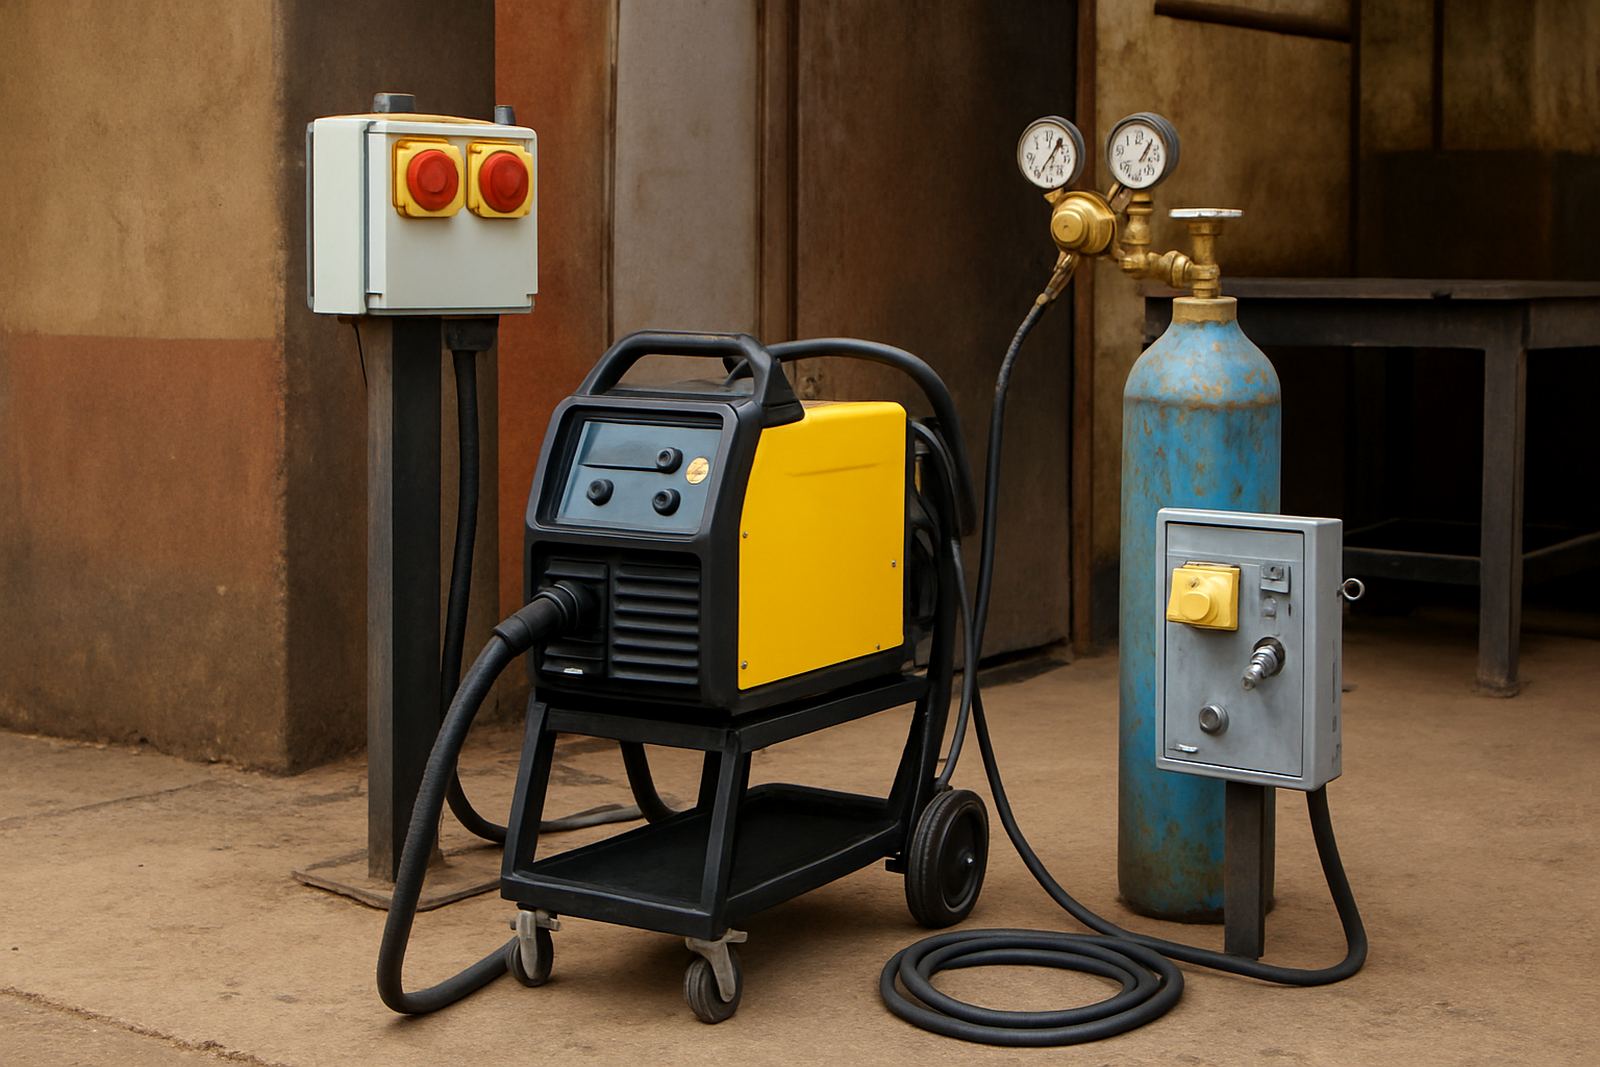
Our team works with fabricators across Ekurhuleni and beyond on machine commissioning, refresher training, weld testing and production rollout. That support is useful when a workshop wants cleaner seams without slowing the line down. It also helps supervisors set realistic correction standards for each type of finish.
A Kempton Park example: less correction, better handover
A stainless fabricator in Kempton Park was producing visible panels for a client in the hospitality sector. The welds were structurally fine, but the brushed finish around the seams was inconsistent and the polishing team was spending too long evening out colour change and grain direction. On paper the job was going well, but the final handover was eating into margin.
After checking the joint prep, clamping method and finish sequence, the team adjusted the process so the welds stayed tighter and cleaner from the start. They also changed the order of cleaning steps and set a clearer rule for when a seam needed light blending versus full rework. The result was fewer rejected panels and a more consistent look across the batch.
The lesson is simple: the finish is part of the process, not an afterthought. When you build the welding plan around the final surface, the whole job becomes easier to manage and the correction work drops.