Wash bay work that needed cleaner joints, not more grinding
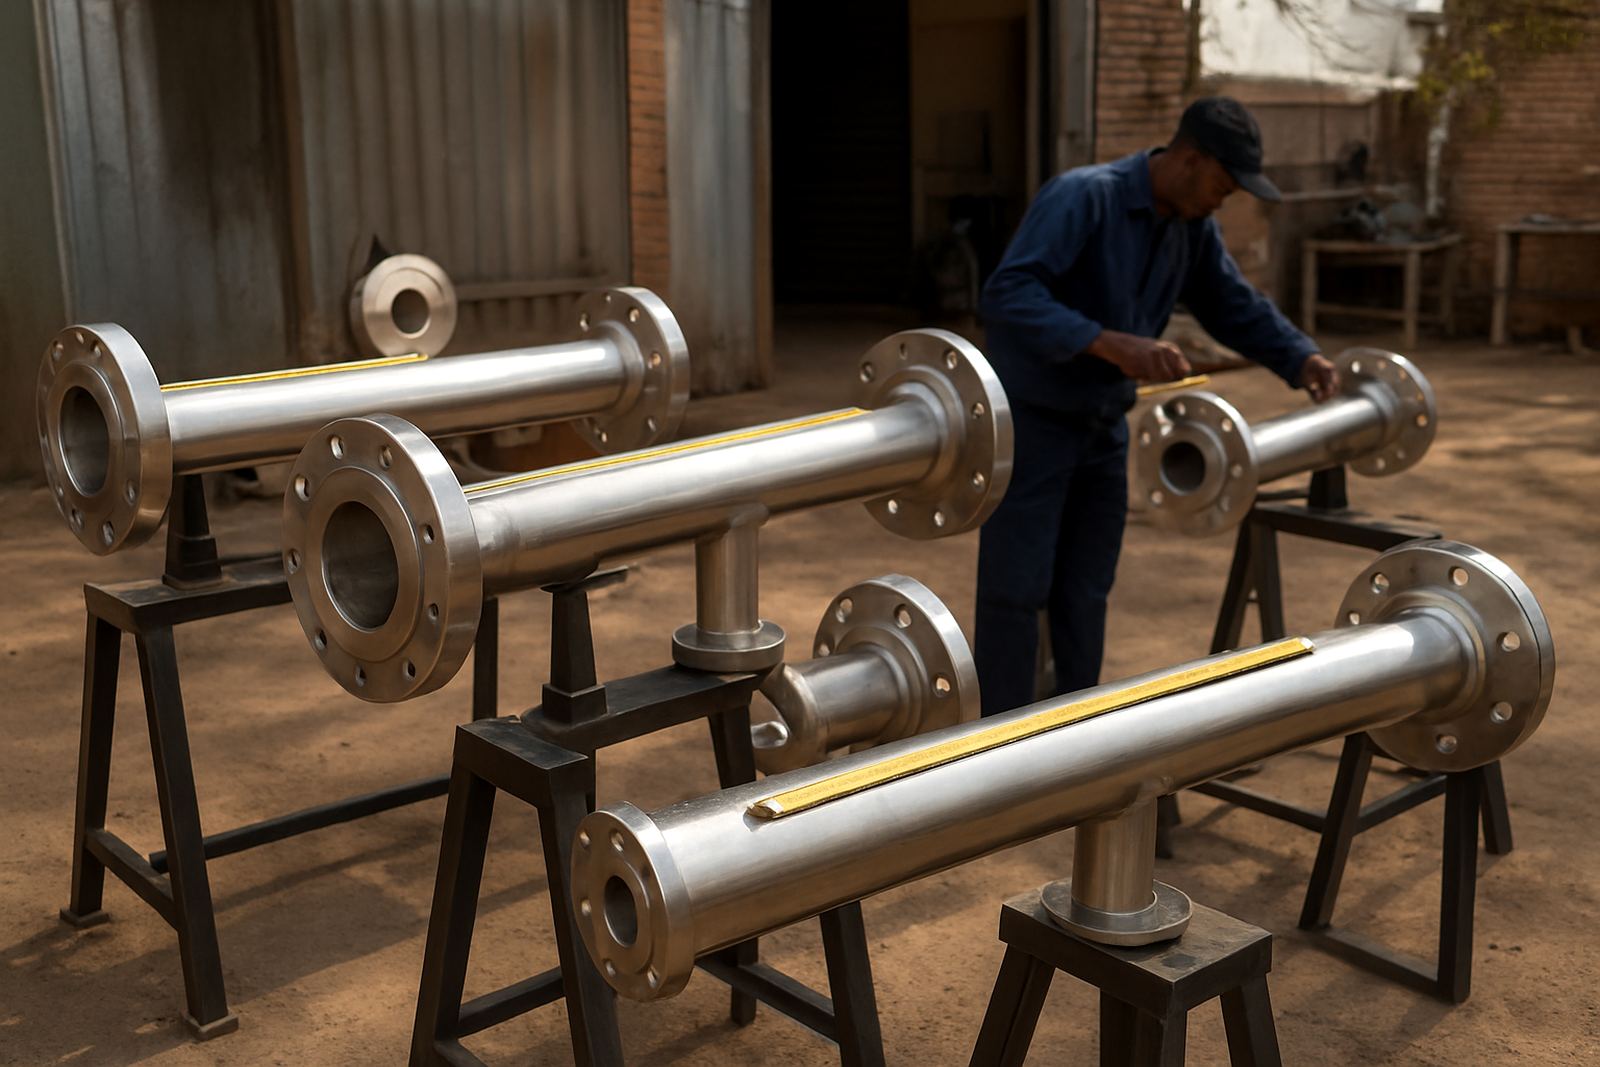
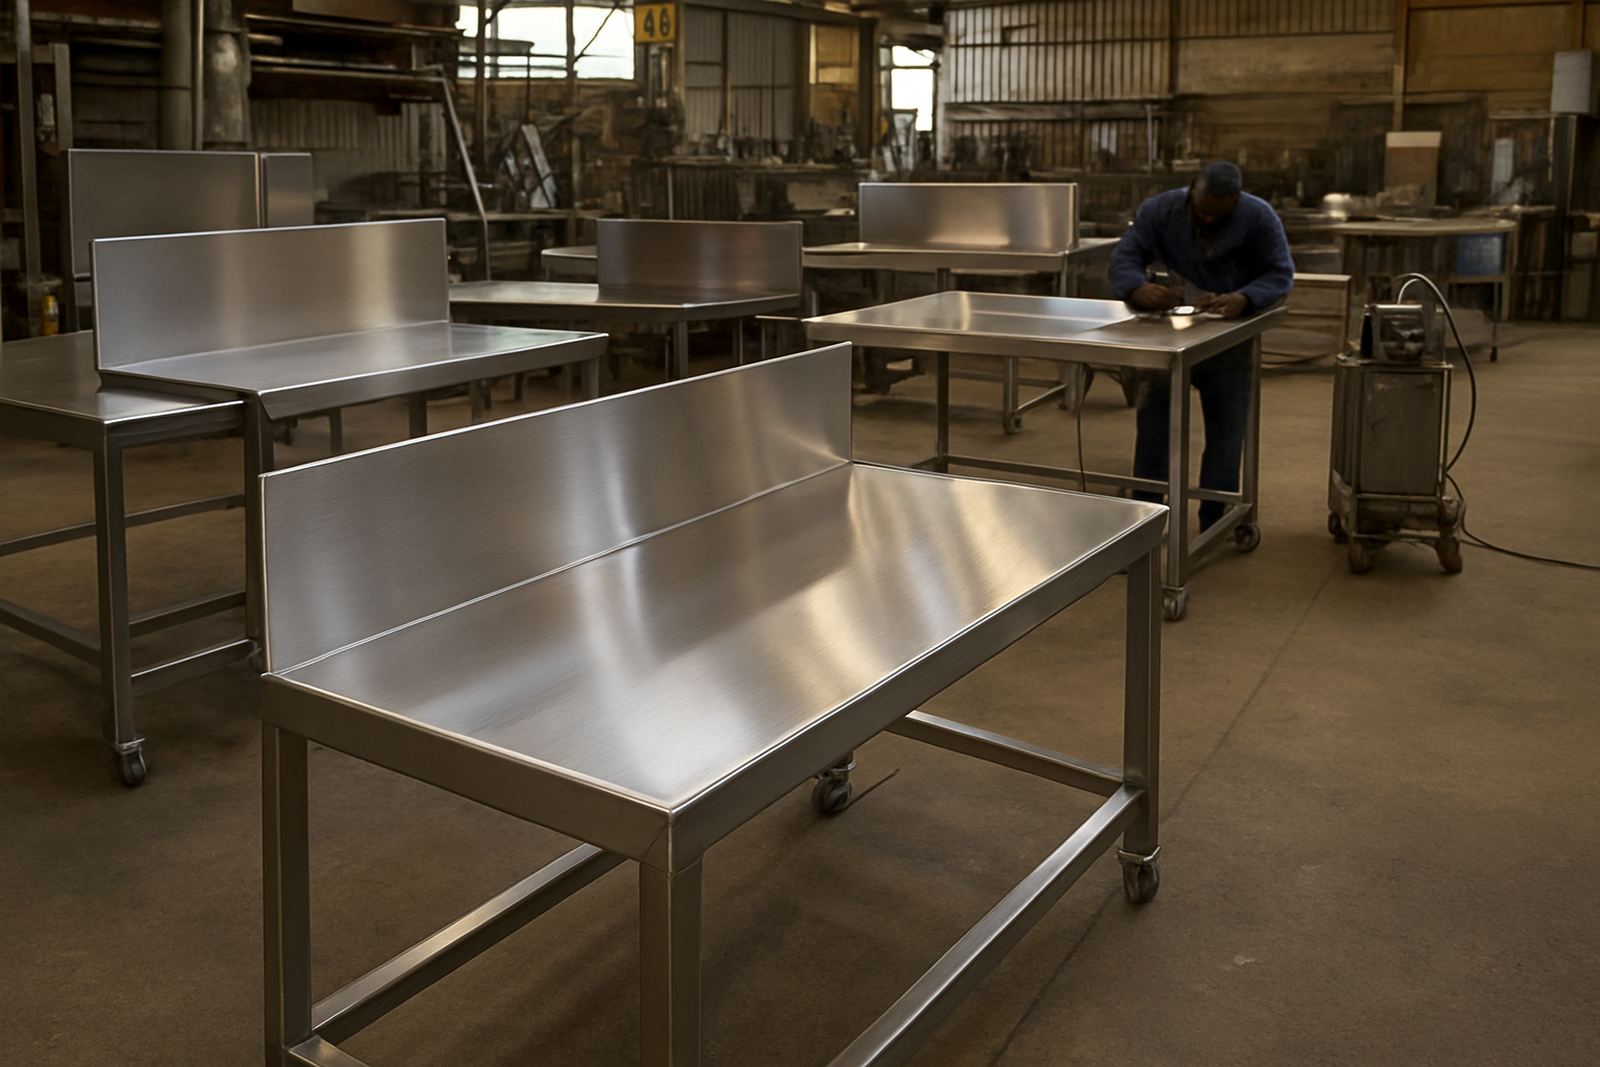
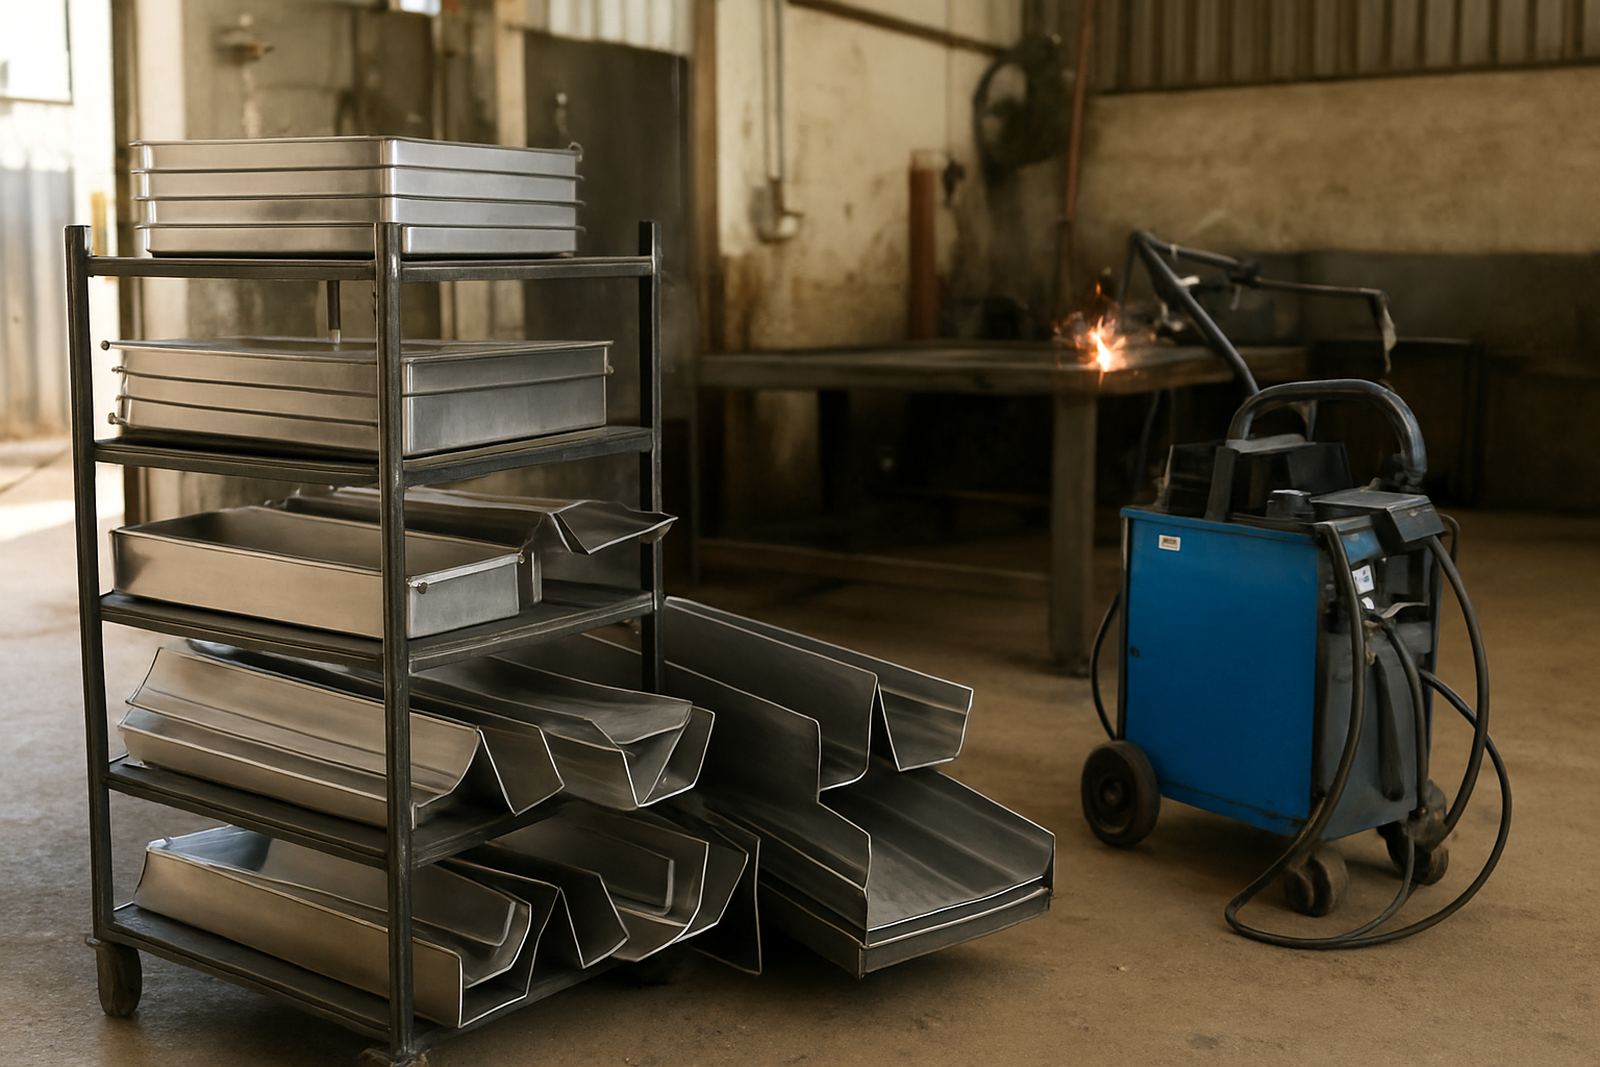
The job came from a Durban fabrication shop building wash bay components for commercial and industrial sites. Their work included stainless steel channels, trays, splash guards and drain parts that had to look clean once installed, especially where water runs off and any weld mark shows up fast. They were already making product that worked, but the finishing time was too high and the seams needed a neater look for client handover.
The brief was simple enough on paper: reduce visible heat marks, improve the consistency of long straight seams and make corner joints easier to finish. The team wanted a process that could be used on 1.2 mm to 2.0 mm stainless steel without constant rework, and one that would fit into their existing workshop flow. They also needed something practical for a Durban site, where heat, humidity and occasional power interruptions can interfere with production planning.
What was holding the workshop back
The main issue was not skill, it was throughput. Their welders could produce sound joints, but the older method left more clean-up than the production line could comfortably carry. On wash bay trays and channels, even small distortions became obvious once the parts were assembled. In coastal conditions, the team also wanted a process that reduced the chance of surface contamination and kept the stainless looking better before delivery.
There were also practical constraints around the workshop itself. Parts were varied in length and shape, and the shop had limited space for extra holding fixtures. Load-shedding meant they could not afford a process that took too long to restart after interruptions, and they needed a welding method that could be learned by the team without long downtime. The brief also asked for cleaner welds on visible edges so less time was spent linishing and polishing after fabrication.
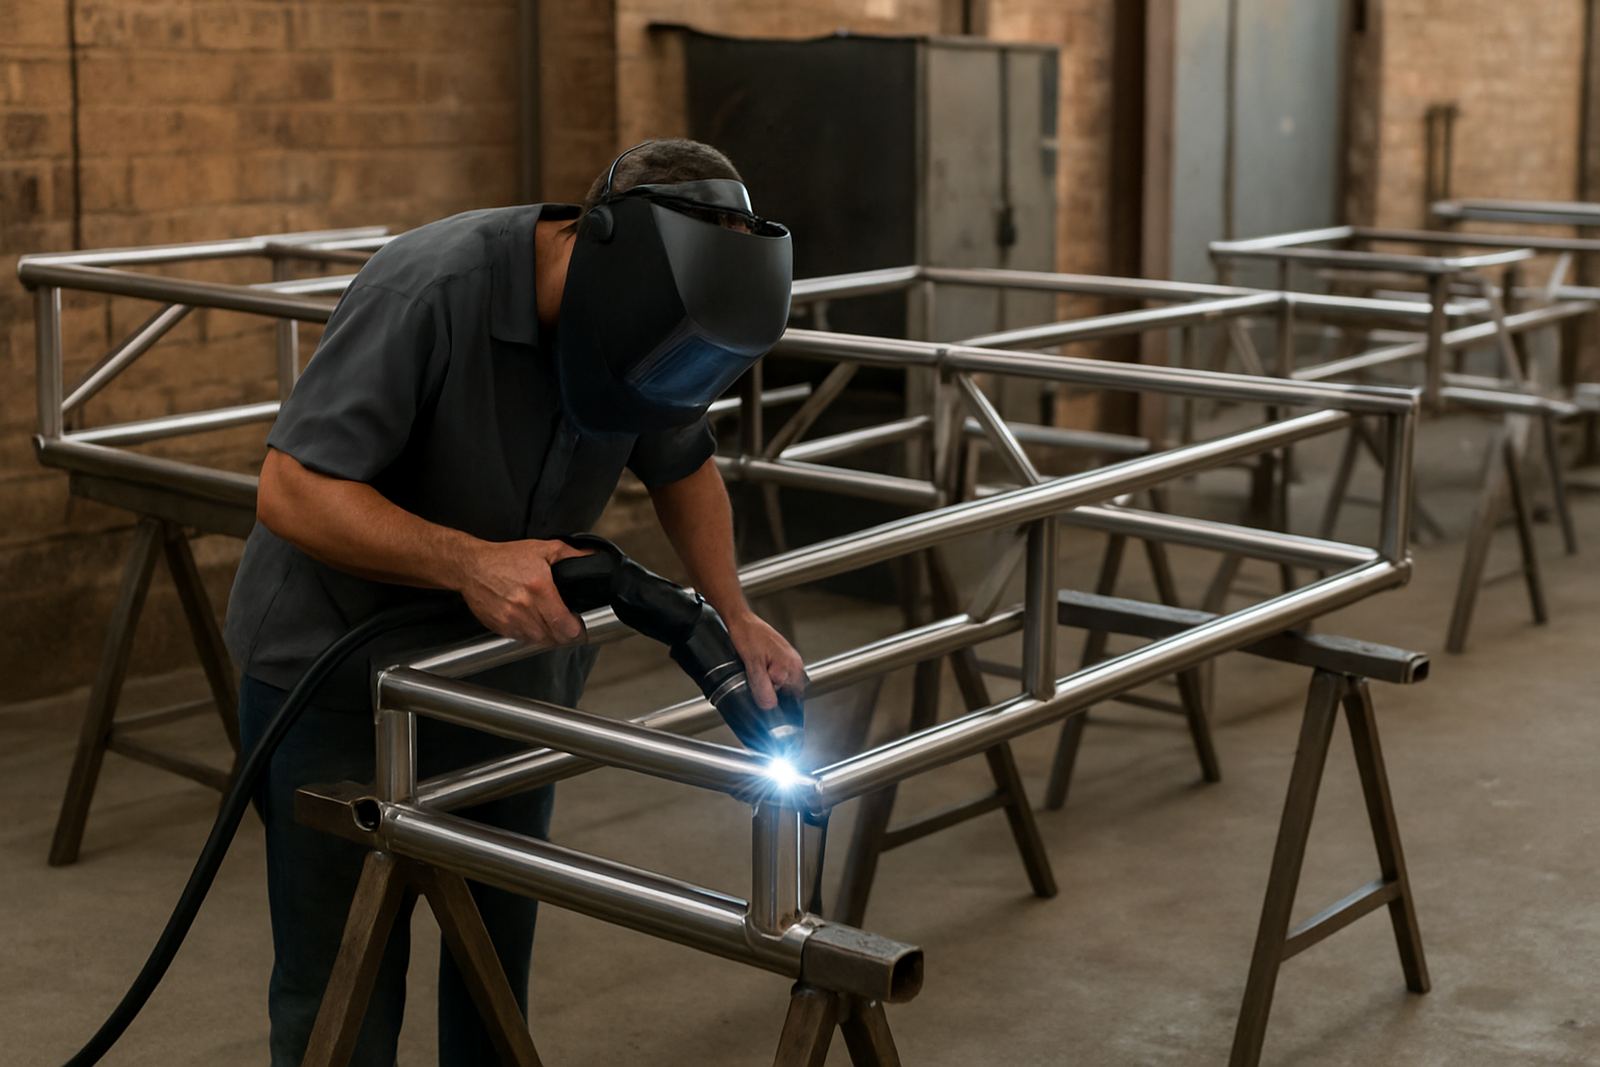
Handheld fibre laser welding setup for stainless wash bay parts
We supplied a handheld fibre laser welding package suited to stainless steel fabrication, along with setup guidance, weld trials and operator training on site. The machine was configured for thin-gauge stainless work, with settings tested on their own channels, tray corners and formed sections. The team used it for straight seams, short stitch runs and edge joints where they needed neat appearance and repeatable fusion.
Key points from the setup were focused on the actual job, not theory. We worked with sheet thicknesses from 1.2 mm to 2.0 mm, set travel speed around their production pace, and checked joint fit-up on common wash bay parts. We also covered shielding gas use, torch angle, and how to keep the work clean before welding. For this type of product, prep matters. A good fit and clean surface gave the best finish, and less heat input meant less distortion on long channels.
- Material focus: stainless steel channels, trays and wash bay accessories
- Thickness range tested: 1.2 mm to 2.0 mm
- Typical use: visible seams, corner joints and tray edges
- Workshop outcome: less grinding after welding and cleaner final appearance
- Training included: setup, safety, joint preparation and basic troubleshooting
Timeline from first demo to production rollout
The full project ran over four weeks. In week one, we held an initial workshop demonstration at the Durban fabricator's premises and tested sample joints on their own material. Week two was spent refining settings for channel work and tray corners, with attention to heat control and seam consistency. In week three, the team started using the process on selected production items under supervision. By week four, the process was being rolled into regular work on the wash bay range, with the main operators comfortable enough to run it independently.
The learning curve was practical and fairly quick. The operators already understood stainless steel fabrication, so the new part was adapting to the laser welding pace and keeping the fit-up tight. We also made sure the team knew when to use the process and when a different method would still be better for heavier brackets or thicker assemblies. That kept the shop from trying to force one process onto every job.
Results on channels, trays and visible seams
Once the team settled in, the main change was in finishing time. Welds on wash bay channels and trays needed less dressing after fabrication, and the cleaner bead profile reduced the amount of grinding before assembly. That made the parts easier to handle, easier to inspect and quicker to send out. For a shop doing repeat wash bay work, that adds up fast.
The Durban team also reported better consistency across repeated parts. When trays and channels are made in batches, small differences in weld size or heat input show up from one piece to the next. The handheld fibre laser process helped tighten that up, and the finished items looked more uniform. On stainless steel, especially in a humid coastal area, the improved surface finish also helped the parts leave the shop looking more presentable. One of the operators put it simply, it saved time on every second job.
- Cleaner visible welds on wash bay components
- Reduced post-weld grinding and linishing
- More consistent batch production
- Better control on thin stainless sections
- Less distortion on long channel runs
What we would repeat on the next wash bay job
For this type of work, we would do the same three things again. First, test on the client’s own material before making assumptions about fit-up, surface condition or joint style. Second, train the operators on the exact parts they build most often, not just on sample coupons. Third, keep the first production week close enough for support so small setting changes can be handled before they become habits.
We would also recommend building a simple production routine around the machine. That means clean material, the same prep steps each time, and a clear decision on which parts go through laser welding and which still suit another method. That keeps the process practical in a busy workshop. For Durban and other coastal towns, we would keep an eye on storage, cleaning and daily maintenance too, because stainless parts and equipment both benefit from sensible care in humid conditions.
Support after handover
After the rollout, the workshop still had access to process support, remote help and maintenance guidance if they needed it. For fabricators working under deadline pressure, that matters just as much as the first demo. When a machine is part of the daily production line, small issues with settings, consumables or operator habits can slow the whole bay down. Our role was to help the team keep production steady and avoid unnecessary stoppages.
This project showed how handheld fibre laser welding can suit stainless steel wash bay fabrication when the parts are thin, the finish is visible and the batch work needs to move quickly. For the Durban shop, the new process improved the look of the product and made the workflow easier to manage. That is usually the point where the method starts paying for itself.
Key facts
| Project town | Durban, KwaZulu-Natal |
|---|---|
| Client type | Stainless steel fabricator making wash bay components |
| Main items welded | Channels, trays, splash guards and drain parts |
| Material range | Stainless steel from 1.2 mm to 2.0 mm |
| Project duration | 4 weeks from first demo to production rollout |
| Support delivered | Demo, operator training, process optimisation and remote follow-up |