What the Midrand team needed from the build
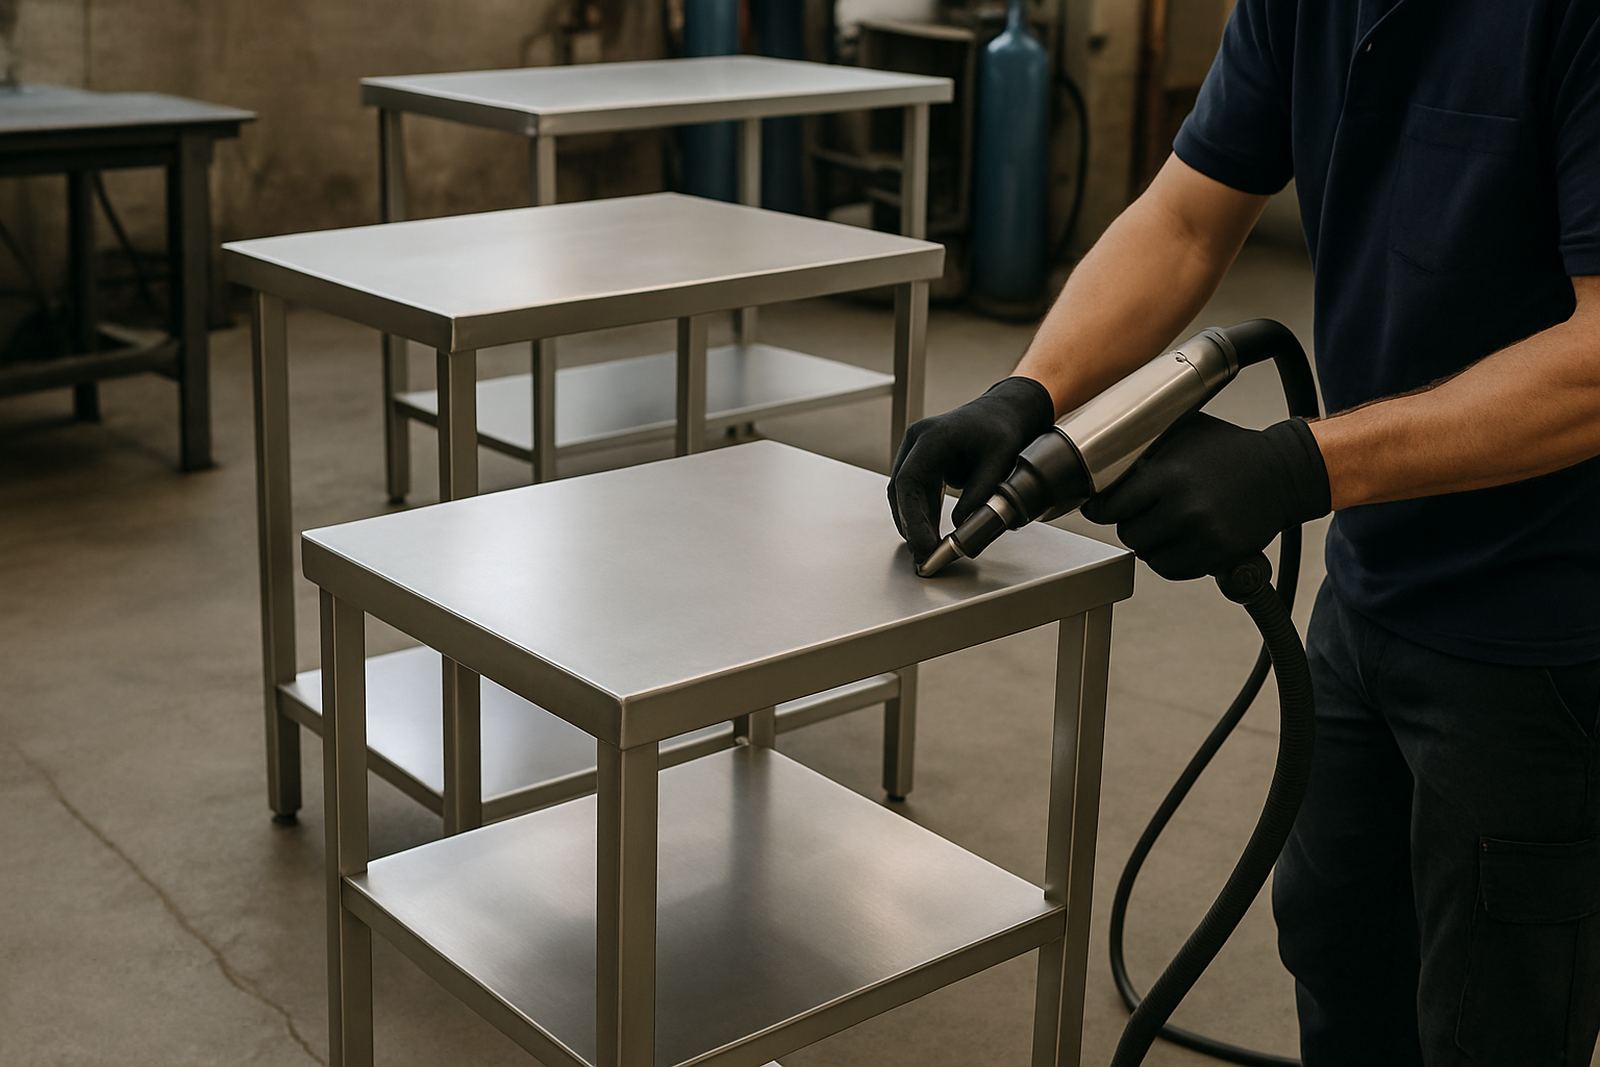
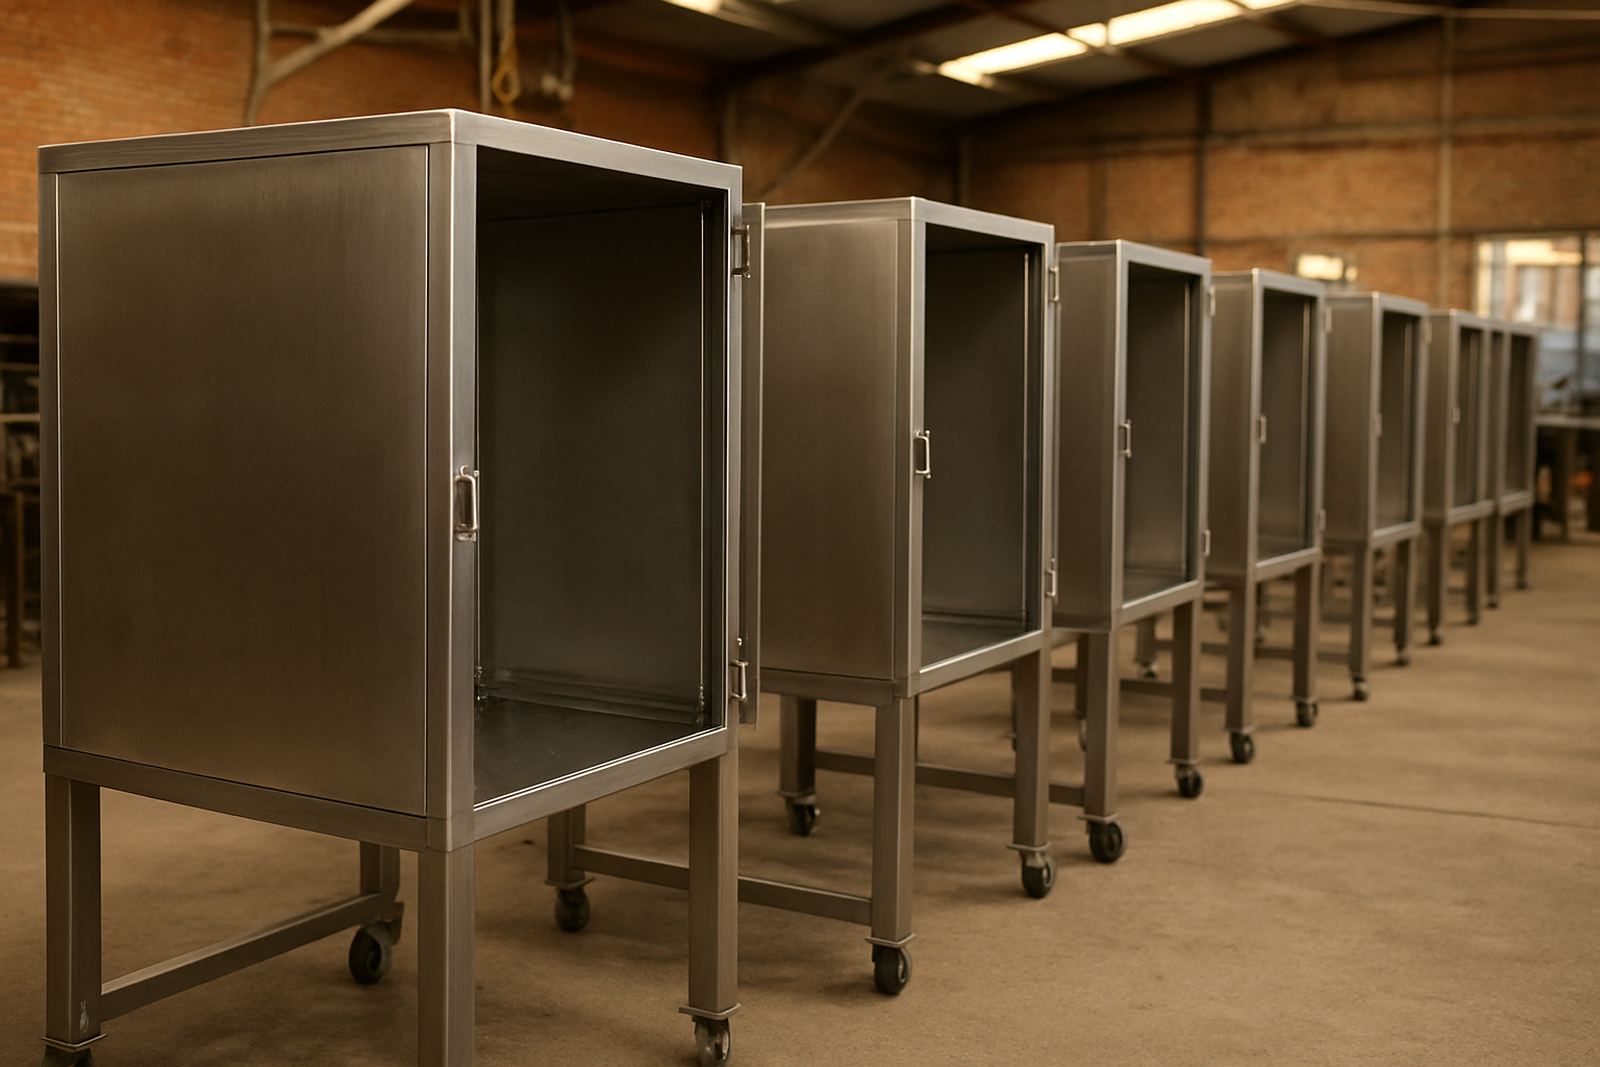
The client was a stainless fabrication shop in Midrand building process skids for food and light industrial use. Their team was already competent with traditional TIG, but the brief was clear: shorten assembly time, reduce post-weld grinding, and keep the finished skid looking clean for clients who inspect the equipment closely on site.
The work involved a mix of 1.5 mm to 3 mm stainless plate, tube frames, brackets and small support parts. The shop also had the usual pressure points that come with production work in Gauteng: tight delivery dates, intermittent load-shedding, and the need to keep multiple jobs moving on the floor at once. They wanted a welding method that could slot into the existing workflow without slowing the rest of the line down. There was no room for guesswork.
- Material: stainless steel, mainly 304 grade with some 316 components
- Part sizes: light frame sections, brackets and skid assemblies up to about 2.4 metres long
- Finish requirement: clean welds with minimal heat tint and less grinding
- Production need: quicker tack-up and faster final welding
How we approached the weld process
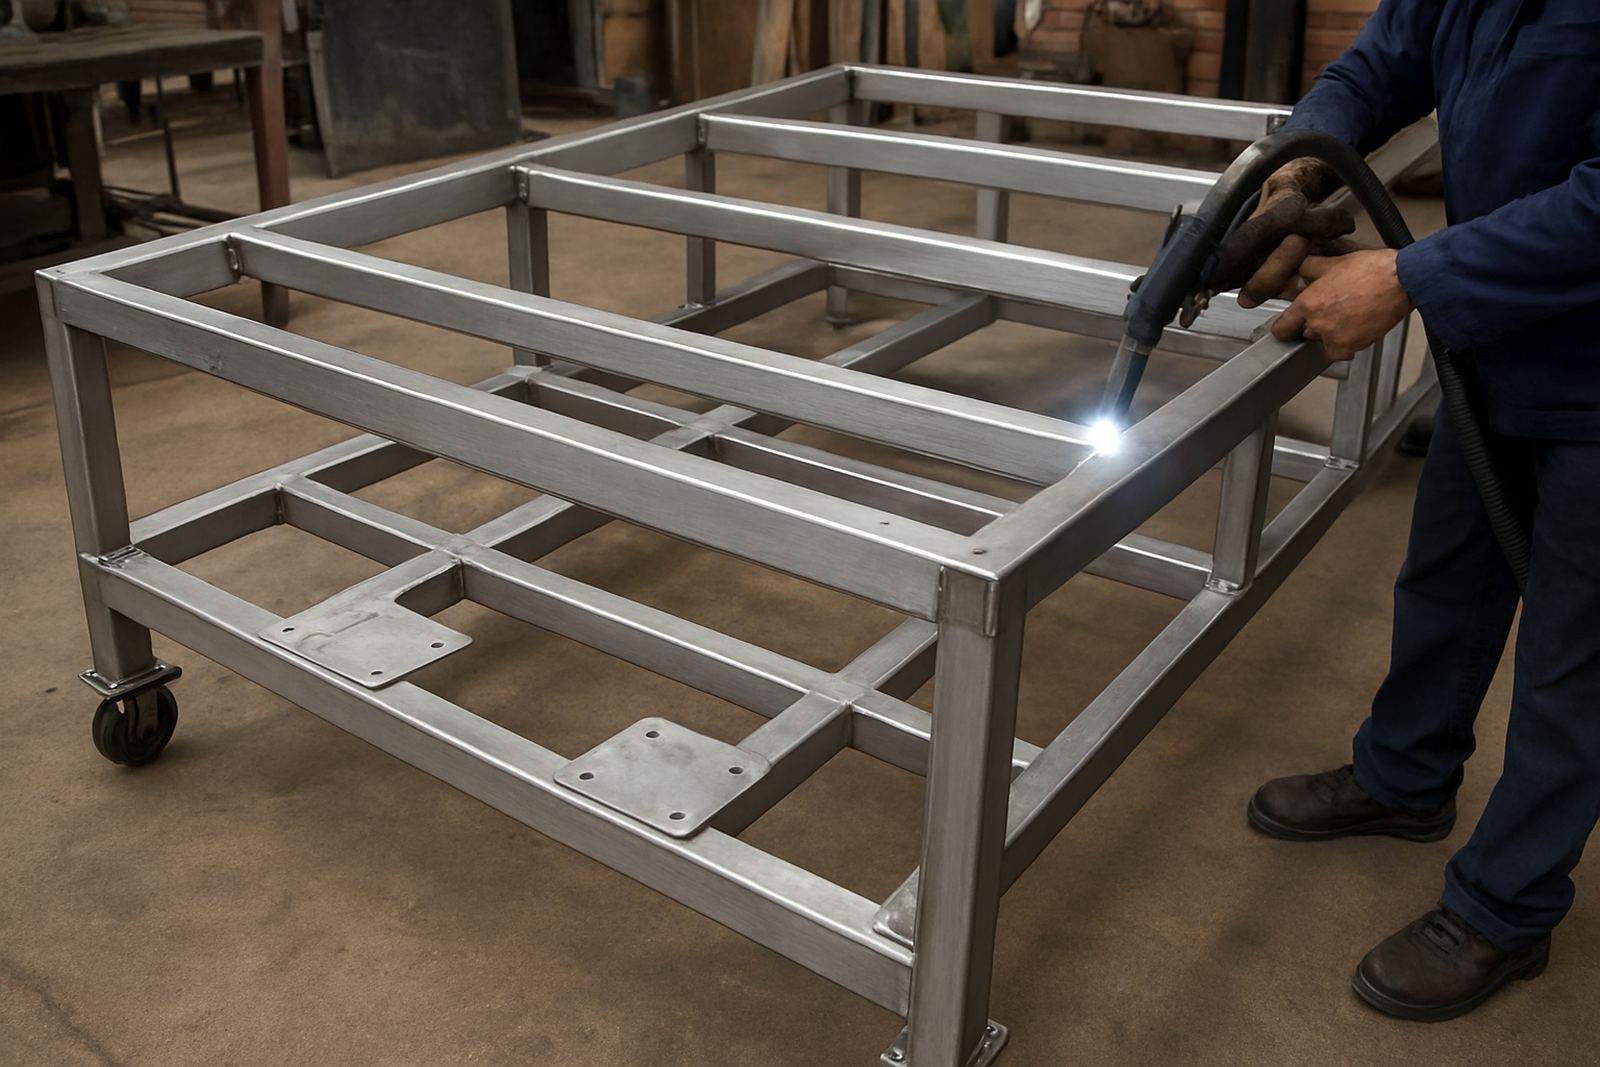
We started with a shop demonstration in Midrand and spent time looking at joint prep, fit-up and the order of assembly. The biggest gain came from setting the process up around repeatable joints rather than trying to force the machine into every awkward corner. Once the team saw how the laser weld tracked on properly clamped stainless, the method became easy to standardise.
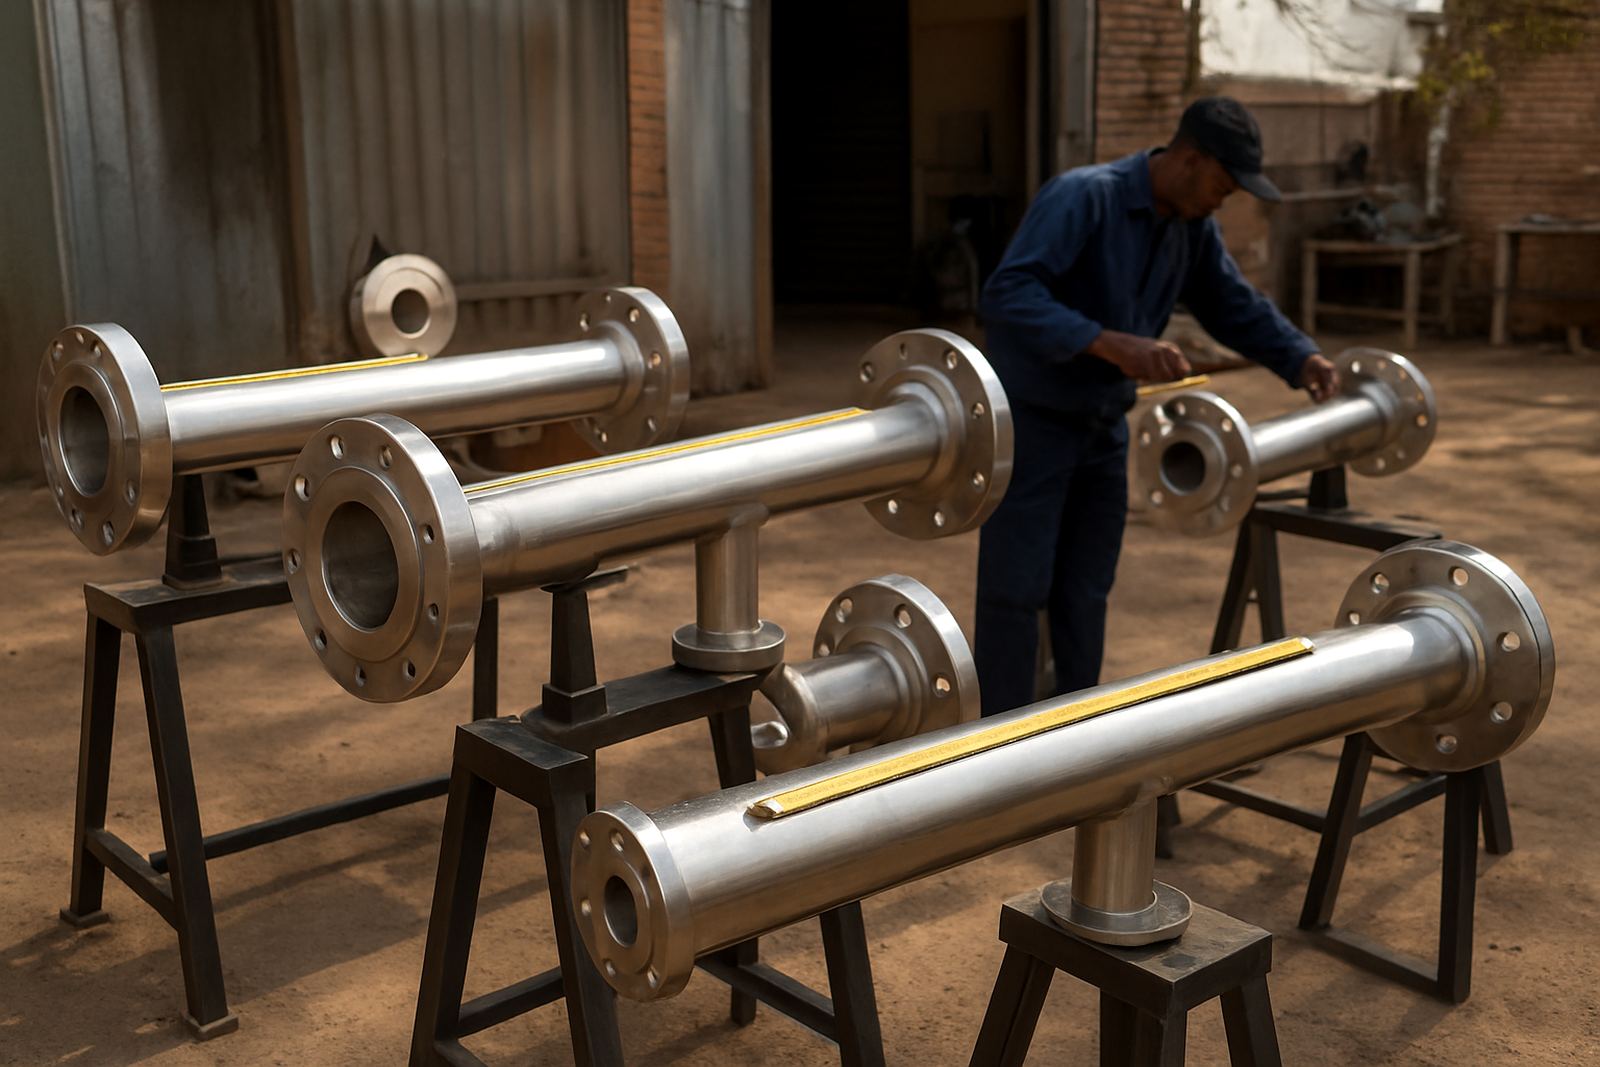
Our applications technician worked through the common skid joints with the operators, including corner seams, attachment tabs, pipe support points and light brackets. We set practical parameters for material thickness, travel speed and cleaning between passes. On thin stainless, the team could keep distortion down and hold alignment better, which made the final assembly much easier. A bit of extra prep at the start saved time later on, that was the whole point.
- Joint types covered: fillet welds, lap joints, tab welds and short seam runs
- Typical material range: 1.5 mm to 3 mm stainless steel
- Training focus: torch angle, travel control, clamping and surface cleaning
- Support provided: live setup advice, sample weld checks and operator feedback
The equipment support and training we supplied
For this project, we supplied a handheld fibre laser welder package suitable for stainless fabrication work, along with commissioning support and operator training at the shop. The unit was set up for practical production use, not a showpiece. We showed the team how to set power levels, keep the beam path clean, manage wire feed where needed, and check weld appearance before moving on to the next part.
We also covered basic preventive care so the machine could stay productive in a busy workshop. That included lens care, nozzle checks, cleaning routines and how to handle the equipment during shift changes. With power interruptions always a factor in local manufacturing, we made sure the team had a start-up and shutdown routine that did not waste time. The operators picked it up quickly and by the second day they were already working with more confidence.
- Commissioning of the handheld fibre laser welding system
- Operator training for 4 workshop staff members
- Process optimisation for repeat skid joints
- Basic maintenance and cleaning routines for daily use
Project timing and workshop constraints
The full project ran over 3 weeks from first visit to productive handover. Week 1 was the initial demo and assessment, week 2 focused on training and test welds, and week 3 was used for refining settings on live skid components. That staged approach suited the client because it let them keep normal fabrication work moving while adopting the new process in a controlled way.
Space in the shop was limited, so the setup had to work around existing benches, cutters and assembly jigs. The team also needed a process that could handle day-to-day production pressure without needing a dedicated enclosed cell. We kept the changeover practical and shop-friendly. No special floor prep, no complicated extras, just a machine the crew could use on the jobs in front of them.
- Timeline: 3 weeks end to end
- Training sessions: on-site, during normal production hours
- Workshop constraint: limited floor space and mixed job flow
- Power constraint: load-shedding ready operating routine
What changed on the finished skids
Once the operators settled into the process, the improvements showed up quickly. Welds needed less dressing, assemblies lined up better, and the finish on visible stainless sections was more consistent. The client also reported faster turnaround on repeated bracket and frame work because the team spent less time reworking joints that had moved during welding.
The biggest gain was not just speed. It was control. The welds were cleaner, the heat input was easier to manage, and the skids came off the bench looking more professional before they even reached final polish. For customers who buy stainless equipment, that matters. A tidy weld line gives confidence that the fabrication was handled properly and not rushed.
- Less grinding and finishing after welding
- Better visual appearance on exposed stainless parts
- Improved repeatability across similar skid assemblies
- Shorter production time on small welded components
What we would do again on a similar skids job
We would follow the same approach again for any Midrand or Gauteng fabricator building stainless skids, process frames or light equipment enclosures. Start with a live demo, choose the main repeat joints first, then train the operators on proper fit-up and cleaning before pushing the machine into full production. That sequence gives the best chance of a clean rollout and keeps disruptions low.
For shops that already know TIG, the jump to laser welding works best when the team understands that prep still matters. Good clamping, clean edges and consistent joints make all the difference. With those basics in place, the machine can do its job properly and the workshop gets the benefit in both speed and finish. If the client is in Kempton Park, Midrand, Germiston or Boksburg, we would use the same practical method and adapt the settings to the material mix and workload.
- Begin with a demo on real job components, not sample coupons only
- Train the operators on clamping and joint prep before production
- Build the process around repeat parts first, then expand it
- Keep a simple maintenance routine so the machine stays ready
Key facts
| Client type | Midrand stainless steel fabricator |
|---|---|
| Project | Skid build for process equipment |
| Materials | 304 and 316 stainless steel |
| Thickness range | 1.5 mm to 3 mm |
| Timeline | 3 weeks |
| Main outcome | Faster assembly with cleaner weld appearance |