Why laboratory bench work needs a different welding approach
Laboratory benches are not ordinary fabrication jobs. The frame, top, sink cut-outs and service hatches all need accurate fit-up because the end user will wash down surfaces, move instruments across the top and expect no sharp edges or visible distortion. When the job is stainless steel, even a small bit of heat input can leave a face that needs extra grinding, and that adds time plus cost. In a lab setting, small errors show up quickly under bright lights so the finish matters just as much as strength.
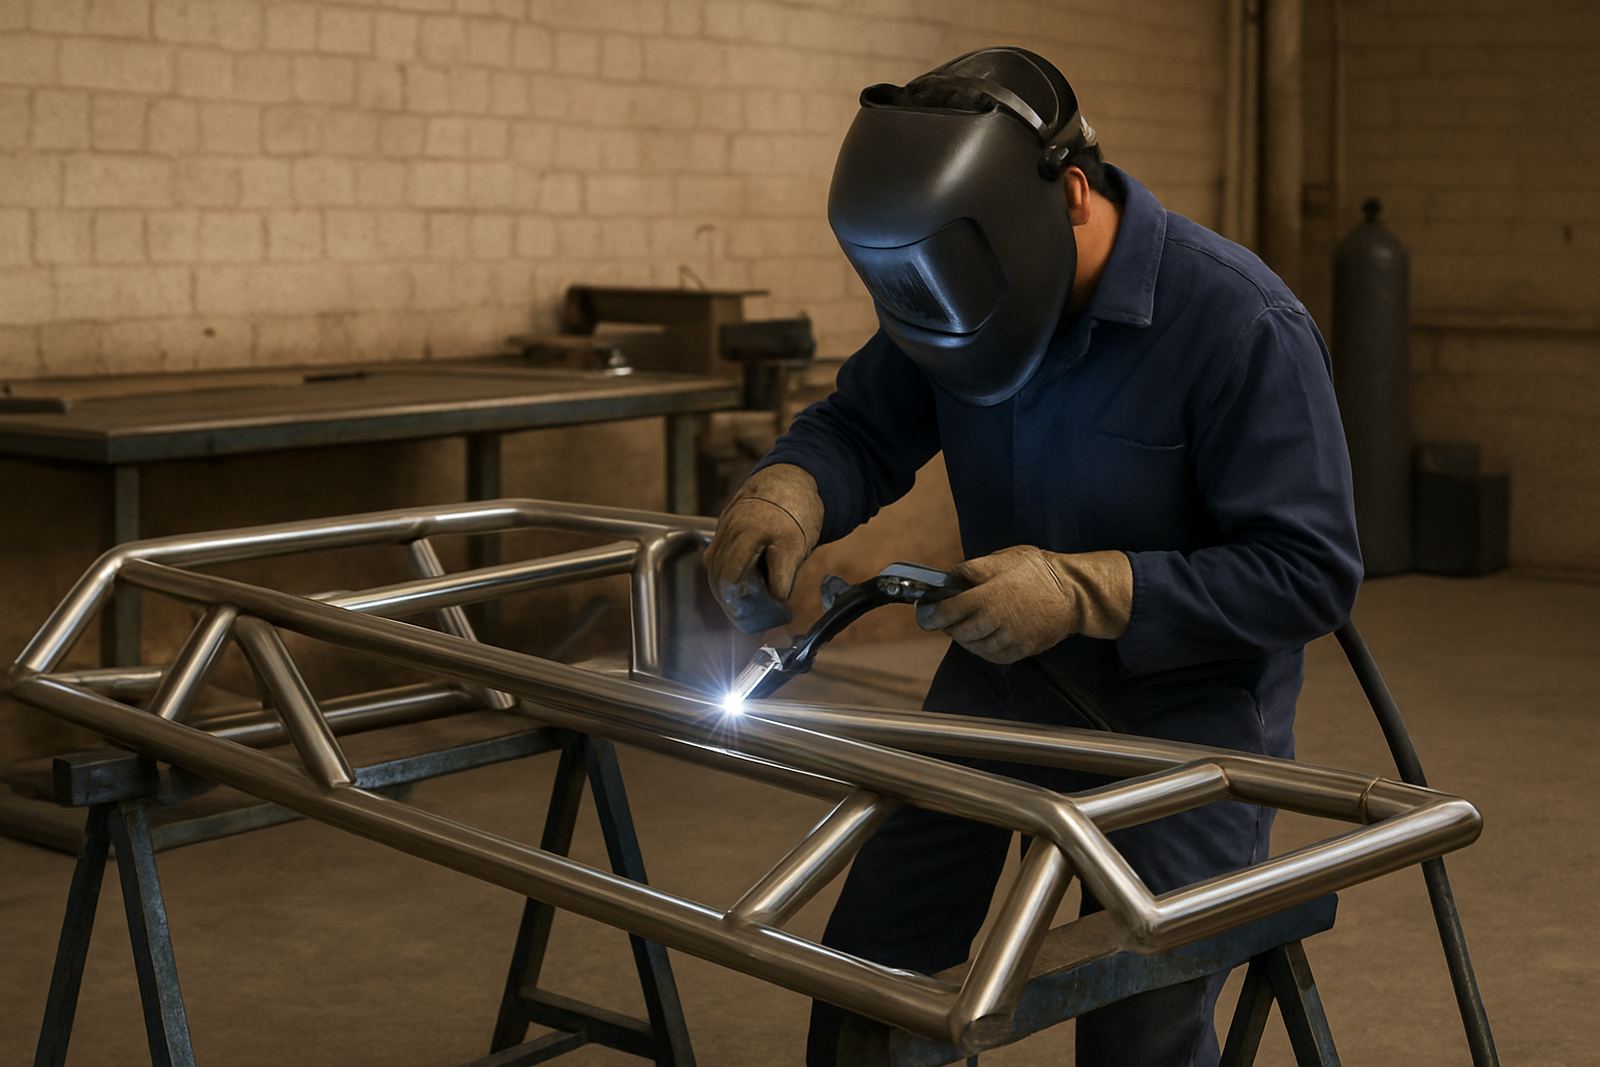
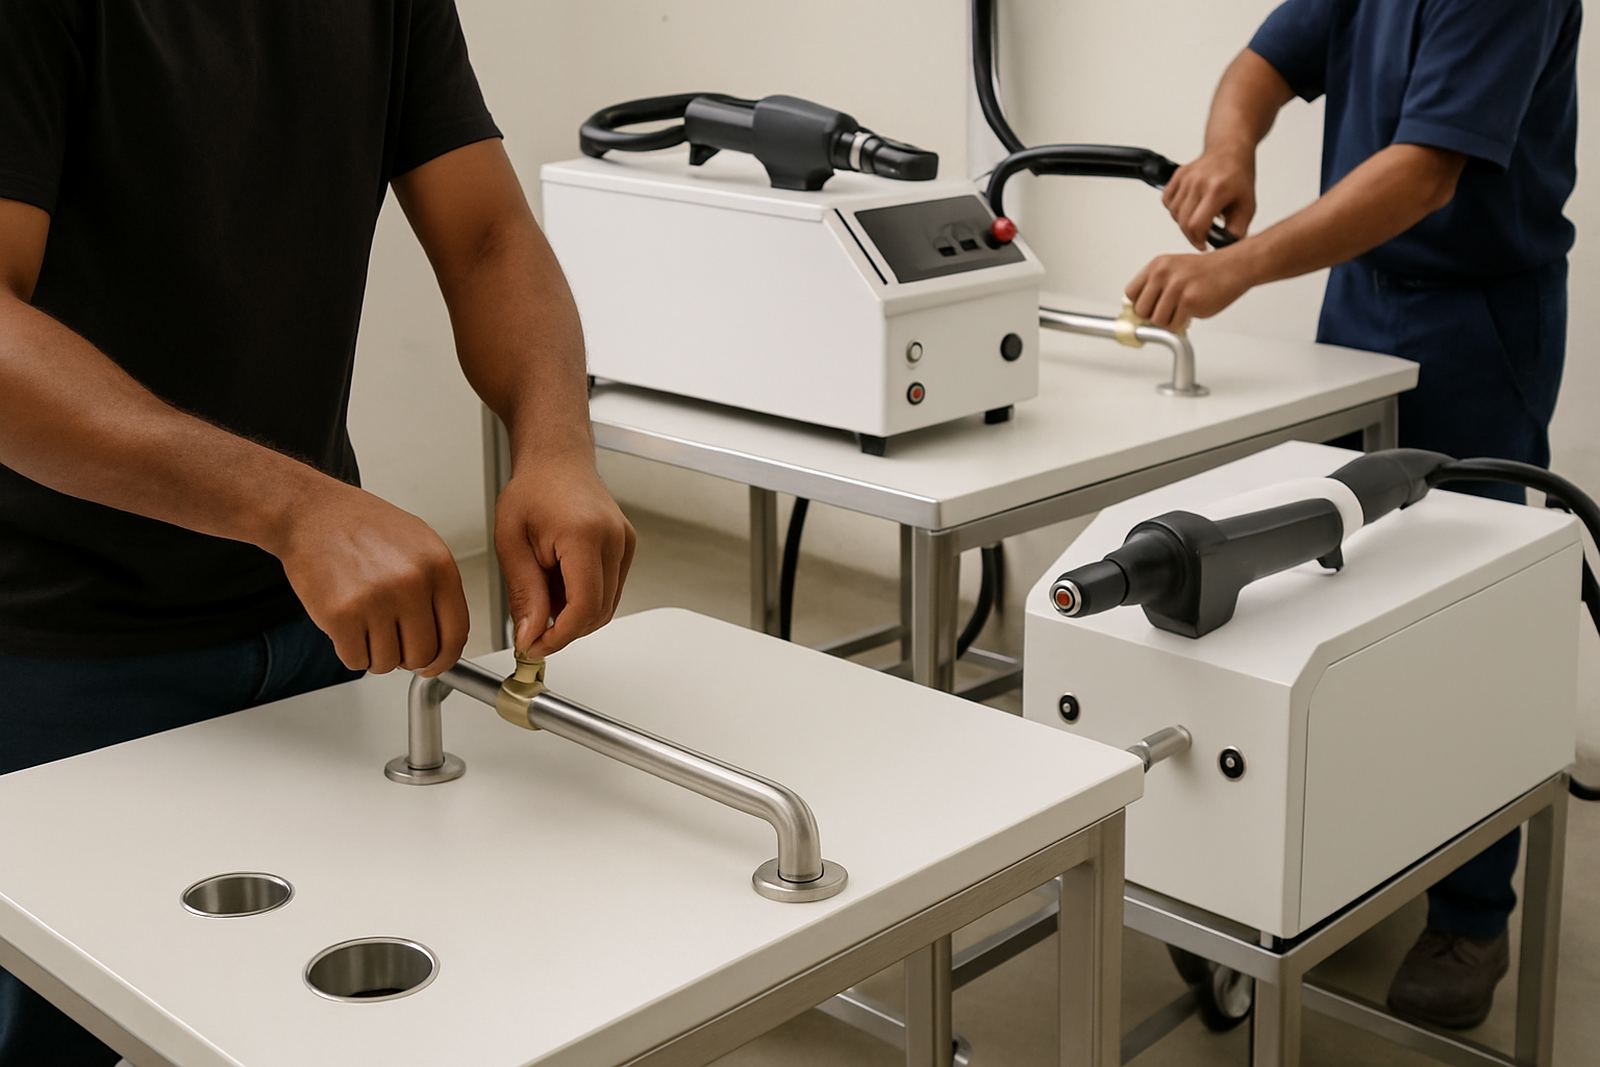
For this kind of work, handheld fibre laser welding gives fabricators a practical way to join thin stainless components with narrow seams and minimal heat spread. That makes it easier to hold dimensions on cabinet fronts, splash backs and underframes. It also helps on repeat work where one batch of benches must match the next. In workshops across Kempton Park, Isando and Germiston, that consistency can mean fewer callbacks and less time spent straightening panels after welding.
Typical equipment set for stainless laboratory furniture
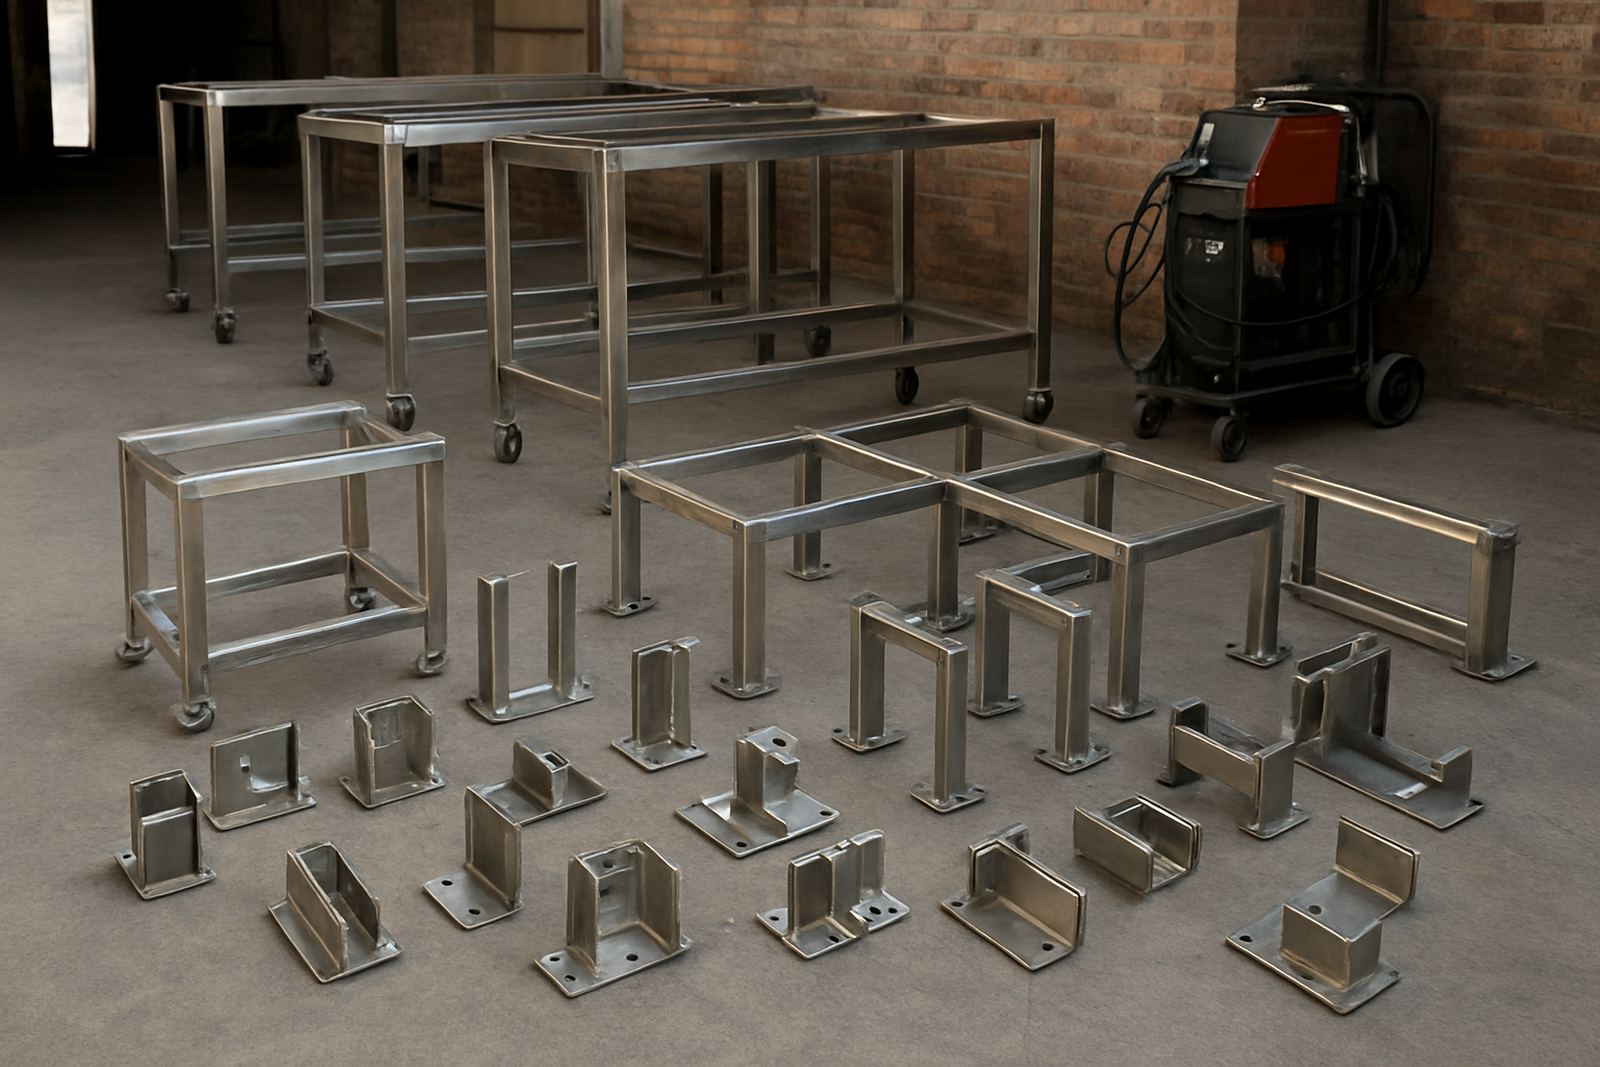
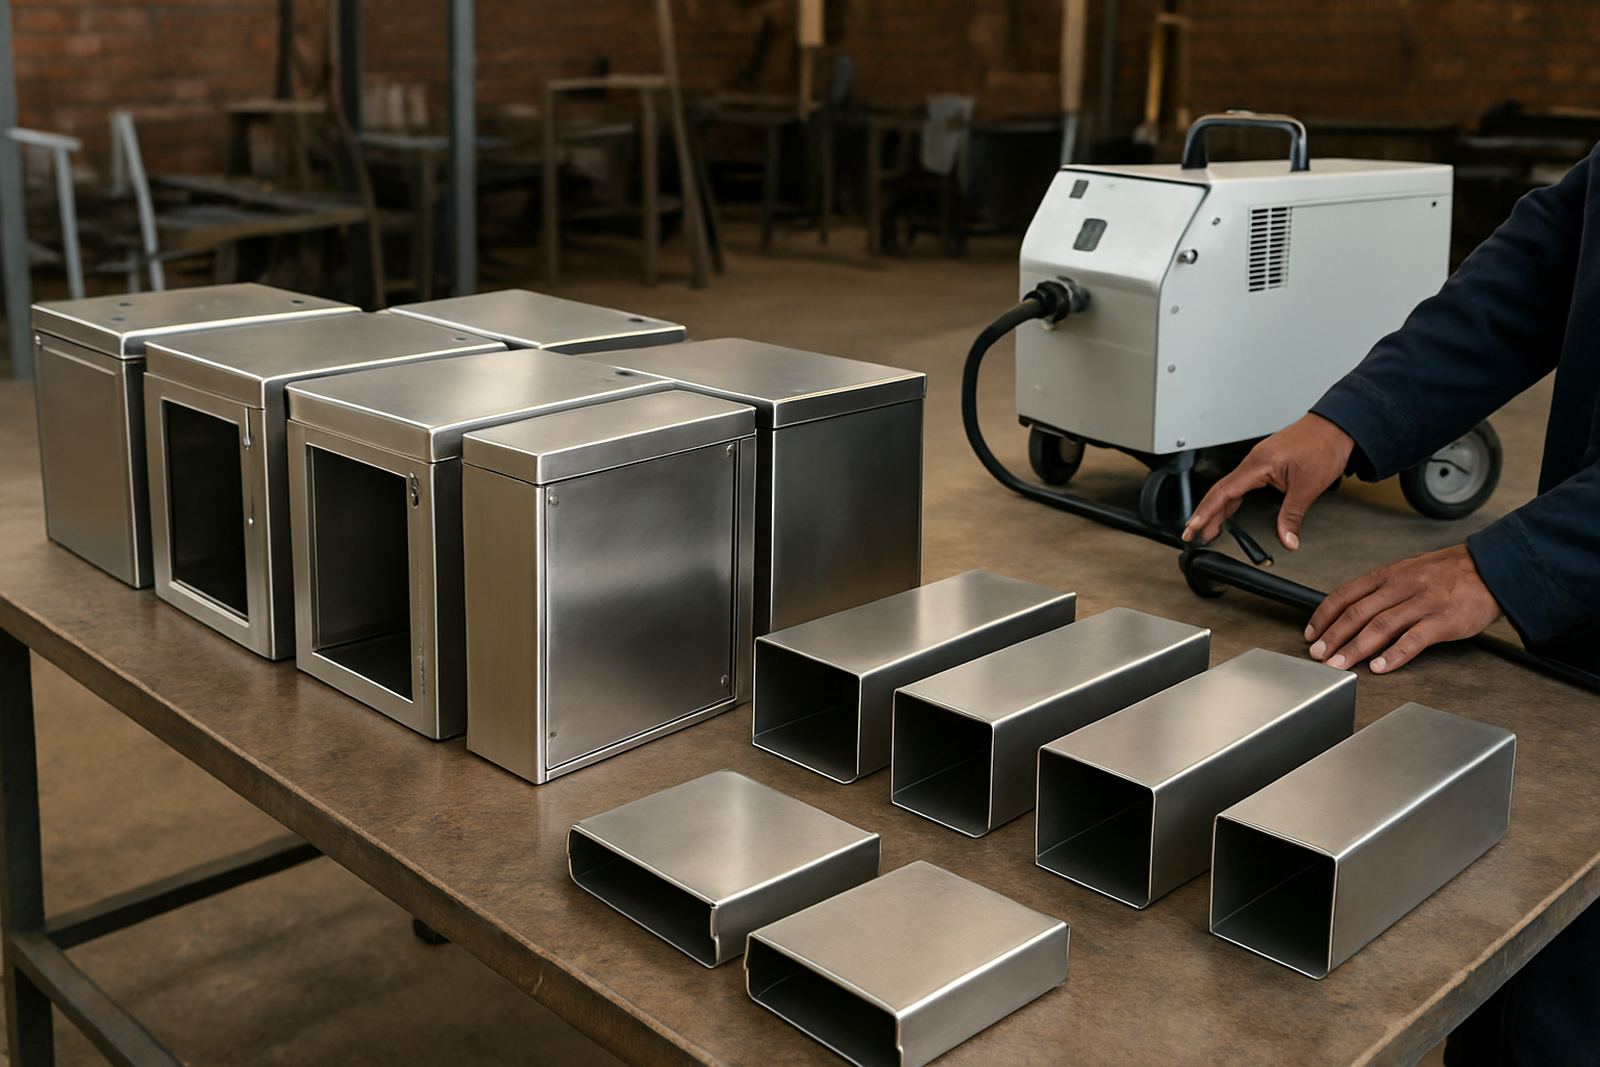
A lab bench line usually includes a mix of sheet, tube and support hardware. Most shops will work with 304 or 316 stainless, depending on the chemical exposure, cleaning routine and client spec. Benches may include sink units, drains, under shelves, drawers, gas taps and levelling feet, so the welding setup needs to handle thin gauge material as well as heavier frame sections.
- Handheld fibre laser welding unit for seams, corner joints and repair work
- Stainless wire and matching filler where the joint design calls for it
- Jigs, clamps and square tables for repeatable bench frames
- Dedicated cleaning tools for prep before weld and finish after weld
- Basic extraction and safe storage for gas cylinders and consumables
- Back-up power planning for load shedding, especially on long production days
Many fabricators also keep a conventional process nearby for certain brackets, thicker support members or site fixes. The best results come from choosing the right process for each part, not forcing every job through one machine. Reuben Daniels often sees that a workshop gets better output once the team separates bench tops, frame work and detail assemblies into clear stages.
Planning the layout before the first weld
Laboratory benches are easier to produce when the workshop layout follows the sequence of the job. Start with cut parts, then move to sub-assemblies, then final fit and finishing. If the team measures and tacks everything at the same bench, pieces get mixed up and small errors creep in. For larger runs, it helps to mark stations for top frames, lower frames, panel fitment and final inspection.
In Spartan and Jet Park shops, space is often tight, so a clear flow saves time. Keep stainless stock dry and off the floor, especially if the job sits through a humid week or near the coast where contamination can show up on the surface. If the fabrication shop serves schools, labs or medical clients, plan for access around sinks, cable trays and service chase openings too. A bench that looks fine in the workshop may fail on site if the back edge, levelling feet or wall clearance was not checked from the start.
- Confirm overall bench height, depth and service access before cutting tube
- Check sink position, tap layout and drainage route early
- Allow for wall irregularities and floor slope on site
- Separate finished parts from grinding and cutting areas to prevent marks
Common mistakes on lab bench jobs
The most common problem is overworking the stainless after welding. A small seam should not need heavy grinding if the setup and heat control were correct. Another issue is poor alignment on long runs, which causes the top to drift out of square by the time the last panel goes on. That sort of error can leave a bench rocking on its feet or create a gap against the wall.
Some shops also underestimate how often lab furniture gets cleaned. If a weld leaves a pocket, pinhole or rough edge, it can trap moisture and dirt. That is a real issue for quality control and it can lead to corrosion spots later. Poor prep is another one, especially when oil, marker lines or dust stay on the material. A clean joint gives a better result and saves time, which is simple enough but gets overlooked when the workshop is rushed.
- Skipping proper clamping and relying on hand pressure alone
- Using the wrong stainless grade for a wet or chemical area
- Ignoring floor levels and wall tolerances during measuring
- Leaving sharp edges on drawer runners, shelves and cut-outs
How handheld fibre laser welding supports faster production
For stainless laboratory furniture, speed only matters if the finish stays consistent. Handheld fibre laser welding can shorten the time spent on seam making and reduce the amount of dressing afterwards. That is useful on repetitive bench orders, especially when a customer wants several identical units for a lab upgrade, school science block or a small test room. The cleaner weld also helps when a bench needs to be seen by architects, engineers or procurement teams before sign-off.
Laser-Welder trains operators at fabrication shops nationwide, including production sites in Ekurhuleni and further afield. The goal is not just to hand over a machine, but to help the team control travel speed, fit-up and joint prep so the welds stay neat under real workshop conditions. We also assist with process optimisation, weld testing and refresher training when a workshop wants to standardise output across different operators. That matters when staff changes or new production targets come in and the team needs to keep moving without lowering the finish standard.
Budget ranges for laboratory bench fabrication
Lab bench budgets vary depending on the stainless grade, length, sink count and the amount of custom work. As a practical guide, small bench runs for local workshops may sit in the tens of thousands of Rand, while larger fitted laboratory lines can move into much higher figures once sinks, under storage and site installation are added. A simple straight bench is far cheaper than a run with corner returns, splash backs and multiple service points.
For a fabrication business, the welding equipment side also needs proper budgeting. A handheld fibre laser welding setup is a capital item, and the total spend should include training, commissioning, spares and maintenance planning. If the workshop is running through load shedding or working extended shifts, factor in backup power and sensible downtime cover as well. It is better to plan for consumables and service support upfront than lose a delivery date because a small item was not in stock.
- Simple stainless bench or frame work: lower entry level cost
- Bench with sink cut-outs and custom fittings: mid range
- Full laboratory fit-out with multiple units: higher project value
- Machine purchase, training and setup: separate from fabrication labour
What to ask before you start a lab bench order
Before cutting material, confirm the end use, cleaning routine and site conditions. A chemistry room, prep area and teaching lab may all need different details, even if the frames look similar. Ask about the floor finish, wall line, service entry points and whether the client expects future equipment changes. That way the bench can be built with enough flexibility for cables, pipes and accessories.
If you are fabricating in South Africa, it also helps to keep local supply realities in mind. Long lead times on selected stainless sizes, workshop power interruptions and transport to sites in places like Boksburg, Alberton or Edenvale can all affect delivery. A clear build plan and the right welding method make the job easier to control. For lab furniture, the best result is a bench that looks tidy, holds its shape and stands up to daily cleaning without hassle.