Start with the job you want to improve
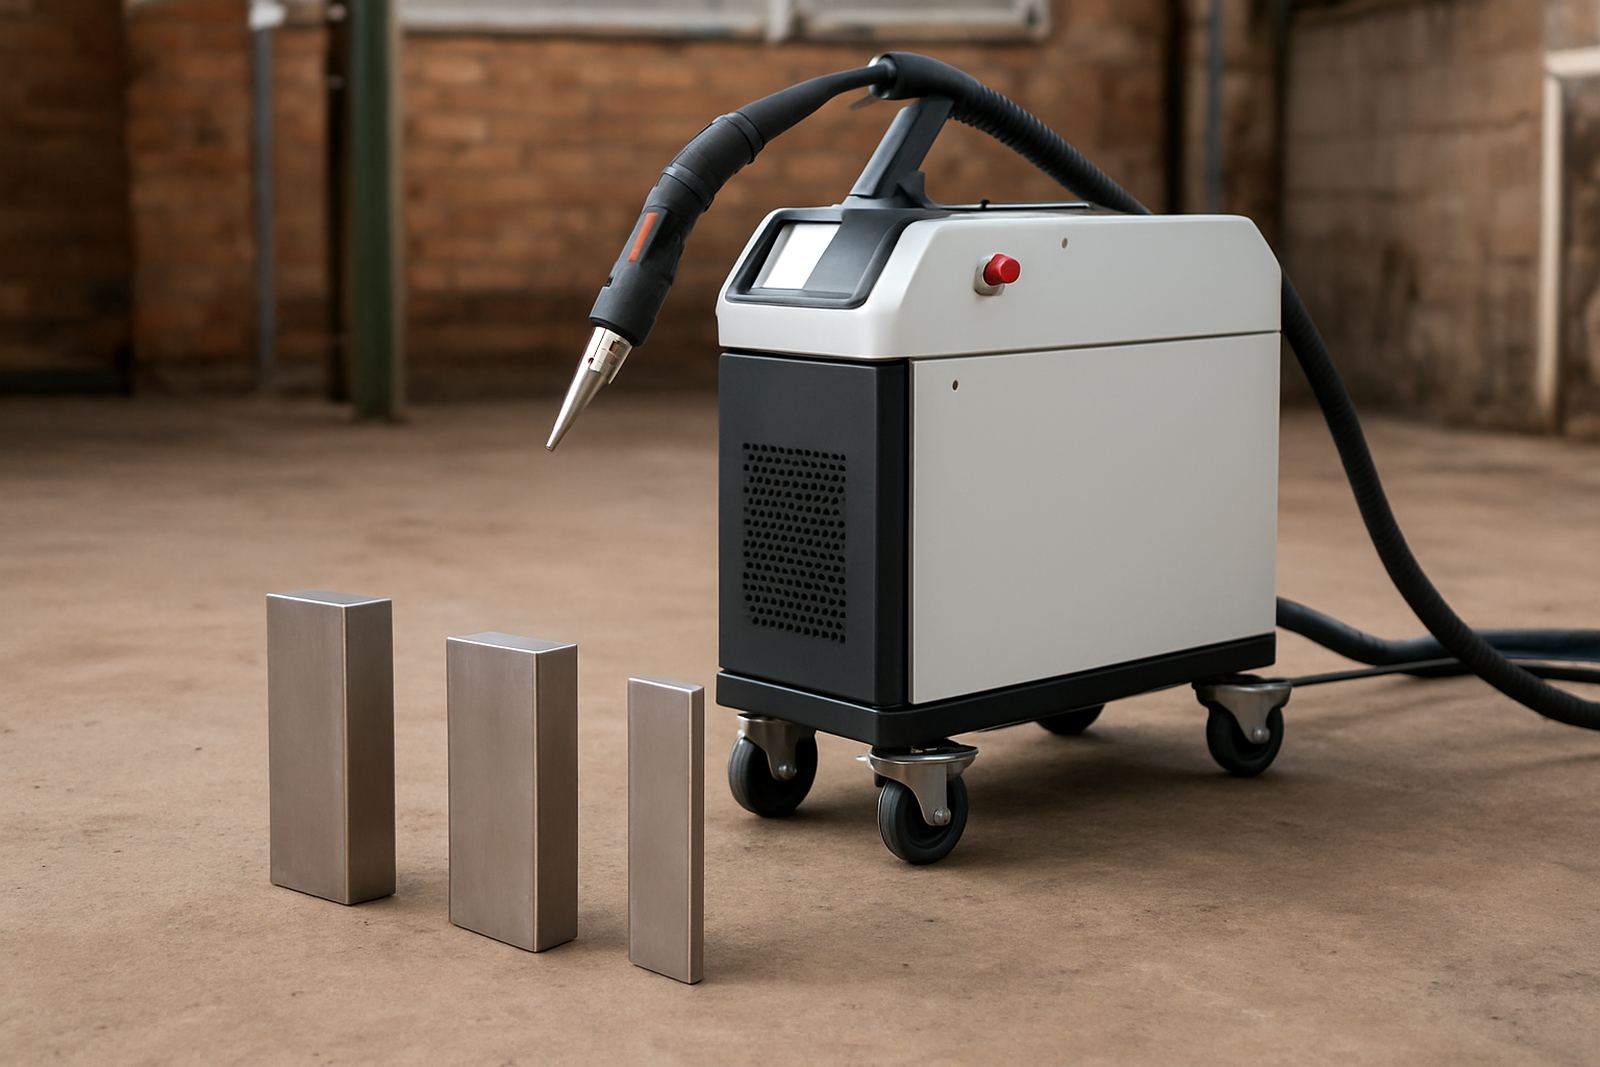
Before you book a demo, choose one or two parts that give a fair picture of your day to day work. For stainless steel fabricators in Spartan, Kempton Park, Isando or Jet Park, that may be food grade panels, tank sections, handrails, covers, or light gauge assemblies that need tidy seams and less grinding. The point is not to test a perfect sample, but the kind of work that causes rework, distortion, or slow turnaround.
Write down what is going wrong now. Is it heat distortion on 1.2 mm sheet, too much finishing time, inconsistent welds on repeat jobs, or slow changeovers between jobs. If the demo does not measure those pain points, it will not tell you much.
- Choose real parts from current production, not special test pieces
- Include the material thicknesses you use most often
- Note the weld position, joint type, and finish required
- Bring any jigs, clamps, or fixtures used on the job
Prepare the workshop so the test is fair
An onsite demo should reflect your normal working conditions. That means the same power supply, the same access to compressed air if needed, and the same floor space your team actually has. If your site in Ekurhuleni deals with load-shedding, noisy generators, or long cable runs, mention that before the visit. A process that looks fine in a quiet test bay can behave differently when the power supply is moving around or the shop is busy.
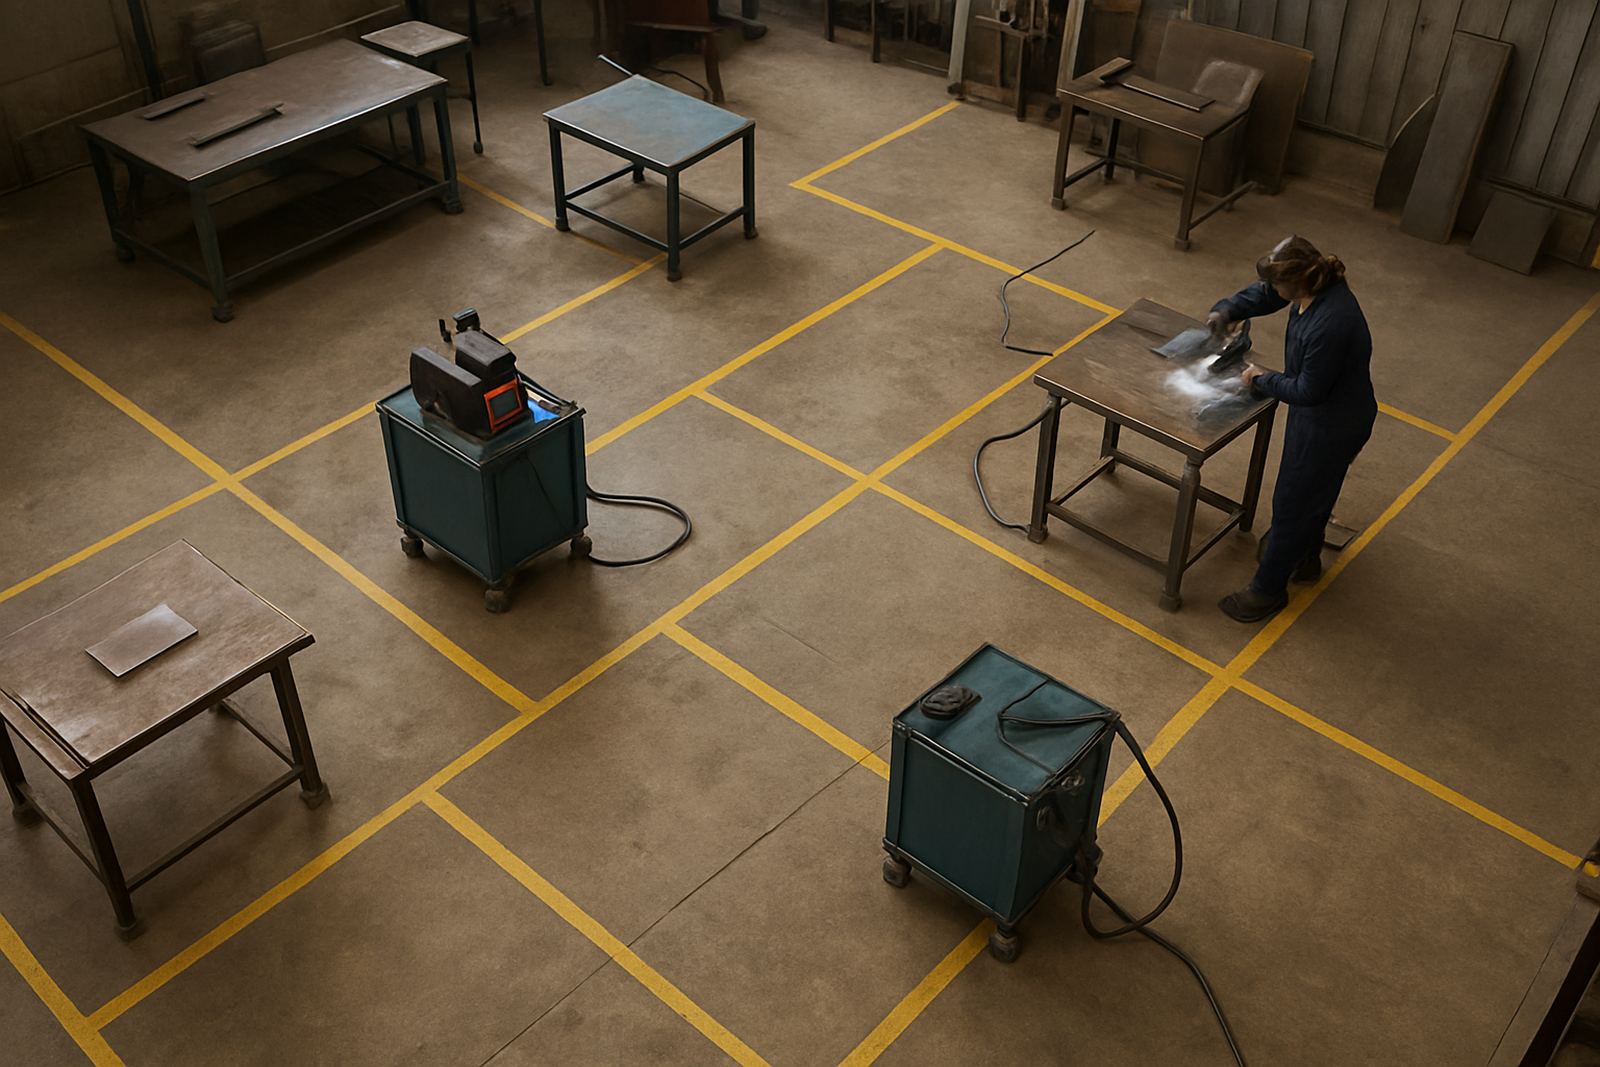
Check basic items before the demo day: clean parts, enough table space, safe walkways, good lighting and a place to park the unit near the work area. If your workshop has limited ventilation or high dust levels, flag that too. Coastal humidity is not the main issue in Gauteng, but rust, oil, and dirty prep still affect results. Good prep saves time and gives a truer result, no use pretending otherwise.
- Confirm mains power requirements and available plug points
- Clear a safe work area for the operator and observers
- Clean sample parts to remove oil, paint, scale, or rust
- Arrange PPE, fire watch, and basic workshop safety controls
Set the demo goals before anyone starts welding
A demo works best when everyone knows what success looks like. Decide in advance whether you are measuring speed, weld appearance, reduced rework, operator ease, or suitability for a production rollout. If you only look at bead appearance, you may miss the bigger picture of throughput and training time. If you only look at speed, you may miss fit-up sensitivity or access issues on certain joints.
For a practical test, keep the goals simple and measurable. Time a few sample welds, inspect the finish, and compare cleanup time against your current method. Ask whether the operator can follow the process comfortably after a short introduction, and whether the part can move to the next stage with less touch-up. That kind of proof is far more useful than a quick wow moment.
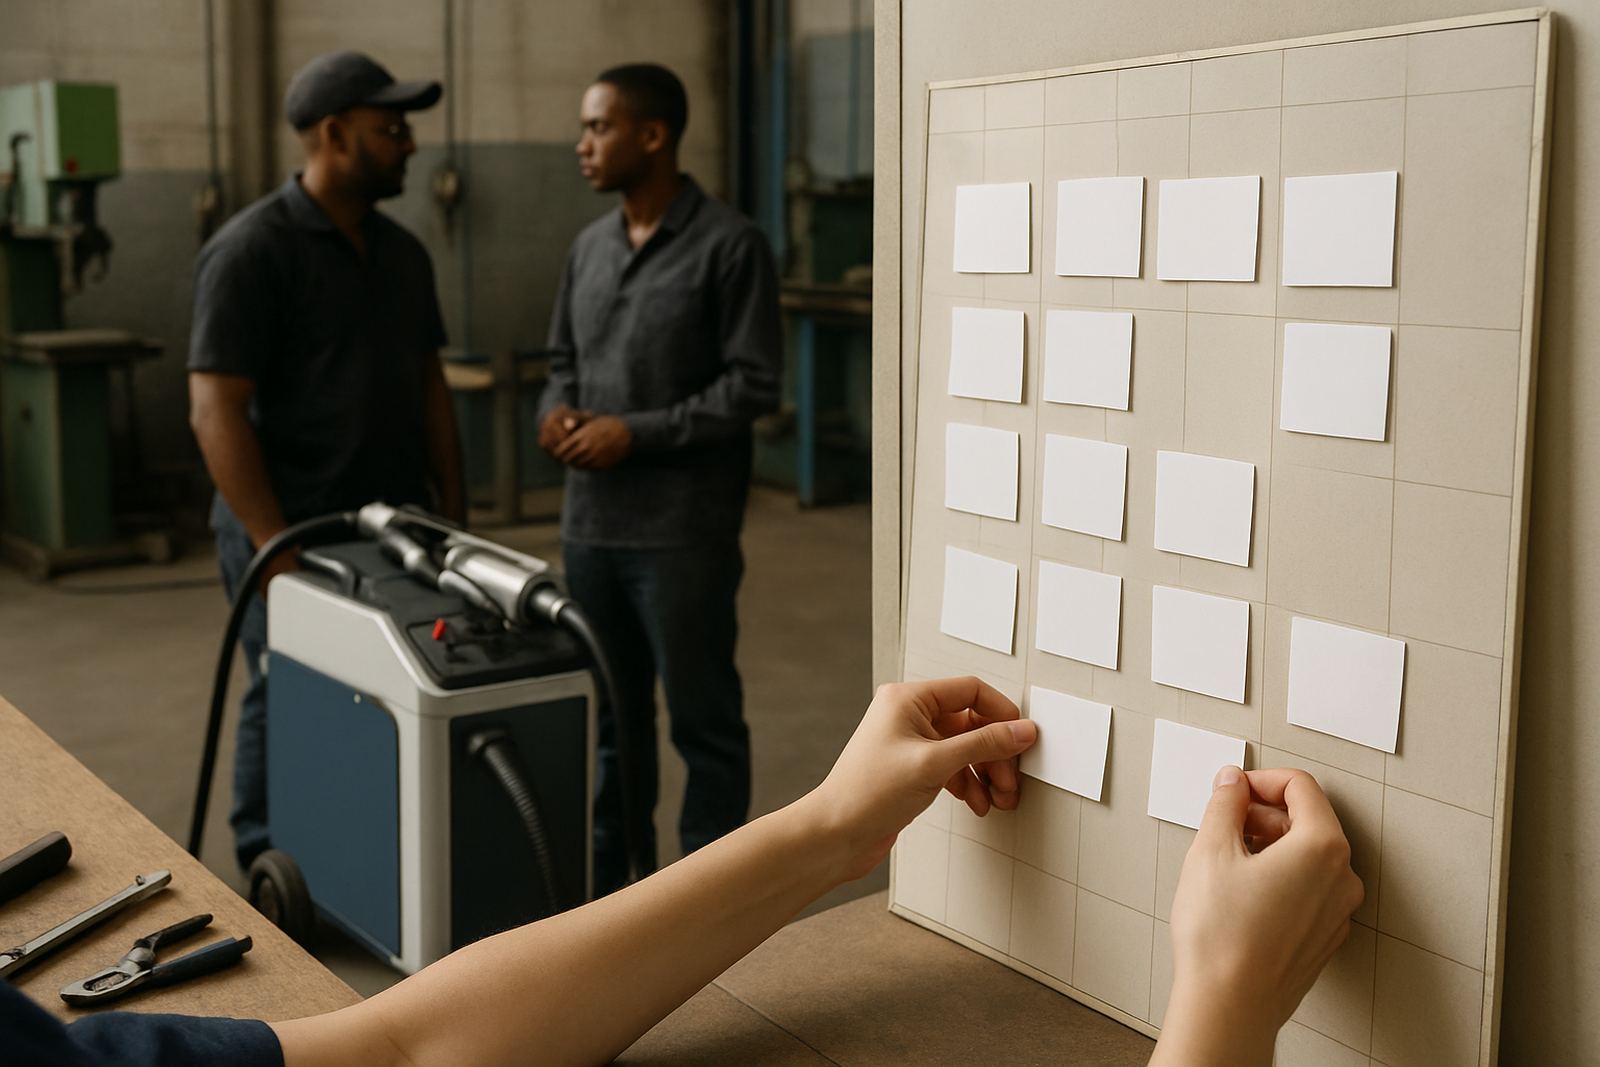
- Agree on 3 to 5 success criteria before the visit
- Decide who will inspect the samples and sign off results
- Set a realistic target for weld speed and finish quality
- Keep notes on grinding, heat input, distortion and repeatability
Bring the right people to the floor
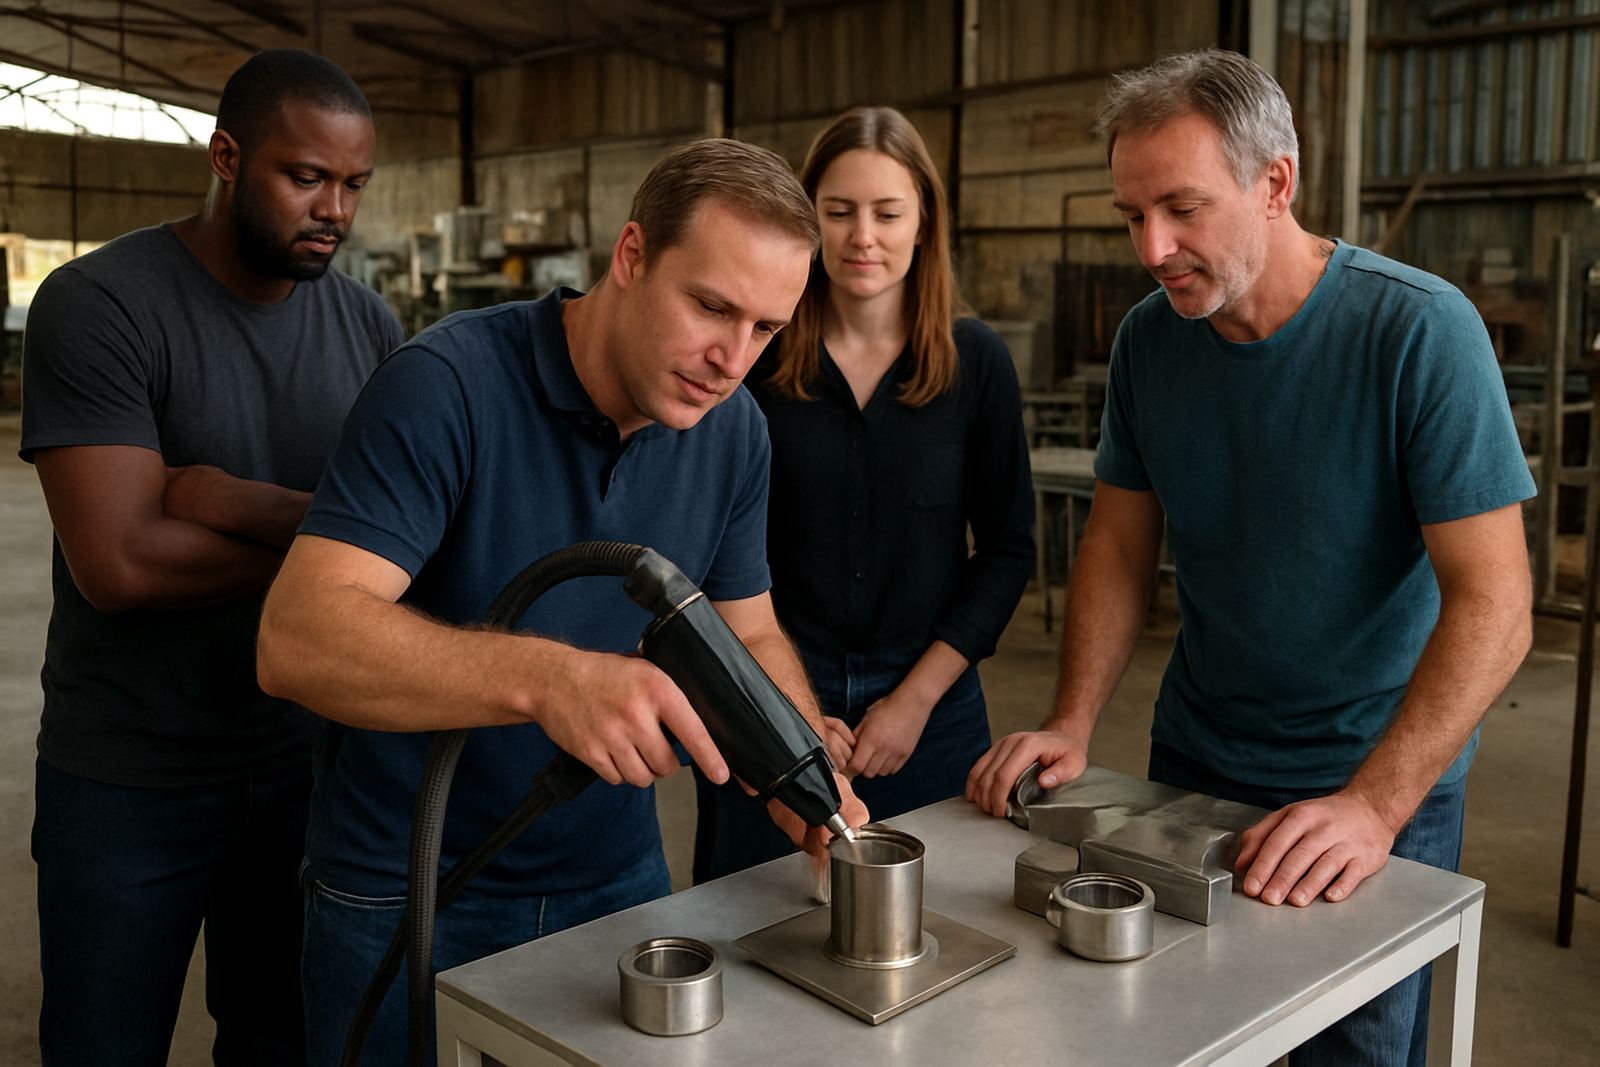
Try to have the people present who will actually use, supervise, or approve the process. That usually includes the workshop foreman, a senior welder, someone from production, and the person who handles quality checks. If you want the process to roll out across more than one shift, include a night shift representative too. It helps to have one person who can make decisions on the day, otherwise the demo becomes a discussion without an outcome.
Ask each person to look at the same sample from their angle. The operator can comment on handling and comfort, the supervisor can judge consistency, and the quality person can check whether the result meets your standard. When the right people are there, you are less likely to repeat the visit later just to answer the same questions again.
- Workshop supervisor or foreman
- Quality control or production lead
- At least one operator who will use the machine
- Maintenance person if the site has service or uptime concerns
Test the parts that matter most to your business
Use the demo to test the joints and materials that carry the most value in your operation. For stainless work this often includes thin sheet, square tube, corner joints, stitch welding, and visible seams that need less dressing after welding. If your fabrication shop makes repeat production items, ask for the same part to be welded more than once so you can compare consistency between samples.
Do not stop at one neat weld. Test start and stop points, access near edges, and the kind of awkward joint that normally slows the team down. If you work with different grades or thicknesses, include them. The aim is to see how the process behaves in the real world, not only on the easiest sample on the table.
- Thin stainless sheet and common production thicknesses
- Visible cosmetic welds that need minimal finishing
- Corner, lap and fillet joints
- Repeat runs to check consistency and operator confidence
Use training time to check adoption, not just output
A strong demo should show how quickly your team can learn the process and use it safely. Ask for a short operator walk through, then let the team try the machine under supervision. Watch how they handle torch movement, part positioning, settings changes, and basic housekeeping. If the process is easy to pick up, that is a good sign for shop floor rollout and refresher training later on.
Training also reveals practical questions that matter after the visit, such as cleaning methods, consumables, maintenance intervals, and how to handle stops during load-shedding or shift change. If something is unclear on the day, get it answered while the machine is still in front of you. That is where the value is.
- Check how quickly new operators understand the process
- Ask about cleaning, lens care and routine checks
- Clarify maintenance needs and preventative service intervals
- Confirm support options for breakdowns, remote help and spares
Close the demo with a simple decision checklist
At the end of the visit, review the same questions with everyone involved. Did the process improve finish quality, reduce grinding, and suit your parts. Did it fit your available power, space, and production flow. Could your team see a practical benefit within your current workload, not just on a single sample. If the answer is yes, the next step is usually commissioning, process optimisation, and production rollout.
If the answer is mixed, that is still useful. You may need another test part, a different operator, or a short period of refresher training before making a decision. The best demo is the one that gives you a clear way forward, even if the answer is to wait until your parts, staff, or schedule are ready.
- Did the machine suit your material and joint types?
- Did the demo team show the result you need on your own parts?
- Can your workshop support the process day to day?
- Is the next step a second test, training, or production rollout?