1. Confirm the parts, joints and production target
Before you move a machine into full use, lock down what it must do every day. Start with the exact material grades, thickness ranges, joint types and finish standard your workshop needs. Stainless steel tube, sheet, brackets and covers often behave differently, so the settings that worked in a demo may need a proper production trial before sign-off.
Set a simple target for the rollout: weld speed, acceptable rework, finish quality and who will inspect each batch. If the shop runs on shift work or has regular load-shedding interruptions, plan around that from day one. A clean rollout is easier when everyone knows what success looks like, and who signs it off.
- List the top 5 parts to be welded first
- Record material thickness and joint type for each part
- Set the target output per shift
- Agree on the finish standard and inspection method
- Nominate one person to control changes during the first week
2. Prepare the workshop before the machine arrives
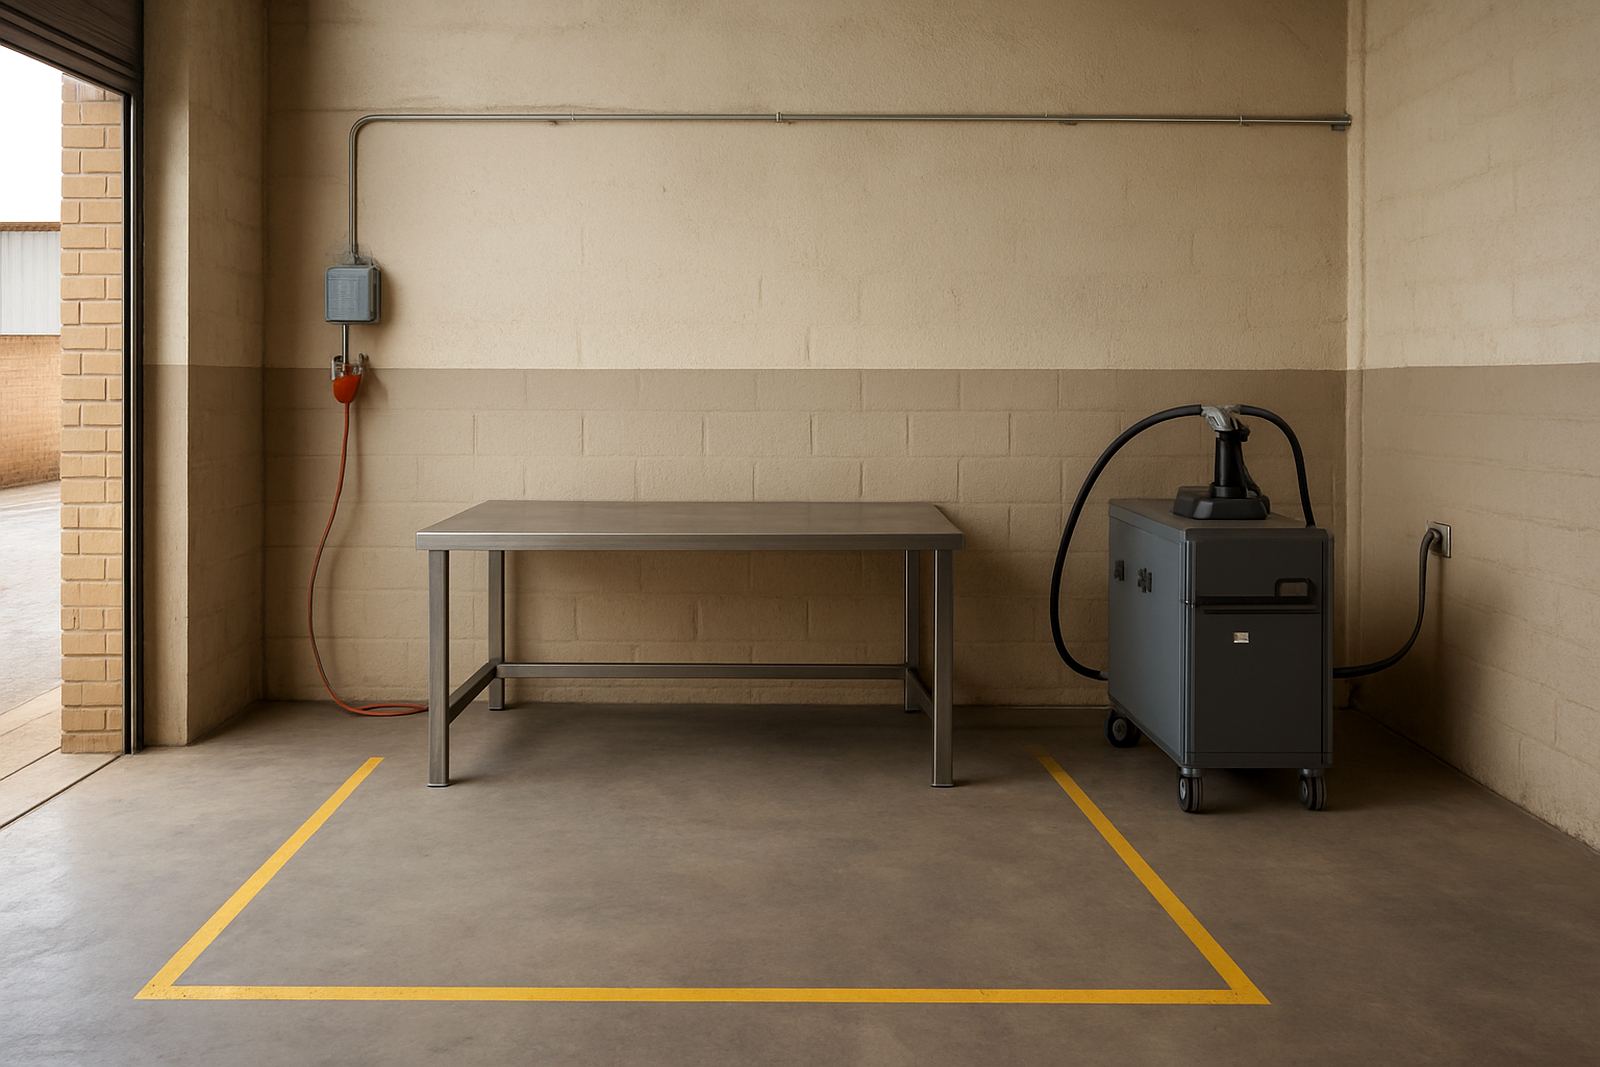
A handheld fibre laser welder works best in a tidy, well planned area. Clear a dedicated bay with enough space for the machine, gas cylinder, cleaning tools and the first parts to be tested. In Spartan, Kempton Park and around Ekurhuleni, many fabrication shops work in tight spaces, so the setup must suit the floor and not create traffic problems for cutters, folders or assembly tables.
Check power supply, earthing, ventilation and storage for filler, nozzles and spare parts. If your site has frequent voltage dips or generator switching, make sure the machine is placed where the supply is steady and the cable run is sensible. Also check the surrounding area for reflections, dust and moisture. Coastal humidity may not be an issue in Gauteng, but dust and workshop grime can still affect consistency if the area is neglected.
- Clear the weld bay and mark the safe work zone
- Confirm electrical supply and backup power arrangements
- Check extraction or airflow for the weld area
- Store cleaning cloths, nozzles and consumables within reach
- Keep the first production parts close to the test bench
3. Commission the machine and run the first production trials
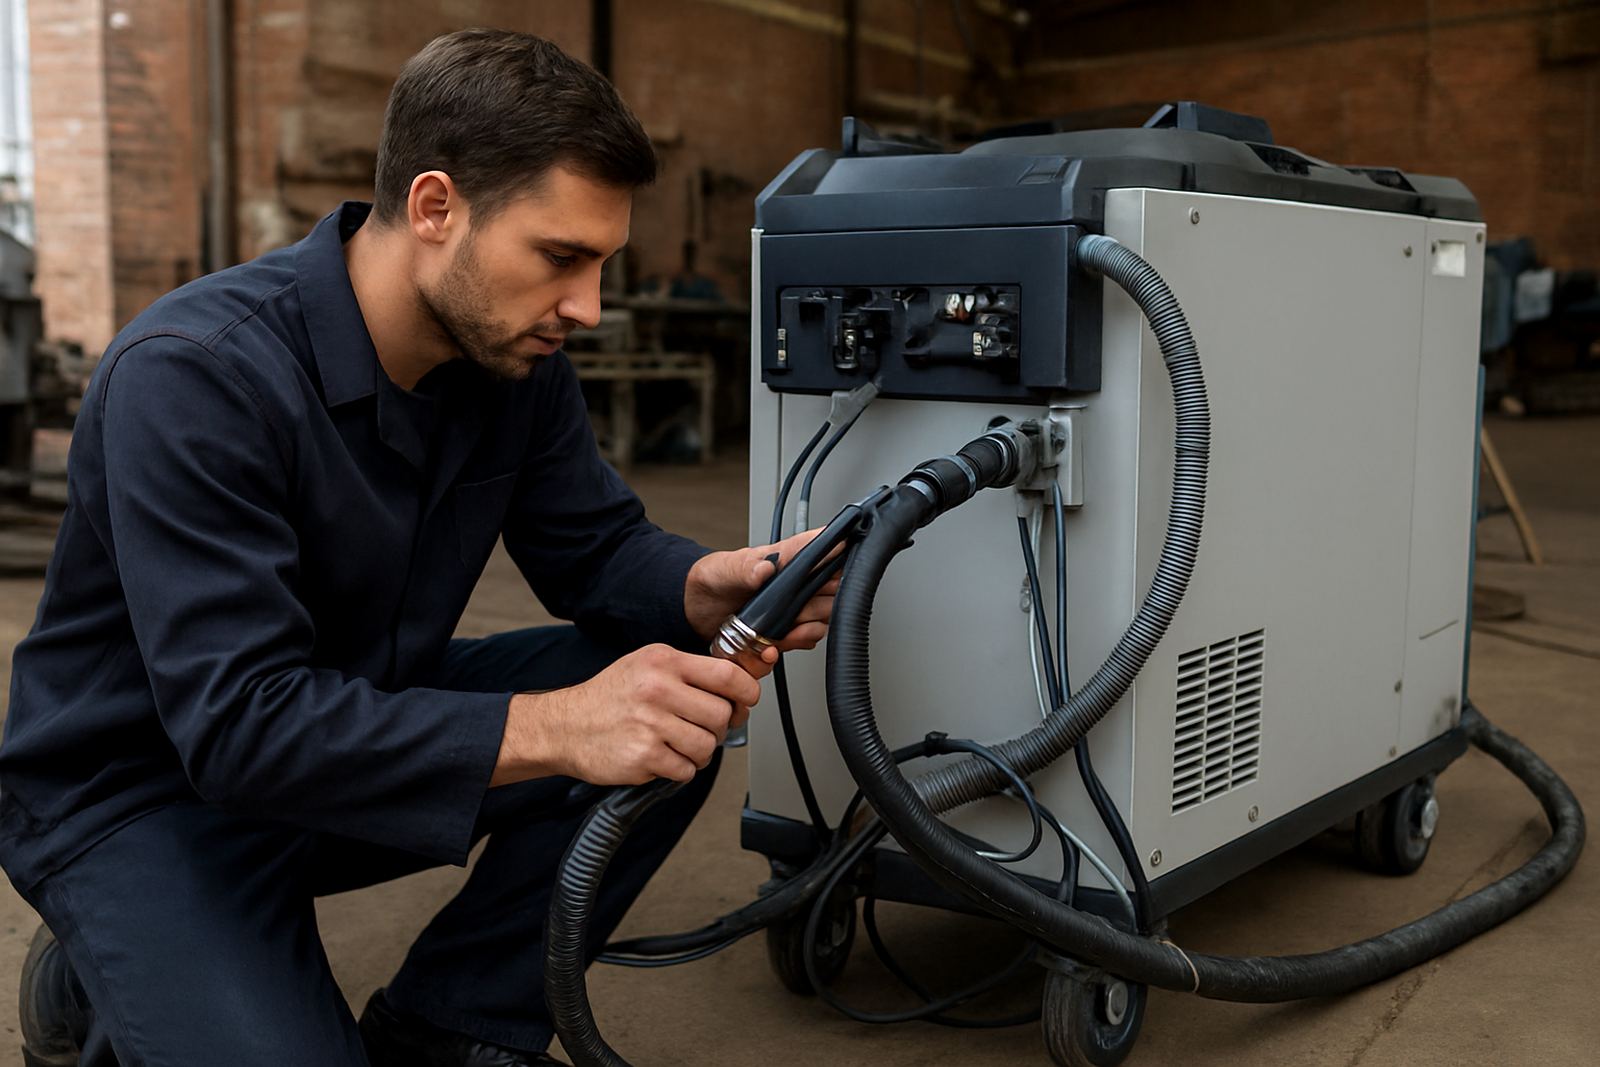
On a handheld laser welder, commissioning involves far more than simply powering up the unit. It is the point where the machine, the operator and the process all meet. Check the torch, cooling flow, gas delivery, cable condition and weld path before the first live parts are done. Then run a small sample batch using the same material and fit-up that the shop will use in production.
Use the trial batch to confirm speed, bead shape, penetration and any distortion issues. Measure the parts after welding, not only while they are still warm. If the finish is too proud, the travel speed may need adjustment. If the joint pulls, the clamping or sequence may need changing. A good rollout often needs a few honest tweaks, not a complete restart.
- Verify torch, cable and cooling connections
- Check gas flow and shielding coverage
- Run a small sample batch before full release
- Inspect welds for bead shape, heat marks and distortion
- Record the settings used for each successful joint
4. Train the operators who will use it every day
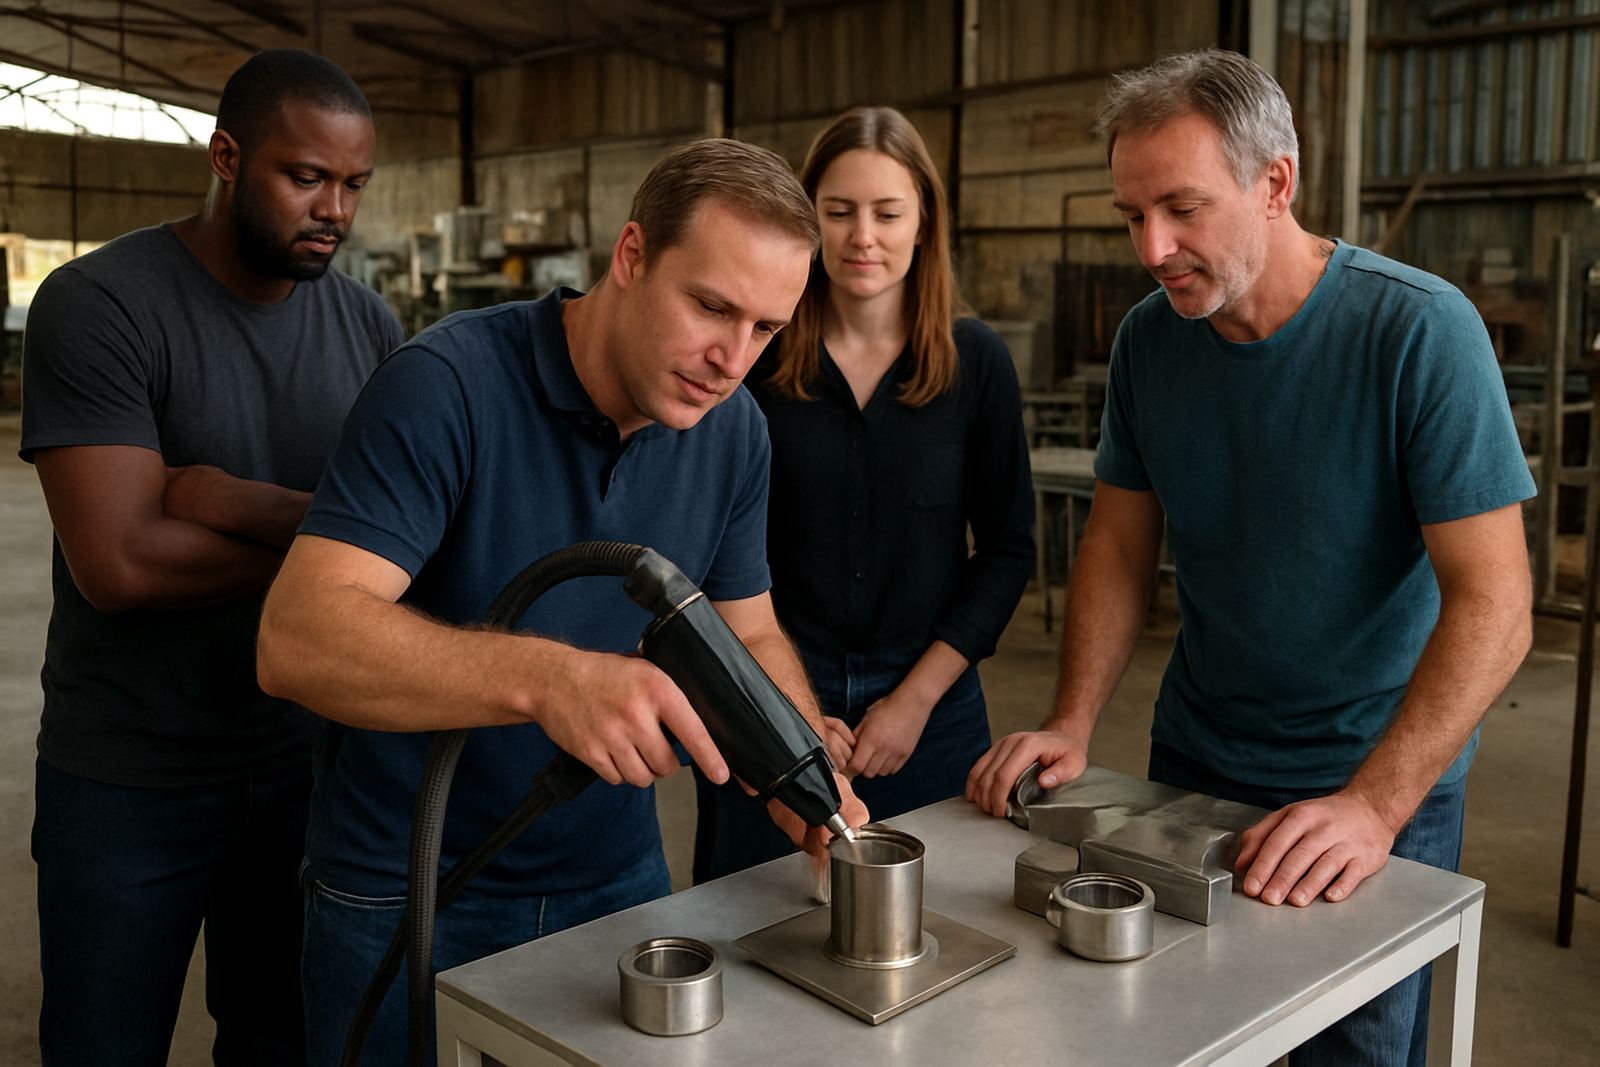
One person can get a good result in a demo, but shop floor production depends on repeatable operator skill. Training should cover machine set-up, joint preparation, safe handling, cleaning and what to do when the weld does not look right. It should also cover the practical side of production, such as when to stop and ask for help instead of pushing on with poor settings.
We find that short, hands-on sessions work best, especially when the team can practise on the actual parts they make. If the shop runs different shifts, each operator should have the same base training. That way the quality does not depend on one person being on site. Refresher training is also useful when new materials are added or a new supervisor takes over.
- Show each operator the correct start-up and shut-down steps
- Demonstrate safe movement, grip and torch control
- Cover common faults and how to correct them
- Train supervisors on inspection and record keeping
- Repeat the same training for all shifts
5. Build a control plan for stable daily output
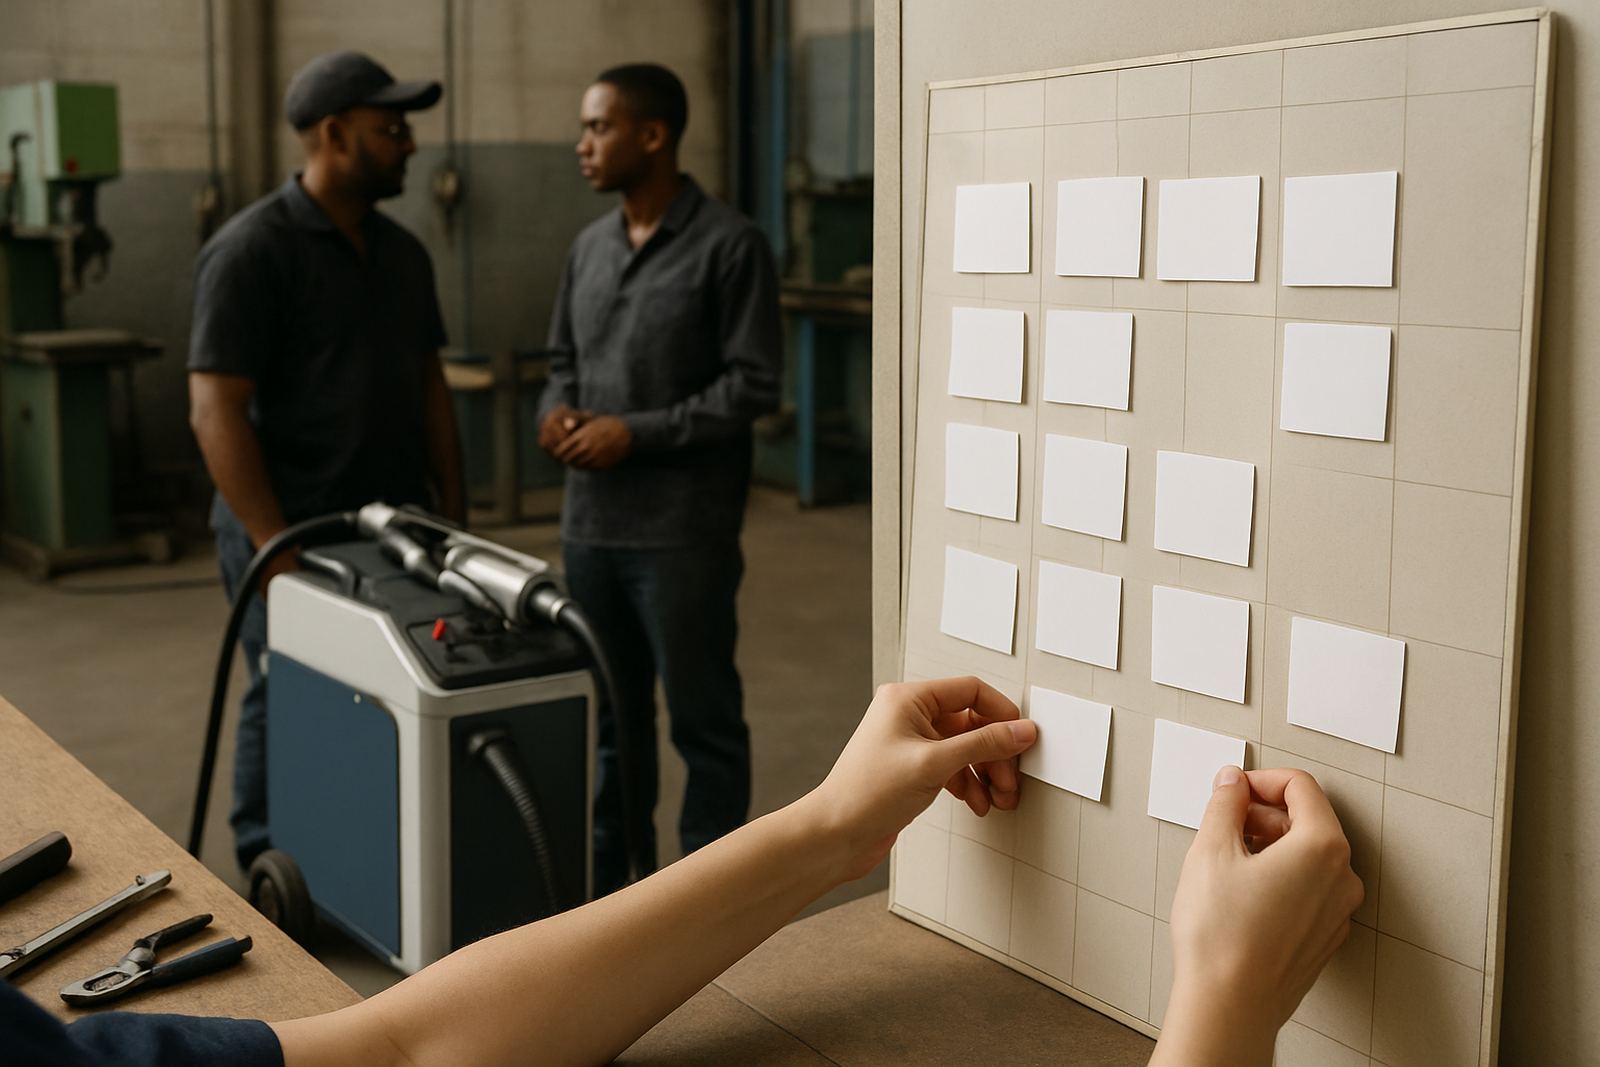
Once the first parts are accepted, turn the process into a daily control plan. This means keeping the settings, consumables and inspection checks in order so that the result stays steady from Monday to Friday, not only on the first day. Assign one person to hold the master settings sheet and keep it current.
A control plan also helps with maintenance. Clean lenses, check nozzles, inspect cables and watch for wear before it turns into a breakdown. In busy shops around Boksburg, Germiston and Alberton, small faults often grow quickly when a machine is used hard. A little attention each day saves a lot of lost time later.
- Keep one master settings sheet for approved parts
- Inspect consumables daily or per shift
- Log faults, corrections and repeat issues
- Set a weekly cleaning and inspection routine
- Review output and rework numbers every month
6. Use support after rollout to protect uptime
Even a good rollout needs follow-up. The first month usually tells you where the process still needs work, whether that is fit-up, operator technique, power stability or a part that needs a different approach. Remote help can sort many issues quickly, while on-site breakdown response or refresher training can handle the rest.
As production settles, keep a note of spare parts used, common faults and the parts that take the most time to weld. That helps with planning, budgeting and future machine purchases. It also makes it easier to support new staff when they join. When the rollout is managed properly, the machine stops being a trial tool and becomes part of the daily production flow, without drama.
If you are moving from demo success to production in Spartan, Kempton Park or at a shop anywhere in South Africa, the goal is simple: repeatable welds, fewer delays and a team that knows exactly what to do.