1. Confirm the job mix before the machine arrives
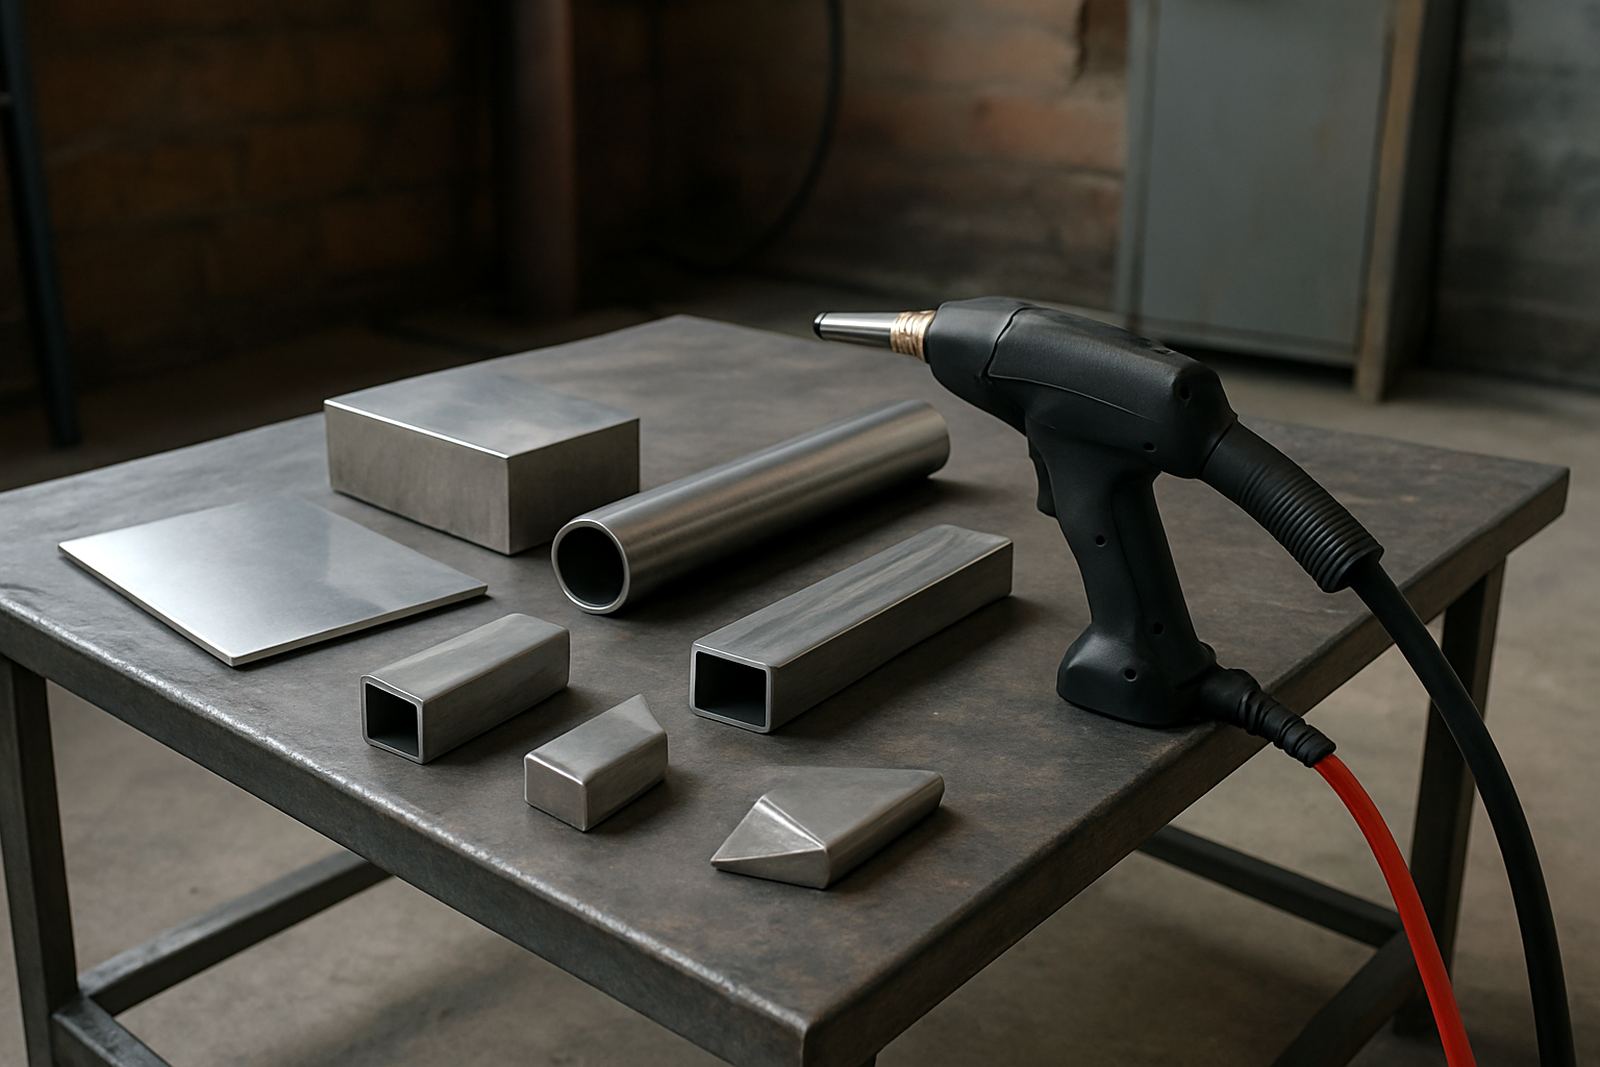
Start with the parts you weld most often. A handheld fibre laser welder is easiest to set up when the team knows the common material grades, thickness range and joint types ahead of time. For stainless steel fabricators in Spartan, Kempton Park or on site in Germiston and Jet Park, this usually means sheet, tube, trim, brackets and enclosure work.
Have a small sample pack ready for commissioning. Include offcuts from the actual job, not only neat test pieces. If you do sanitary work, decorative panels or general fabrication, tell the team which finishes matter most and where heat marks, distortion or visible ripple are not acceptable. That helps us set the process right from the first trial and saves time later.
- Typical material grades used in the workshop
- Thickness range for daily work
- Joint types: butt, fillet, lap, corner
- Any visible finish requirements
- Samples from current production, not scrap only
2. Prepare the workshop floor, power and access route
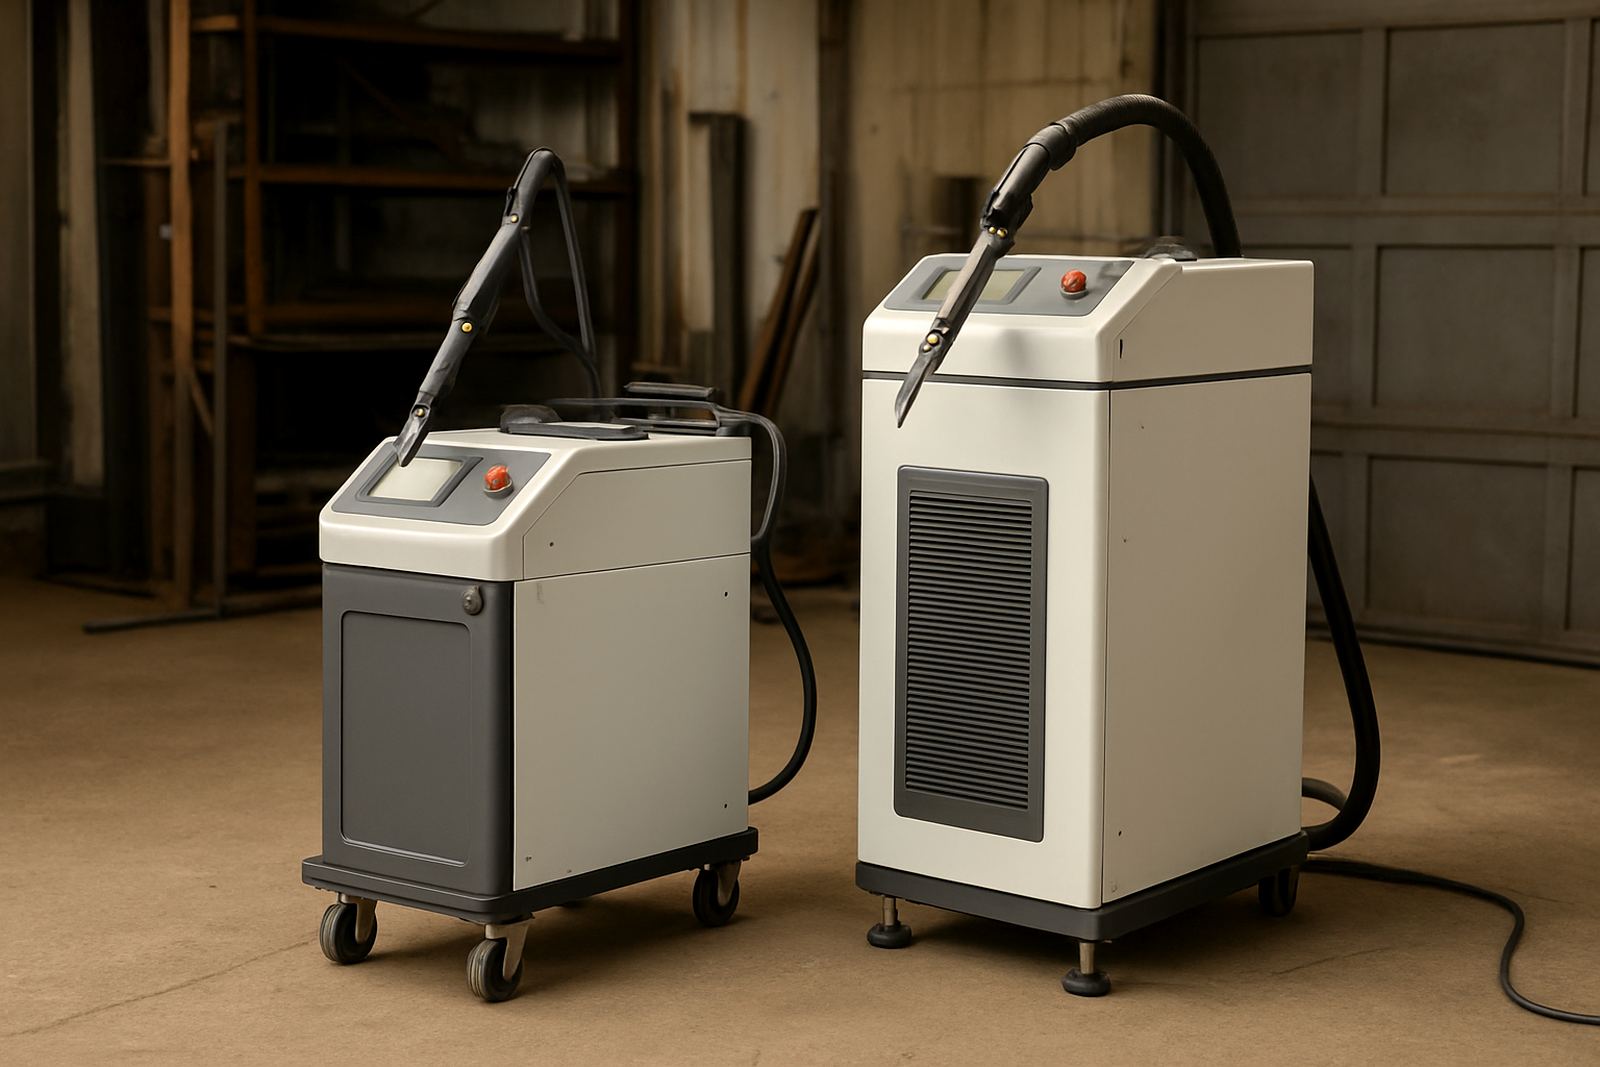
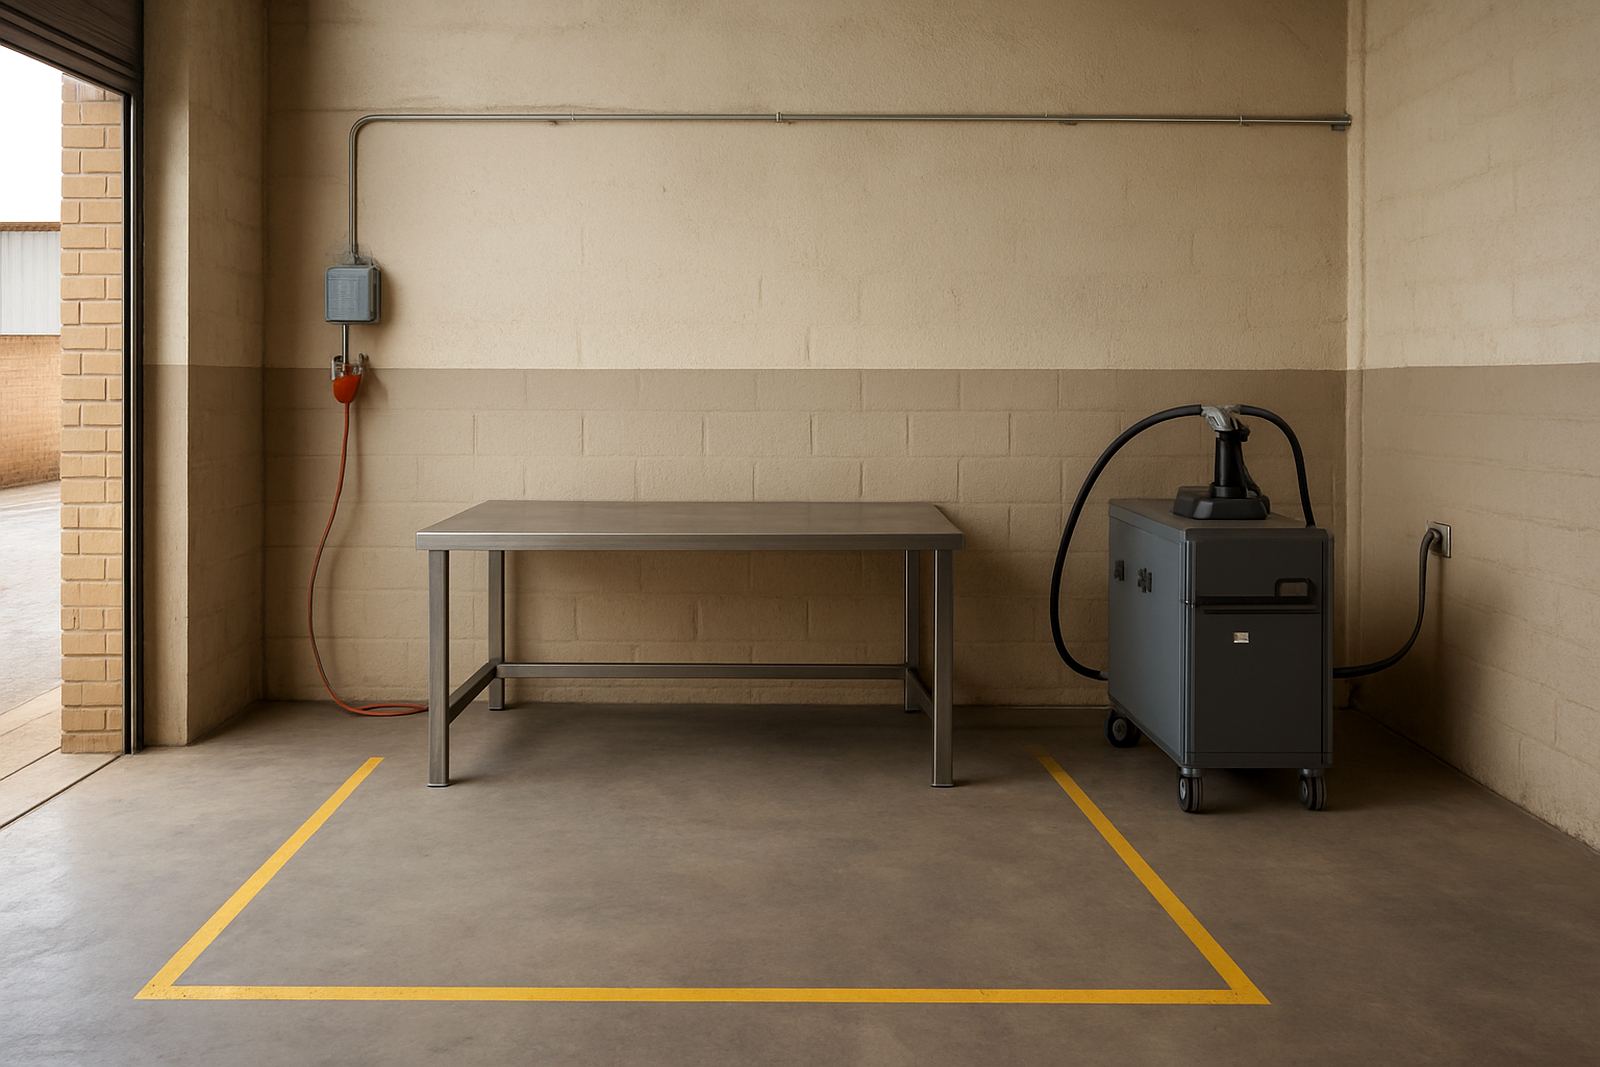
Handheld laser welding needs a clean, organised area with enough space for the power source, cooling unit and access around the bench. The floor should be level and dry. In coastal or humid areas, keep equipment off damp concrete where possible, and avoid placing the machine near grinding dust, spray booths or open chemical containers.
Make sure the incoming supply is suitable and stable. If your site has load-shedding, check what backup power is available and whether the generator can carry the load without dipping badly under start-up conditions. Many workshops in Ekurhuleni have a mix of welding, extraction and compressed air running at once, so it helps to know which circuits are shared. A clear route into the shop also matters for delivery and placement, especially where forklifts, tight roller doors or limited turning space are involved.
- Clear access from gate to welding bay
- Stable power point and correct breaker capacity
- Dry, dust-controlled location
- Space for trolley movement and cable run
- Plan for backup supply during outages
3. Set up shielding gas, water and consumables before commissioning
Before the first weld, confirm the shielding gas arrangement and the consumables on hand. The right gas flow, nozzle condition and lens cleanliness make a big difference to bead appearance and repeatability. Keep spare tips, lenses, protective windows and consumables in a clean container close to the machine. Do not leave them lying open on the bench where grinding dust can settle on them.
If your model uses water cooling, check that the reservoir is filled correctly and that the cooling lines are routed without kinks. A blocked or loose line can interrupt production and create avoidable downtime. It is also worth checking the local water quality if the machine will sit in one place for long periods, because scale build-up can affect cooling performance over time.
Before the team starts, make sure the following are ready:
- Correct gas bottle or supply line in place
- Regulator and hose checked for leaks
- Cooling system filled and running properly
- Spare consumables labelled and stored cleanly
- Lint-free cloths and approved cleaning materials nearby
4. Get the first operators ready for safe handling
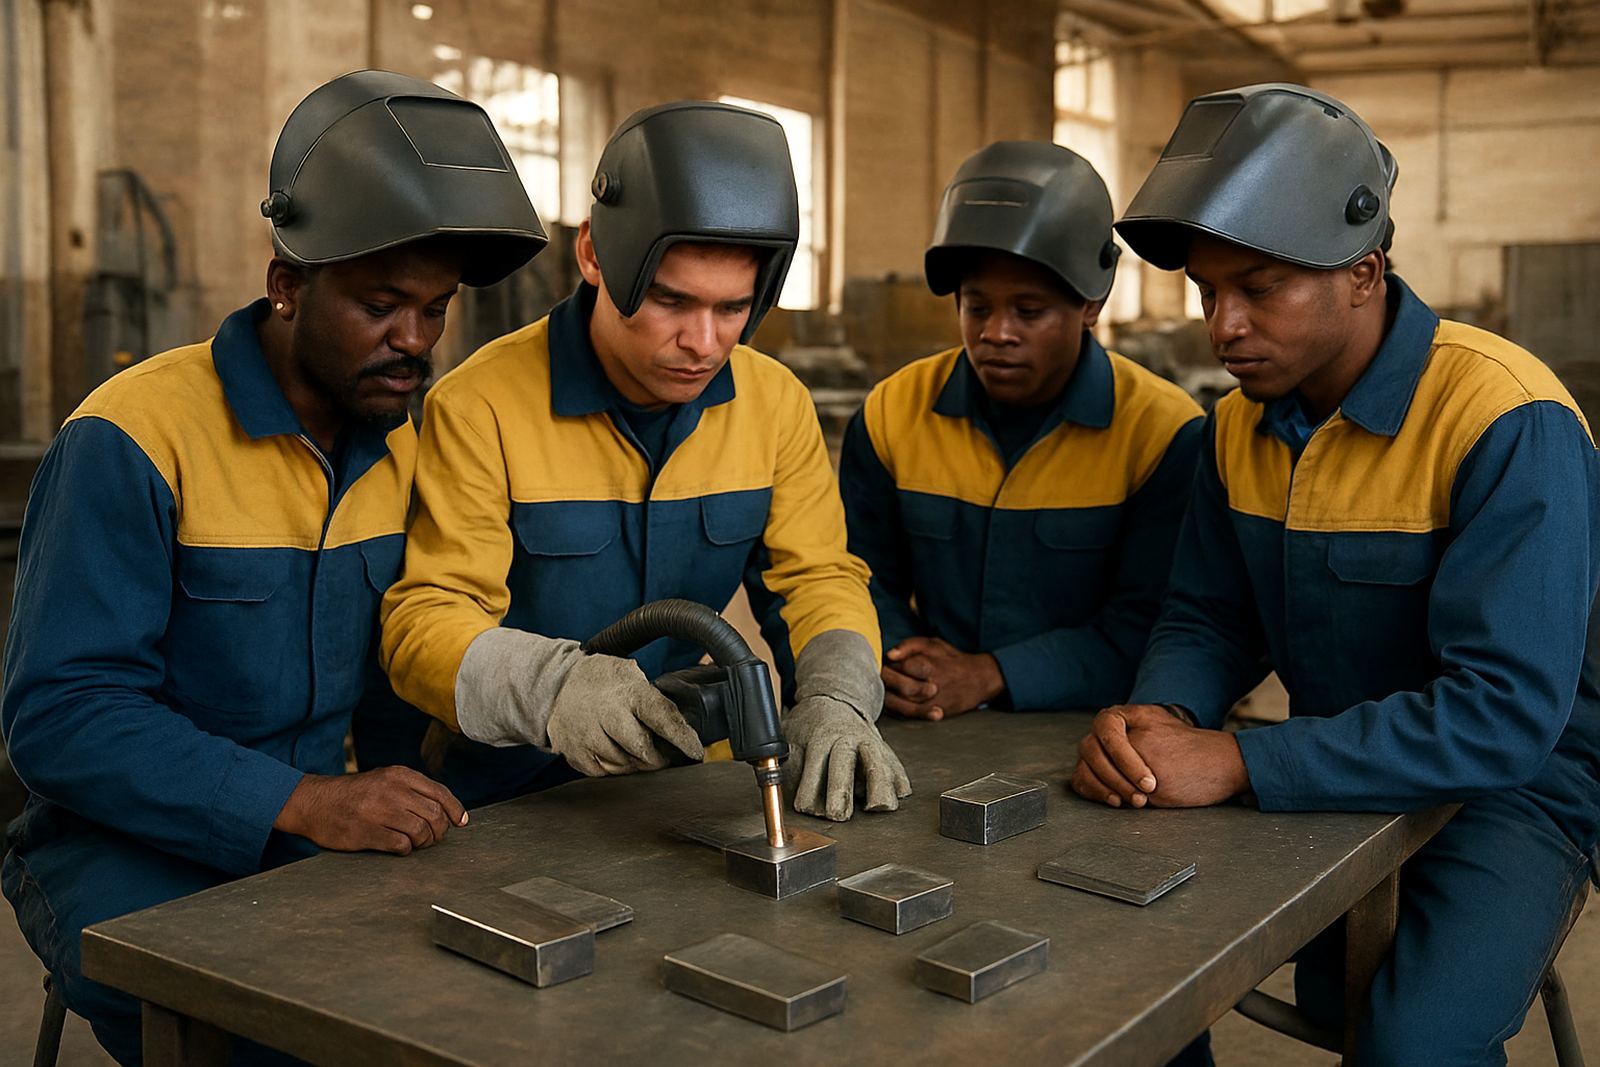
Training should happen before the team runs production parts. The first operators need to understand the controls, torch handling, safety zones and how to recognise poor fit-up. Good setup reduces rework, but it does not replace basic welding discipline. A clean edge, consistent gap and sensible part clamping are still essential.
During training, nominate one lead operator and one backup operator. That way the settings, routine checks and cleaning steps are kept consistent on each shift. In smaller shops near Kempton Park or Boksburg, this prevents one person becoming the only person who knows the machine. We also recommend a short refresher after the first few days of production, once the team has real parts and real questions.
- Eye protection and laser-safe PPE in use
- Operators briefed on beam safety and torch position
- Clamping and fixture method agreed
- Scrap pieces available for practice
- Lead operator and backup operator chosen
5. Run the first weld trials with a clear test plan
The first trials should be done on offcuts and then on a few controlled production parts. Do not rush straight into a full order. Start with simple joints and then move to the more fussy ones. Check bead shape, penetration, heat tint and distortion after each setting change. If a joint needs tight appearance control, document the settings and the sequence used so the result can be repeated.
Keep the test plan practical. Measure the part, note the joint prep, and record any changes made to focus, speed or travel angle. When the workshop is under pressure, small notes help a lot later. A quick photo of the weld and the setting sheet can save hours if the same job returns next month.
- Start with offcuts before live production
- Test one variable at a time
- Record settings, material and joint type
- Check distortion after cooling
- Keep sample parts for comparison
6. Plan for service, spares and steady output after day one
Once the machine is running, the real value comes from keeping it productive. Set up a routine for cleaning, inspection and preventive maintenance. That should include checking cables, torch condition, lenses, gas flow and cooling performance. If the machine will be used daily, build these checks into the start of shift routine so problems are caught early. It is a bit easier to stop for ten minutes than lose half a day later.
Also plan who will call for help, who keeps the spares, and where the test samples are stored. If your workshop rolls out the machine across different shifts or into more than one bay, keep one shared logbook or digital record of faults, settings and consumables used. That record helps with remote help, breakdown response and process optimisation when production changes.
For shops in Spartan, Isando, Edenvale, Alberton and beyond, the aim is simple: get the machine in, train the team, prove the welds, then keep the work moving with as little interruption as possible.