1. Start with the stainless grade and the job type
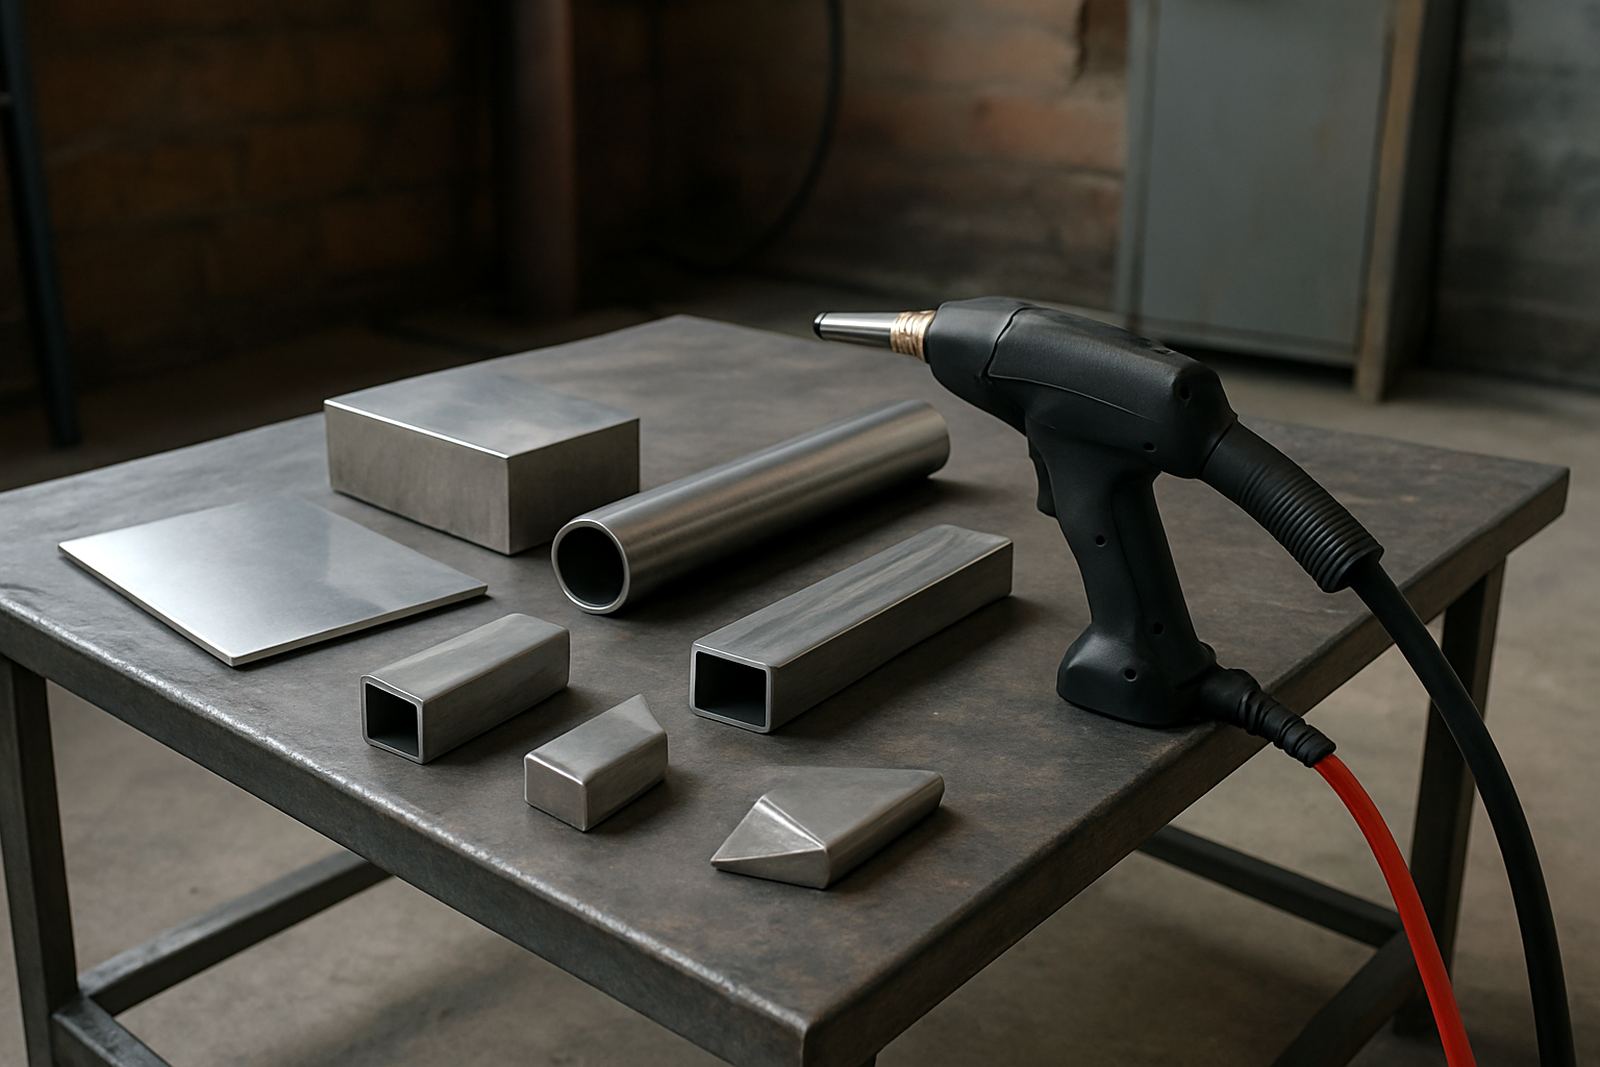
Before you switch the unit on, confirm what you are welding. Thin 304 sheet for a food trolley behaves differently from 316 plate on coastal equipment, and both differ from a polished enclosure or tube frame. In South African workshops, the real starting point is not the machine, it is the material thickness, joint access, and the finish your client expects.
For stainless jobs, handheld laser welding works best where you need a neat bead, low distortion, and a fast turnaround. It is well suited to fabricators doing cabinet work, handrails, kitchen equipment, medical fittings, and light structural assemblies. If the job includes heavy gaps, rusty edges, or dirty preparation, fix that first, otherwise you will chase defects later.
- Confirm the grade if it is known, or test on a sample offcut.
- Measure the thickness in millimetres and note any mixed material sections.
- Check whether the final surface must stay brushed, mirror, or painted.
- Look for oil, dust, grind marks, and contamination at the joint.
2. Prepare the joint so the weld can do its work
Laser welding rewards tidy prep. The cleaner the joint, the easier it is to keep the bead narrow and the penetration consistent. On stainless, avoid using carbon steel tools that can leave particles behind, because even small contamination can cause staining or later corrosion. If the part is for a kitchen, dairy, or coastal install, keep prep standards even tighter.
Fit-up matters as much as settings. A laser beam is precise, but it will not hide a loose gap or poor alignment. For tube, sheet, and formed sections, hold the parts firmly so they do not spring apart when heat starts moving through the joint. A simple clamp jig often saves time, and also saves rework, which every shop knows is where the rand disappears.
- Degrease both sides of the seam before welding.
- Remove heavy burrs and loose oxide from cut edges.
- Clamp the workpiece so the joint stays flat and steady.
- Keep filler wire, if used, clean and dry in a covered place.
3. Set the machine for stainless, not just for speed
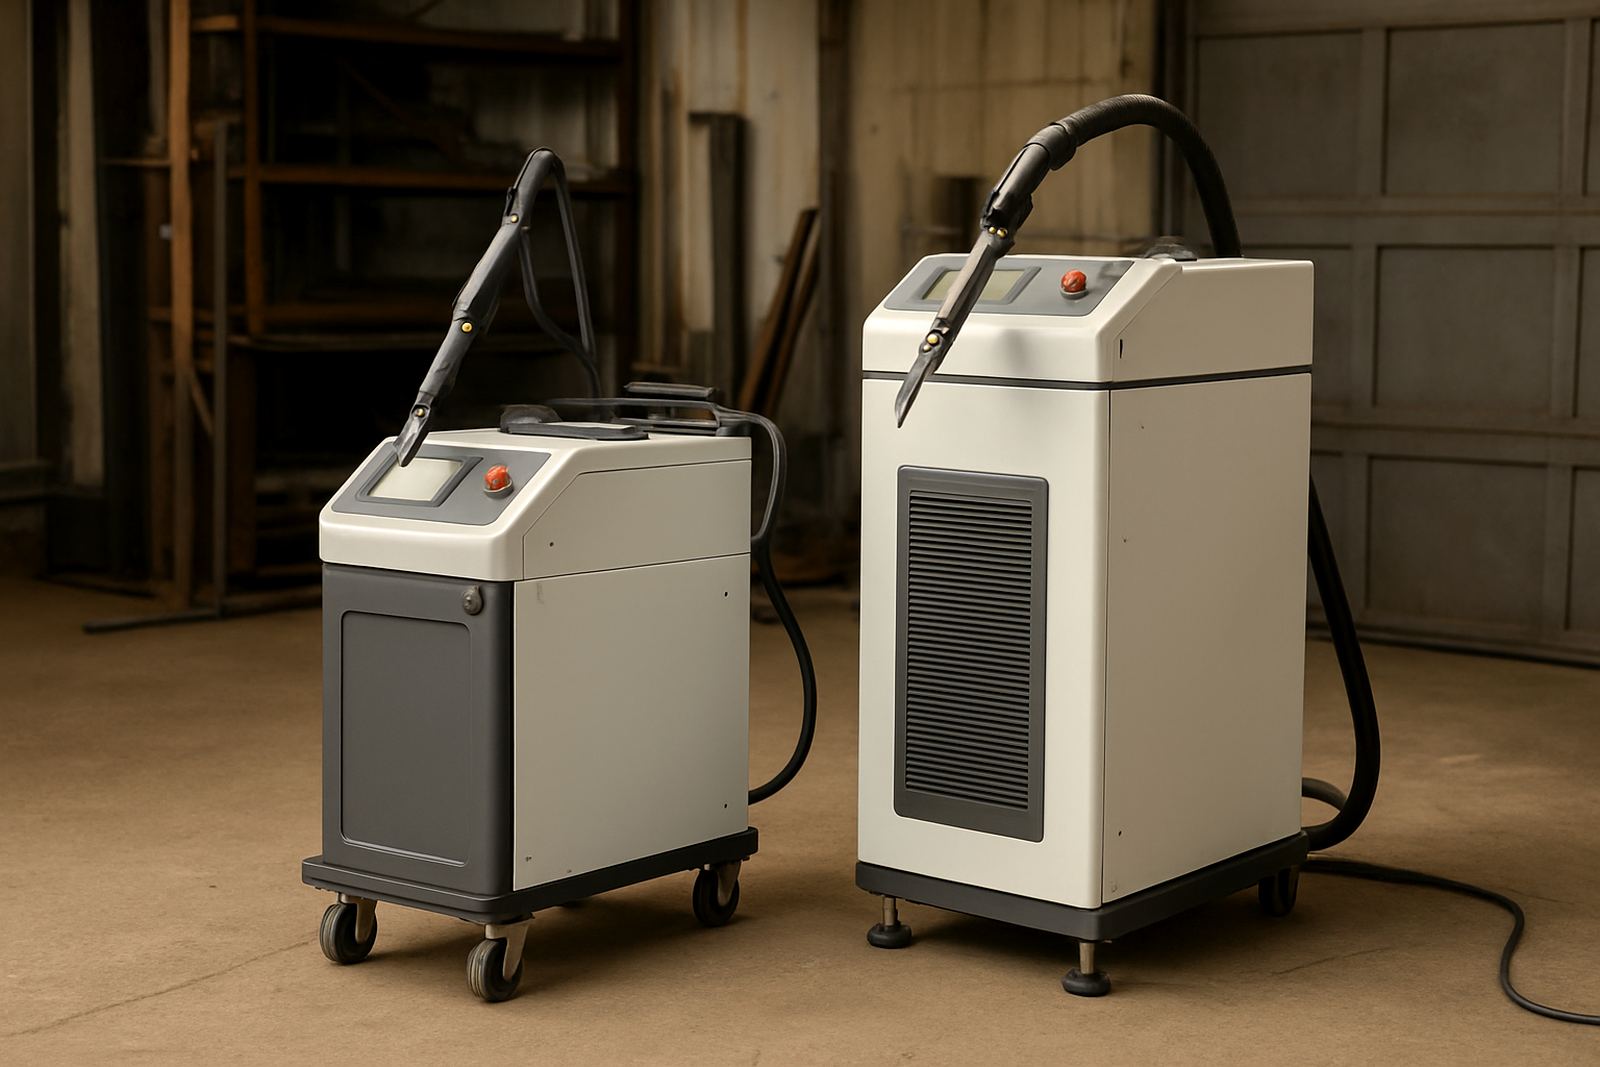
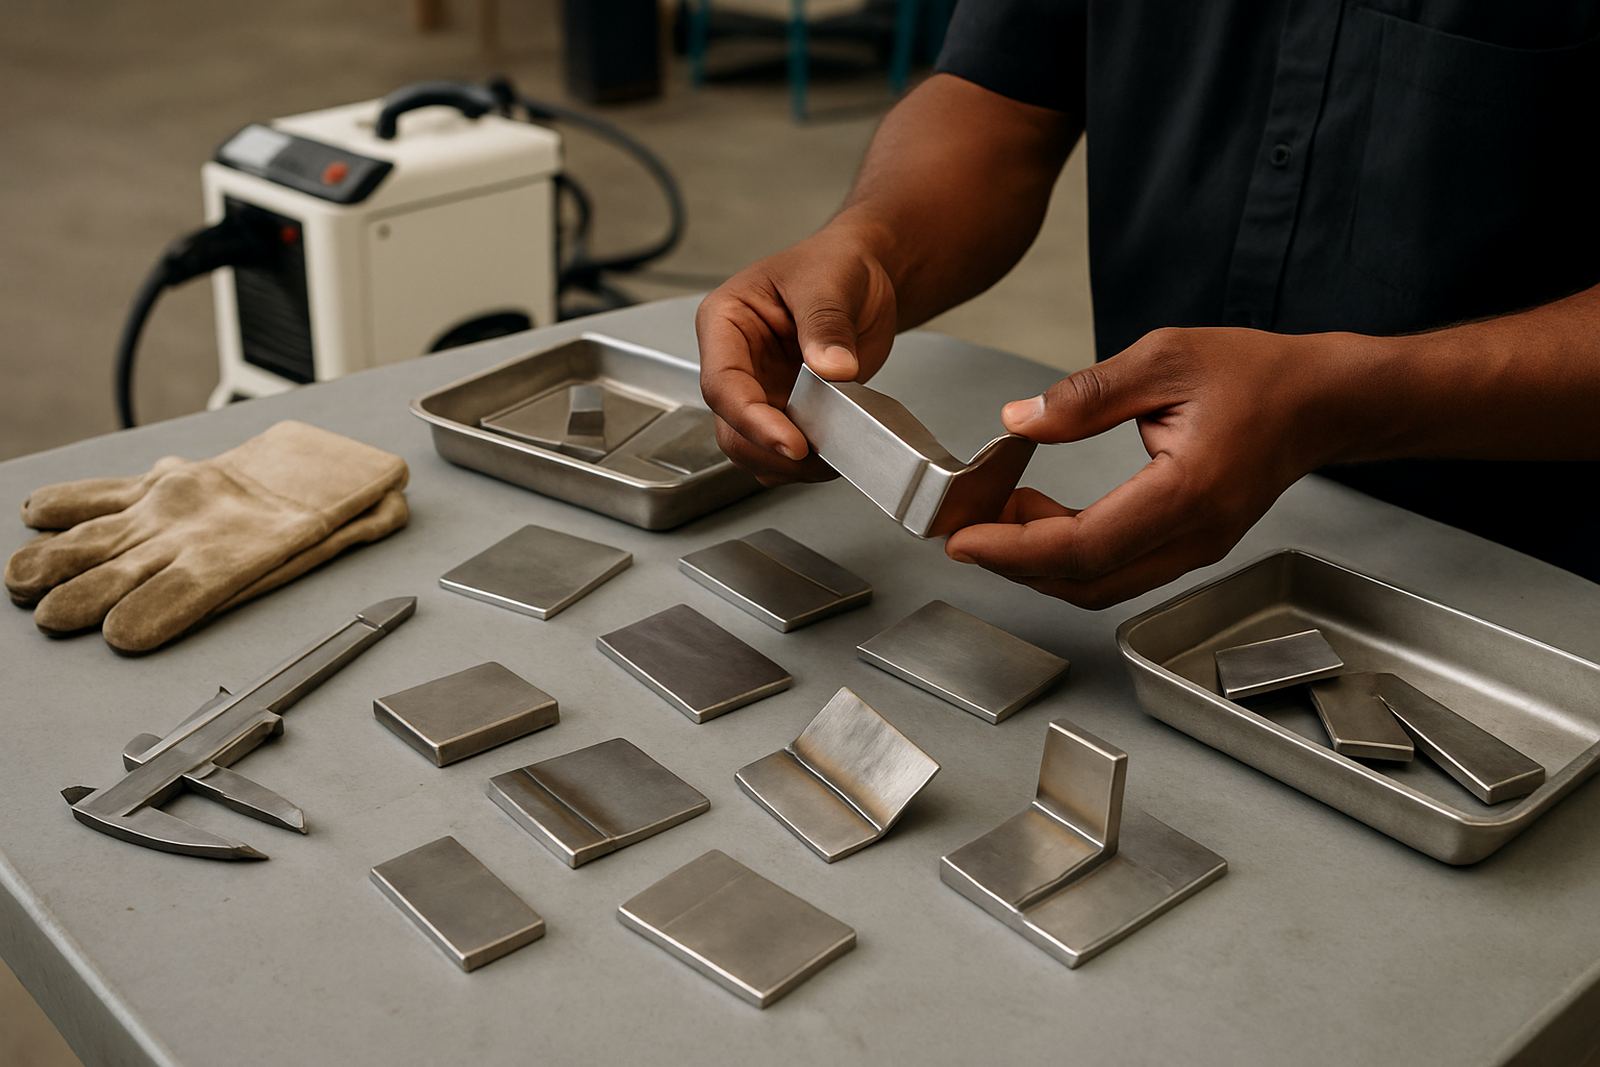
Handheld fibre laser welders are fast, but speed alone does not make a good stainless weld. Start with a test piece from the same batch, then adjust power, wobble width, wire feed, and travel speed until the bead is stable. For thin sheet, too much energy will warp edges or leave burn-through. For thicker material, too little energy gives poor fusion and a weak seam.
Use a short test run every time the material changes or the operator changes technique. That habit sounds basic, yet it is one of the best ways to keep output steady in a busy workshop. If your shop runs through load-shedding or fluctuating supply, check that your power setup is stable and that the equipment is protected as specified by the supplier. A bad supply can show up as inconsistent weld quality before anyone notices anything else.
- Set on an offcut before going to the main job.
- Check bead width, colour, and edge wetting after each adjustment.
- Keep the torch angle steady and the hand movement calm.
- Record the settings that work for each common thickness.
4. Welding technique that keeps stainless clean and controlled
When welding stainless, aim for control rather than force. Move smoothly, keep the torch path even, and avoid pausing in one spot unless the joint needs a little extra fill. A steady hand gives a cleaner profile and reduces the chance of heat tint spreading too far from the seam. If a job needs a bright finish, pay attention to the heat mark from the first pass, because cleaning a stained weld later takes time.
On visible work, many fabricators use a sequence that balances penetration and appearance. Tack the job first, confirm alignment, then complete the seam in manageable lengths. On larger assemblies, weld opposite sides in stages so the part does not pull out of shape. That is especially useful on long panels and frames made in hot Gauteng workshops where parts can move quickly once the heat starts building.
- Keep the torch at a consistent angle and distance from the joint.
- Use short, even sections on long seams.
- Let the part cool between runs if distortion starts to show.
- Protect brushed or polished surfaces from spatter and handling marks.
5. Safety, extraction, and workshop discipline
Every stainless job still needs proper safety control. Handheld laser welding demands eye protection, controlled access, and a work area that is set up for the task. Use a clear exclusion zone so other staff do not walk past the beam path or into reflected light. For busy shops in Kempton Park, Spartan, Jet Park, or Germiston, that means planning the bay before production starts, not after someone is already welding.
Ventilation matters as well. Stainless fumes are not something to ignore, especially when you are working indoors with limited airflow or during rainy season when doors stay closed. Keep extraction running and make sure the area is free of unnecessary reflective surfaces. If you are welding near chemicals, sealed containers, or coated parts, stop and confirm the area is safe first.
- Wear the correct eye and face protection for the equipment in use.
- Keep bystanders out of the welding zone.
- Use extraction or local fume control at the source.
- Check cables, shielding, and torch condition before each shift.
6. Finish, inspect, and hand over without surprises
Once the weld is complete, inspect it while the job is still on the bench. Look for undercut, colour change, pinholes, incomplete fusion, and distortion. If the item is going into food service or a visible architectural application, the finish needs to be checked under good light, not just from a distance. A weld that looks fine from two metres away can still fail a close inspection, especially on stainless.
Build a repeatable handover routine. Confirm dimensions, clean the surface, remove handling marks, and make sure the part is ready for the next step, whether that is polishing, assembly, or dispatch. A small checklist at the end of the job saves rework and helps your team keep standards consistent from one order to the next, which is something every fabrication shop can use more of.
- Check the seam under bright light from several angles.
- Verify no heat tint or contamination remains where appearance matters.
- Confirm the part still meets size and square after welding.
- Log any setting changes for future jobs with the same material.