Start with the weld cell, not the walls
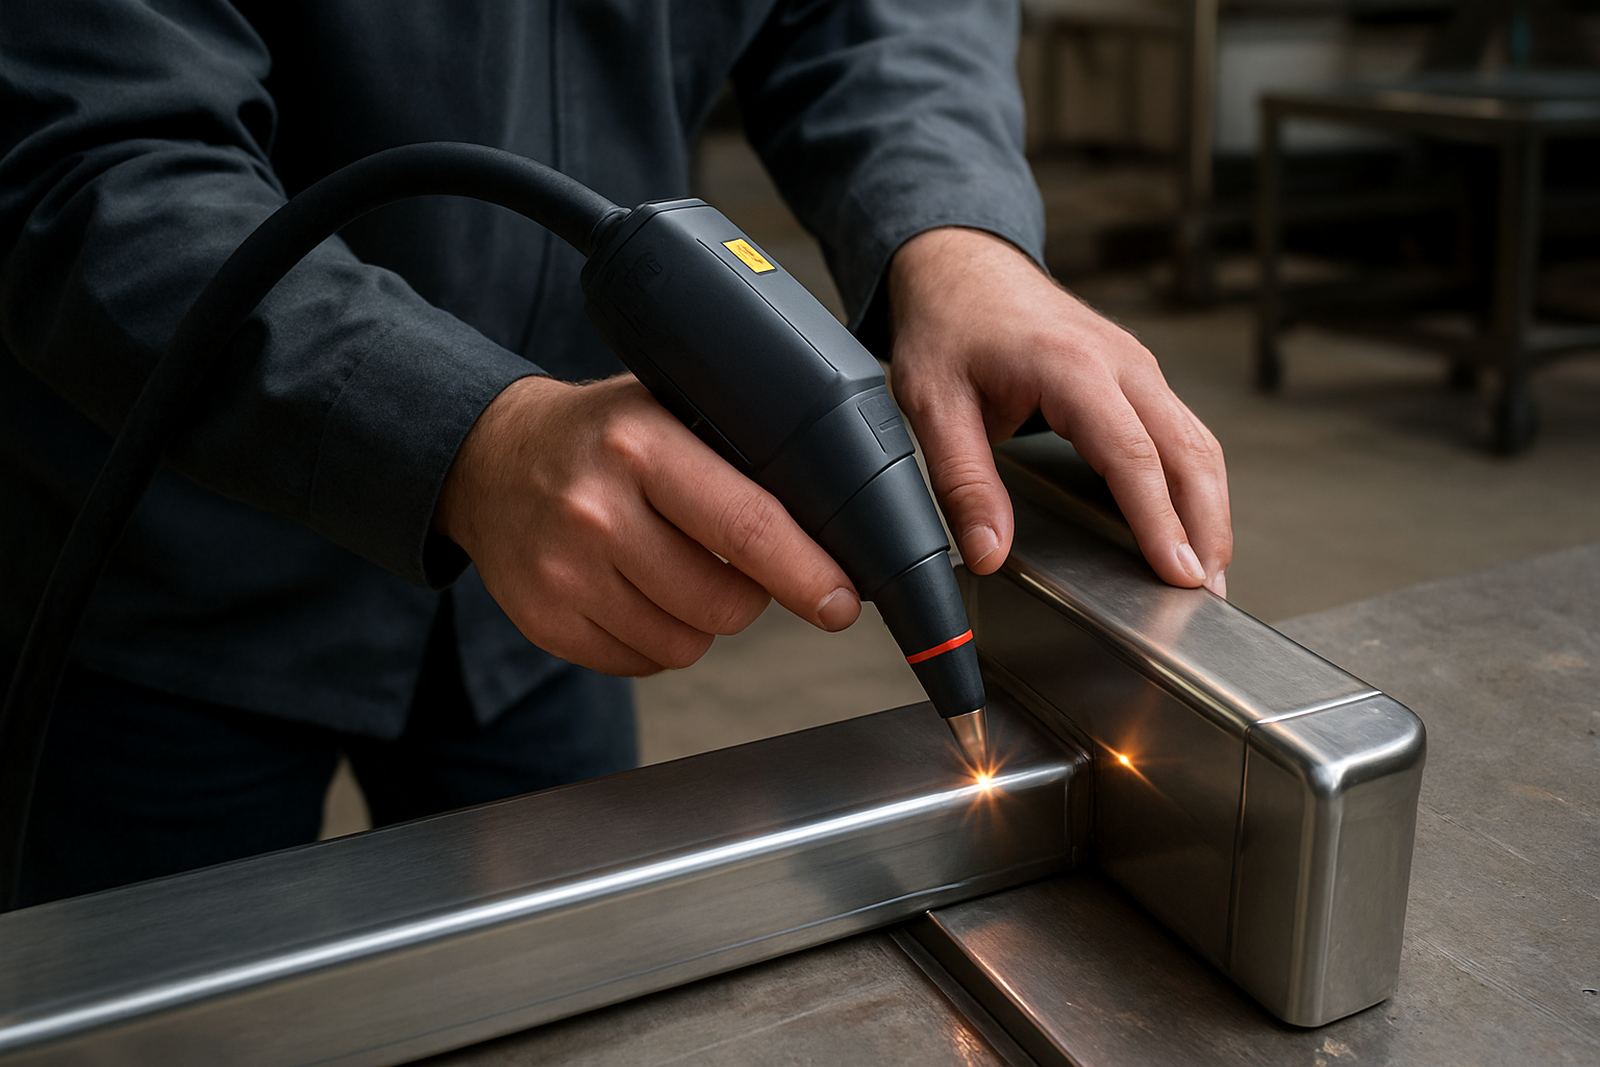
Before moving benches or marking floor lines, decide where the welding work actually happens. A handheld fibre laser welder works best when the operator has short, clear access to the joint, the part table, shielding gas, power, and the area where finished pieces are set down. If the machine is tucked into a corner, every job turns into extra walking, extra lifting and more risk of bumping polished stainless.
In a small Spartan or Kempton Park workshop, that often means placing the welding point near the main fit-up table, but away from the busiest cutting and grinding traffic. Leave enough space for the operator to move around the part without twisting, and make room for clamps, filler wire if used, and the cleaning kit. A tidy cell helps the welder keep steady hands and it cuts rework, which saves time on every batch.
- Keep the weld cell close to fit-up, not next to the noisiest machine.
- Allow clear access on at least two sides of the part where possible.
- Keep cables and hoses off walking paths and out of trolley lanes.
- Place a small stainless-only cleaning area nearby to avoid cross contamination.
Map the path from intake to dispatch
Good layout follows the job from raw material to finished part without backtracking. When sheet, tube or formed parts move in one direction, your team spends less time carrying material across the shop. That matters in shops with mixed work, because one job can involve cutting, forming, tack-up, laser welding, passivation, inspection and packing all in one day.
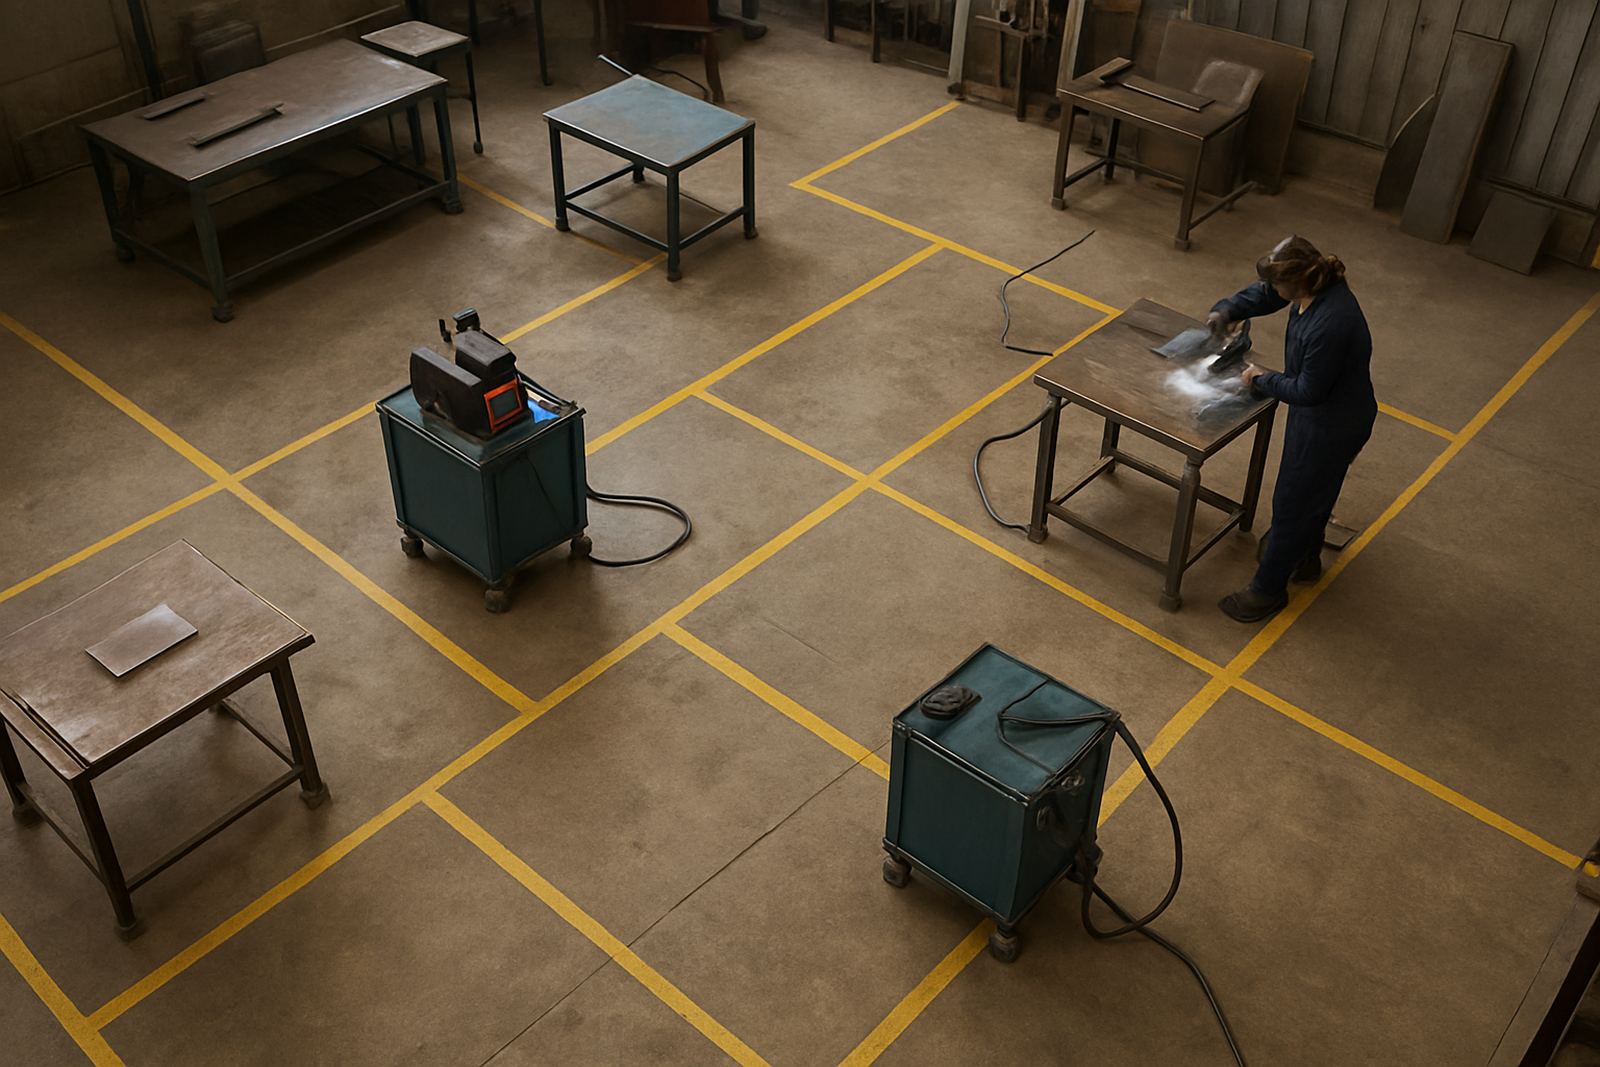
Draw the route on the floor if needed. Raw stock should enter at one point, then move to cut prep, fit-up, welding, inspection and dispatch. Keep the route as straight as possible and avoid crossing clean stainless parts with grinding dust or oily components. In coastal areas, humidity can also make surfaces mark quicker, so the less handling you do, the better the finish stays.
- Separate raw material storage from finished goods storage.
- Keep walkways wide enough for trolleys and hand trucks.
- Do not make operators carry parts around parked machines.
- Mark a clear area for finished stainless to cool before packing.
Place material handling where the work starts
Part handling is where many shops lose minutes without noticing. If an operator must fetch every bracket, jig or tube section from different corners of the building, output drops and fatigue climbs. Put the most used materials within arm’s reach of the weld cell, and keep the less common stock in a secondary store. The aim is simple: less walking, less lifting, fewer mistakes.
For larger fabrication jobs, use dedicated racks or trolleys for each job number. That makes it easier to track what still needs welding and what is already complete. If your team handles long lengths of stainless tube or sheet, leave enough turning space so the operator can position a part without fighting the floor plan. A bit of planning here reduces dents, scratches and the usual confusion during busy periods.
- Store frequently used sizes near the weld cell.
- Use job-specific bins or racks to keep parts together.
- Keep heavy items low to the floor for safer lifting.
- Leave a clear drop zone for incoming cut parts and outgoing finished work.
Protect airflow, power and gas from poor placement
A laser welding machine is only as useful as the support around it. If the power supply trips often, the gas line is kinked, or the cooling and ventilation are poorly placed, the job slows down. In South African workshops, this can be worse during load-shedding, so a sensible layout should allow for safe shut-down, quick restart and easy access to backup power where fitted.
Keep power points where cables can run safely, not across passages. Put gas cylinders or gas supply equipment where they are secure and easy to check, then route lines neatly to the weld cell. Good ventilation matters too, especially when working on closed sections or jobs that create heat build-up. The operator should not have to choose between a comfortable position and safe air movement.
- Keep electrical connections off the floor and away from wet cleaning areas.
- Secure gas supply equipment upright and out of traffic paths.
- Allow space for cooling equipment and regular checks.
- Plan for quick isolation during a fault or power interruption.
Set the shop up for training and repeat work
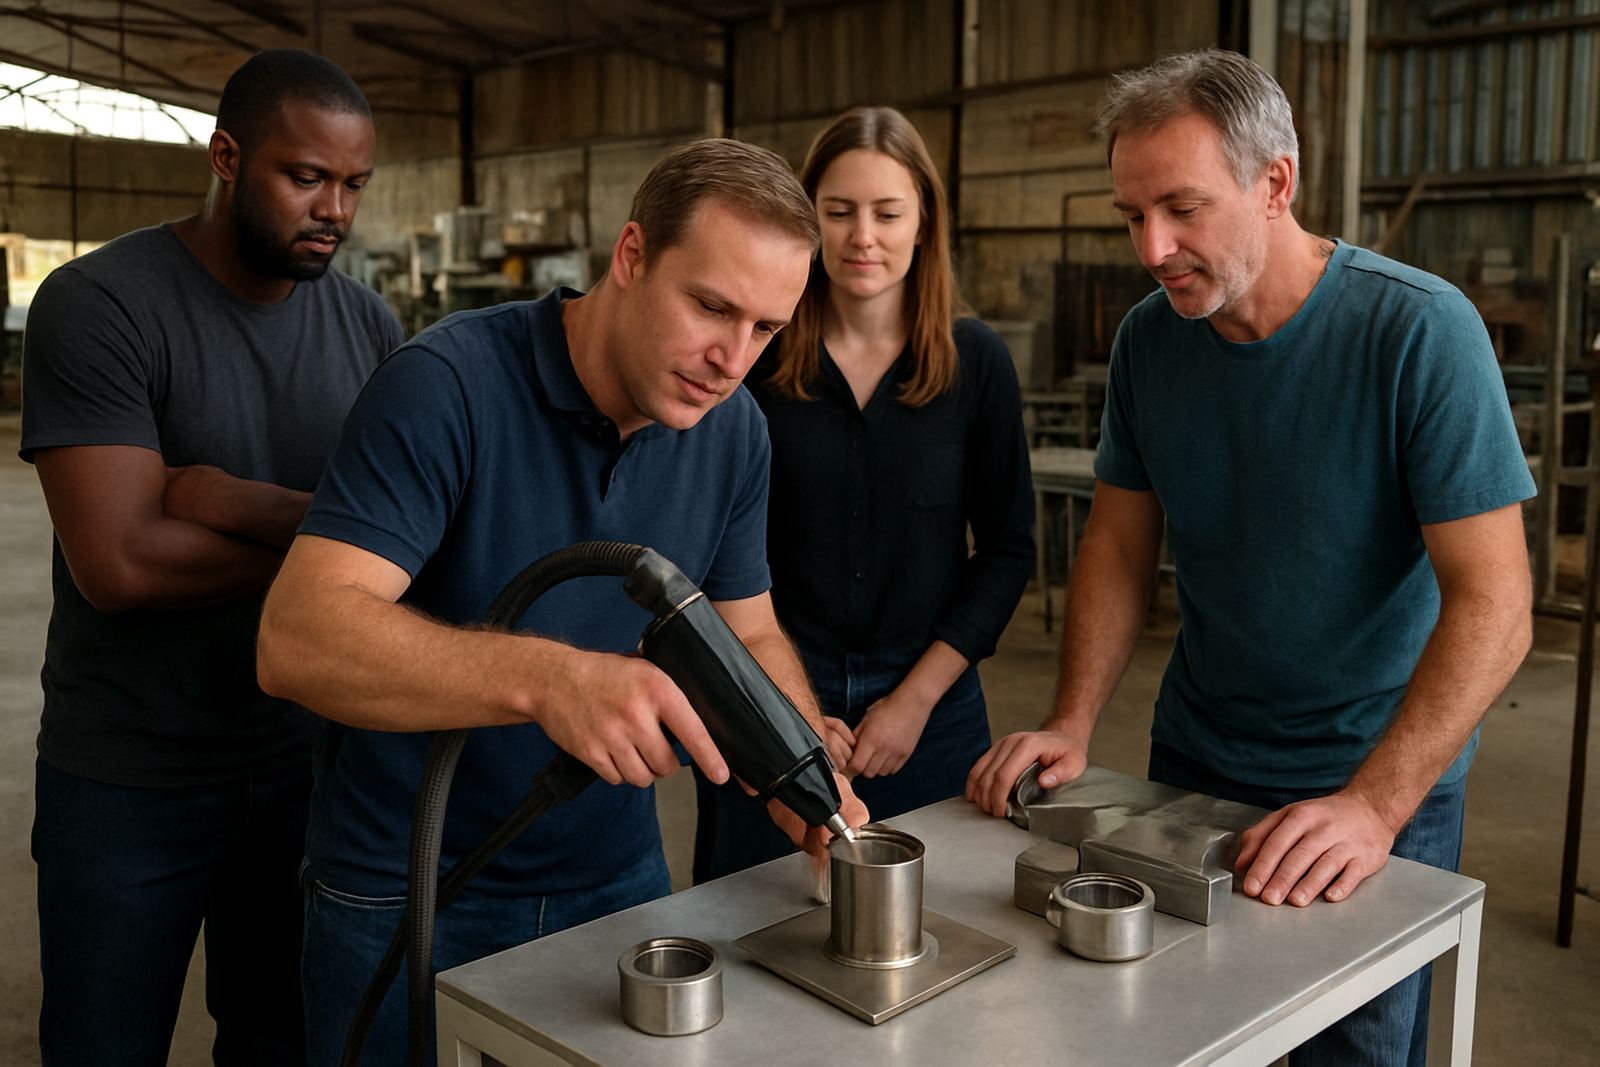
If your team is learning a new welding process, the layout should support training as much as production. A clear training position helps new operators see the joint, the torch angle and the travel speed without crowding. It also makes it easier for a trainer to stand nearby, correct hand position and show the right sequence step by step. That is important for workshops in Ekurhuleni and beyond, where the same machine may move between demo work, production and refresher sessions.
For repeat work, keep jigs, sample settings and approved test pieces close to the weld cell. When the operator can check a known good setup quickly, setup time drops and the first part is more likely to pass. It is a simple habit, but it helps a lot when you are trying to hit daily targets and keep the floor calm instead of rushed.
- Use one marked position for demos, training and first-off checks.
- Keep approved sample joints and settings notes nearby.
- Leave space for a trainer or supervisor to stand safely beside the operator.
- Store jigs and fixtures where they can be reached without delay.
Walk the floor with a checklist before you change anything
Before you move machines or rebuild the layout, walk the floor with the people who do the work every day. They know where parts pile up, where carts get stuck, and which corner always becomes a bottleneck. A small change can make a big difference, but only if it solves the real problem and not just the one on paper.
Use a simple checklist and test the new flow for a week. Watch how many times an operator turns back, waits for space, or carries a part twice. If the same delay keeps showing up, adjust the layout again. The best shop layouts are practical, not pretty, and they change with the work mix. In a busy stainless shop, that kind of discipline helps keep production steady and the weld quality consistent.
- Check walking distance between intake, weld cell and dispatch.
- Look for crossed paths between clean parts and dirty processes.
- Test whether one person can complete a normal job without constant interruption.
- Review the layout again after new machines, new staff or higher volume.