Start with the right joint for a clean final line
A neat visible finish begins before the torch is lifted. If the fit-up is poor, the weld will usually need more heat, more filler and more grinding, which leaves a wider heat affected area and makes polishing harder. For stainless handrails, counters, cladding trims and food area components, aim for tight, even gaps and square edges that meet cleanly. On thin material, even 0.5 mm extra gap can show up after finishing.
Check the joint from both sides before welding. If the edge is rough, file or linish it first so there are no burrs to trap contamination. Make sure clamps hold the job flat and true, because movement during welding can pull a visible seam off line. In shop work, a few minutes spent setting up properly saves time later and lowers the risk of rework.
- Confirm the stainless grade and thickness before setup
- Clean both faces where the weld will sit
- Use proper spacing blocks or tacks to hold the line
- Check for twist, bow or uneven clamping before starting
Keep the workpiece clean from the first mark to the last pass
Visible stainless work must be kept free from oil, dust, carbon steel transfer and grinder residue. Finger marks, cutting fluid and airborne dirt can all show after welding, especially on polished tube or sheet. Use separate stainless wire brushes, clean rags and dedicated grinding consumables for stainless only, not the same kit used on mild steel. One stray steel particle can rust later and spoil the finish.
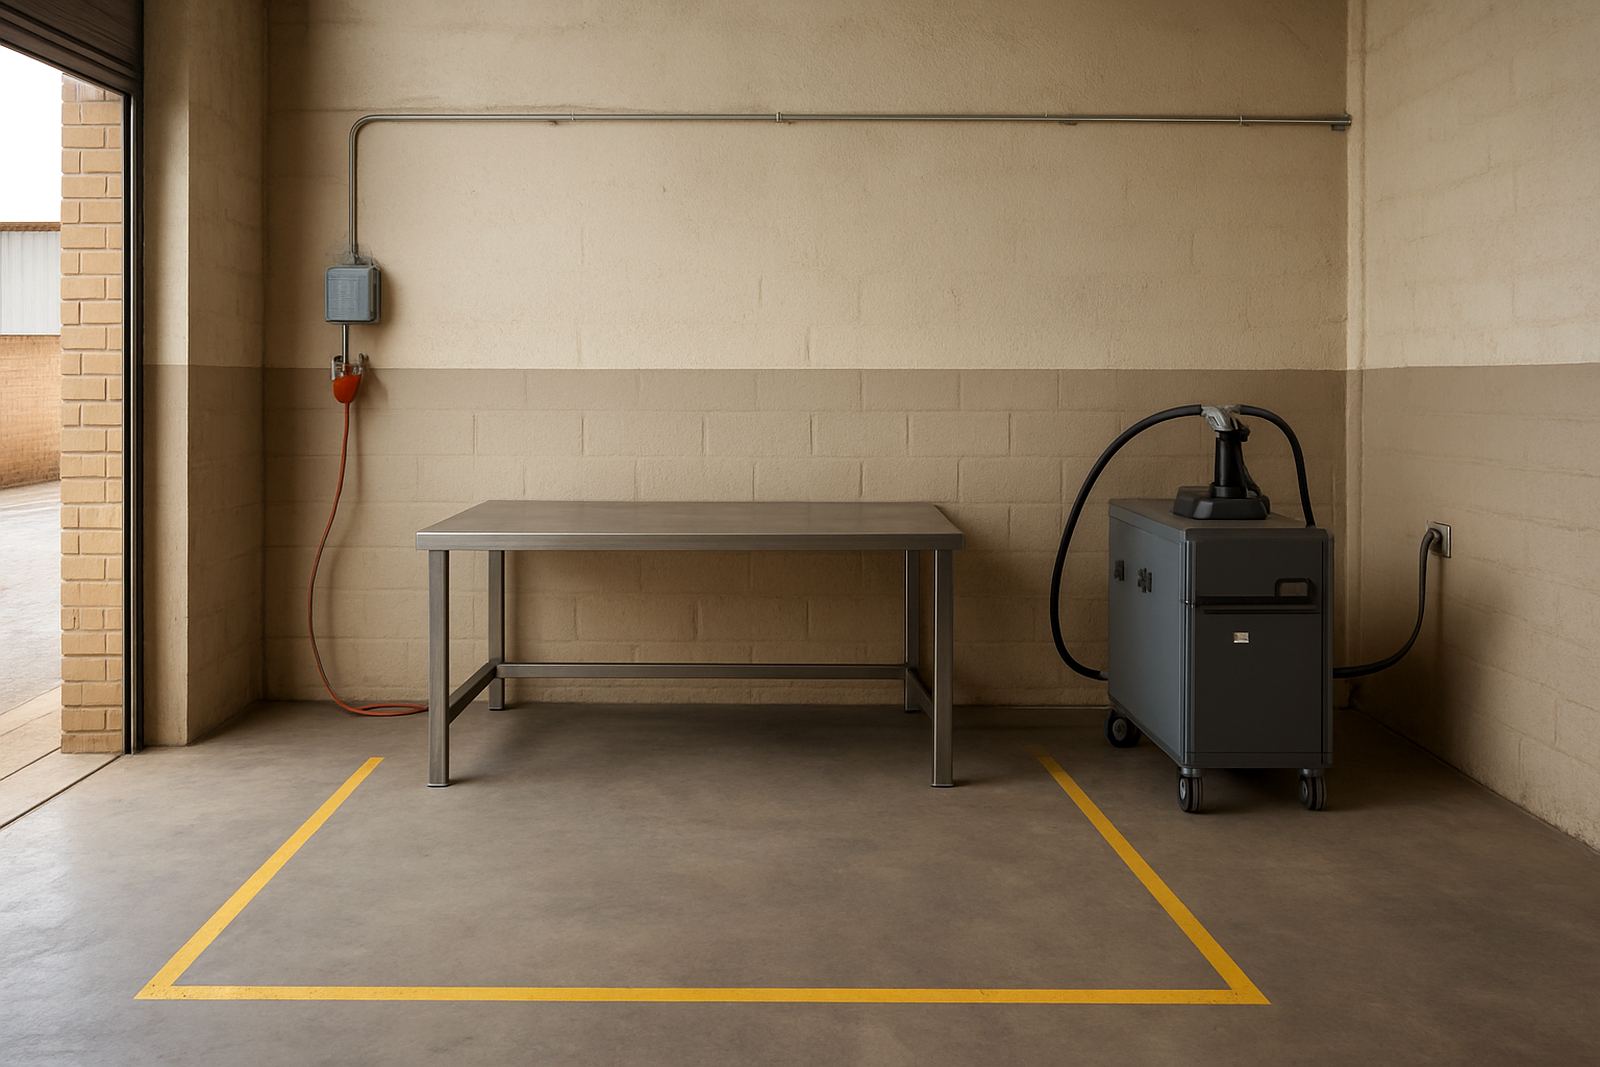
In many workshops, the prep area is where problems begin. Keep the surface off the floor, store cut parts indoors where possible, and cover finished sections if there is nearby cutting or grinding. On coastal jobs around Durban, Gqeberha or Richards Bay, humidity can leave flash marks faster than expected, so parts should be wiped down and welded without delay. If the material has been sitting in the sun in Kempton Park or Pretoria East, let it cool down before welding so the heat input is not fighting a hot panel.
- Use stainless-only brushes and abrasives
- Wipe off oil and cutting fluid before tacking
- Keep carbon steel dust away from finishing bays
- Store polished sheets and tube under cover
Set the machine for low rework and less visible distortion
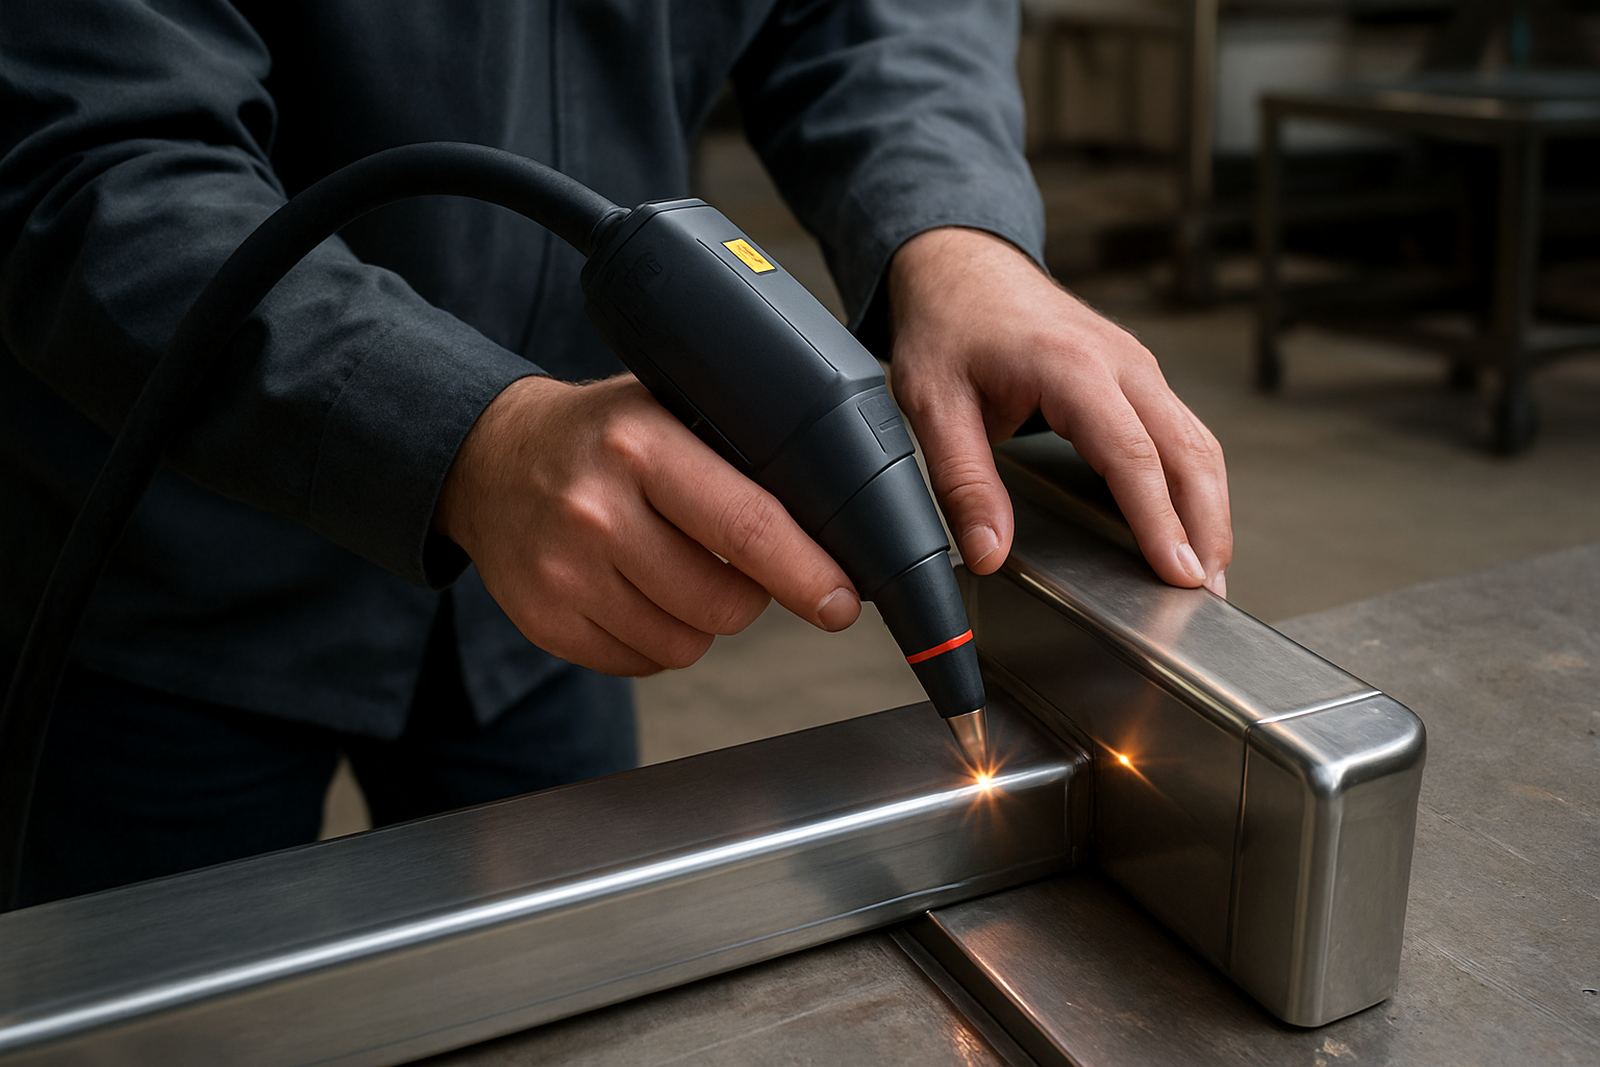
Handheld fibre laser welders are useful on visible stainless because they can deliver a narrow, controlled bead with less distortion than many traditional methods. That said, settings still need to match the job. Start with a test piece of the same thickness, finish and joint style, then adjust power, travel speed and wobble width until the bead sits flat and even. Too much power can wash the edge, while too little can leave a narrow cold line that needs rework.
For customer facing work, consistency matters more than speed alone. Keep torch angle steady, maintain a smooth travel pace and avoid stopping mid seam unless the joint demands it. If the weld colour is dark or uneven, reduce heat input and improve shielding and surface prep. A good visible weld should need only light finishing, not heavy grind and polish. That saves time, consumables and labour on each piece.
In small workshops, this also helps during load-shedding recoveries. When power returns, a machine that is already commissioned and set up properly gets you back into production faster, instead of wasting time retesting every seam.
A practical welding sequence for polished stainless
Sequence is important when the final surface must look uniform. Start with tacks at regular intervals, then work in short sections rather than one long run if the part can move or heat up. On long rails or frames, weld from the centre outwards to balance pull. If the job will be polished after welding, keep bead height even so the finish crew does not have to remove too much material.
Use this simple sequence on visible work:
- Dry fit the parts and confirm alignment
- Tack in enough places to stop movement
- Check the front face for distortion before full welding
- Weld in short, controlled sections
- Allow cooling between passes where needed
- Inspect colour, line straightness and bead shape after each section
For a brushed finish, keep the final grain direction consistent across all parts. For a mirror style finish, avoid deep scratches around the weld zone because they will remain visible after polishing. If a part has corners, returns or bends, test a sample first since these areas often show heat marks sooner than flat sheet.
How to finish without spoiling the stainless surface
Finishing should improve the job, not hide a bad weld. Start by removing any sharp peaks with light, controlled grinding, then move through finer abrasives until the transition blends with the surrounding surface. Do not linger in one spot or the panel will dish. On thin sheet, even a small mistake can show as a shadow once the light hits it. Best to work slowly and check under raking light.
For food area equipment, lift-off and cleanability matter as much as appearance. Avoid deep scratches, undercut edges or trap points where dirt can collect. If the job will be installed in a public space, check the finish from the viewing angle the client will actually see, not just from the workshop bench. A seam that looks fine head-on may show a line or ripple from the side.
- Blend welds gradually instead of chasing one low spot
- Use the same grain direction across matching panels
- Inspect under bright side light before packing up
- Remove any grinding dust before the final handover
Inspection checks before the job leaves the shop
Visible finish work needs a proper final check, not just a quick glance. Walk the job in natural light and under strong artificial light if possible. Look for heat tint, line waviness, pinholes, undercut and mismatch between panels. Measure key dimensions again if the job has tight installation tolerances. If one bracket is out by even a few millimetres, the installer will feel it on site.
It helps to use a simple handover checklist for every order:
- All visible seams are even and fully fused
- No contamination, rust spots or stray grinding marks
- Edges are safe to handle and free from sharp burrs
- Parts are marked, protected and packed for delivery
- Any client-specific finish notes have been followed
For contractors working across Gauteng, good handover prep also reduces time on site. When parts arrive clean and straight, installation is quicker and there is less chance of damage before the final sign-off. That matters on commercial jobs where access windows are short and municipal site rules can be strict.
Keep the finish repeatable with training and maintenance
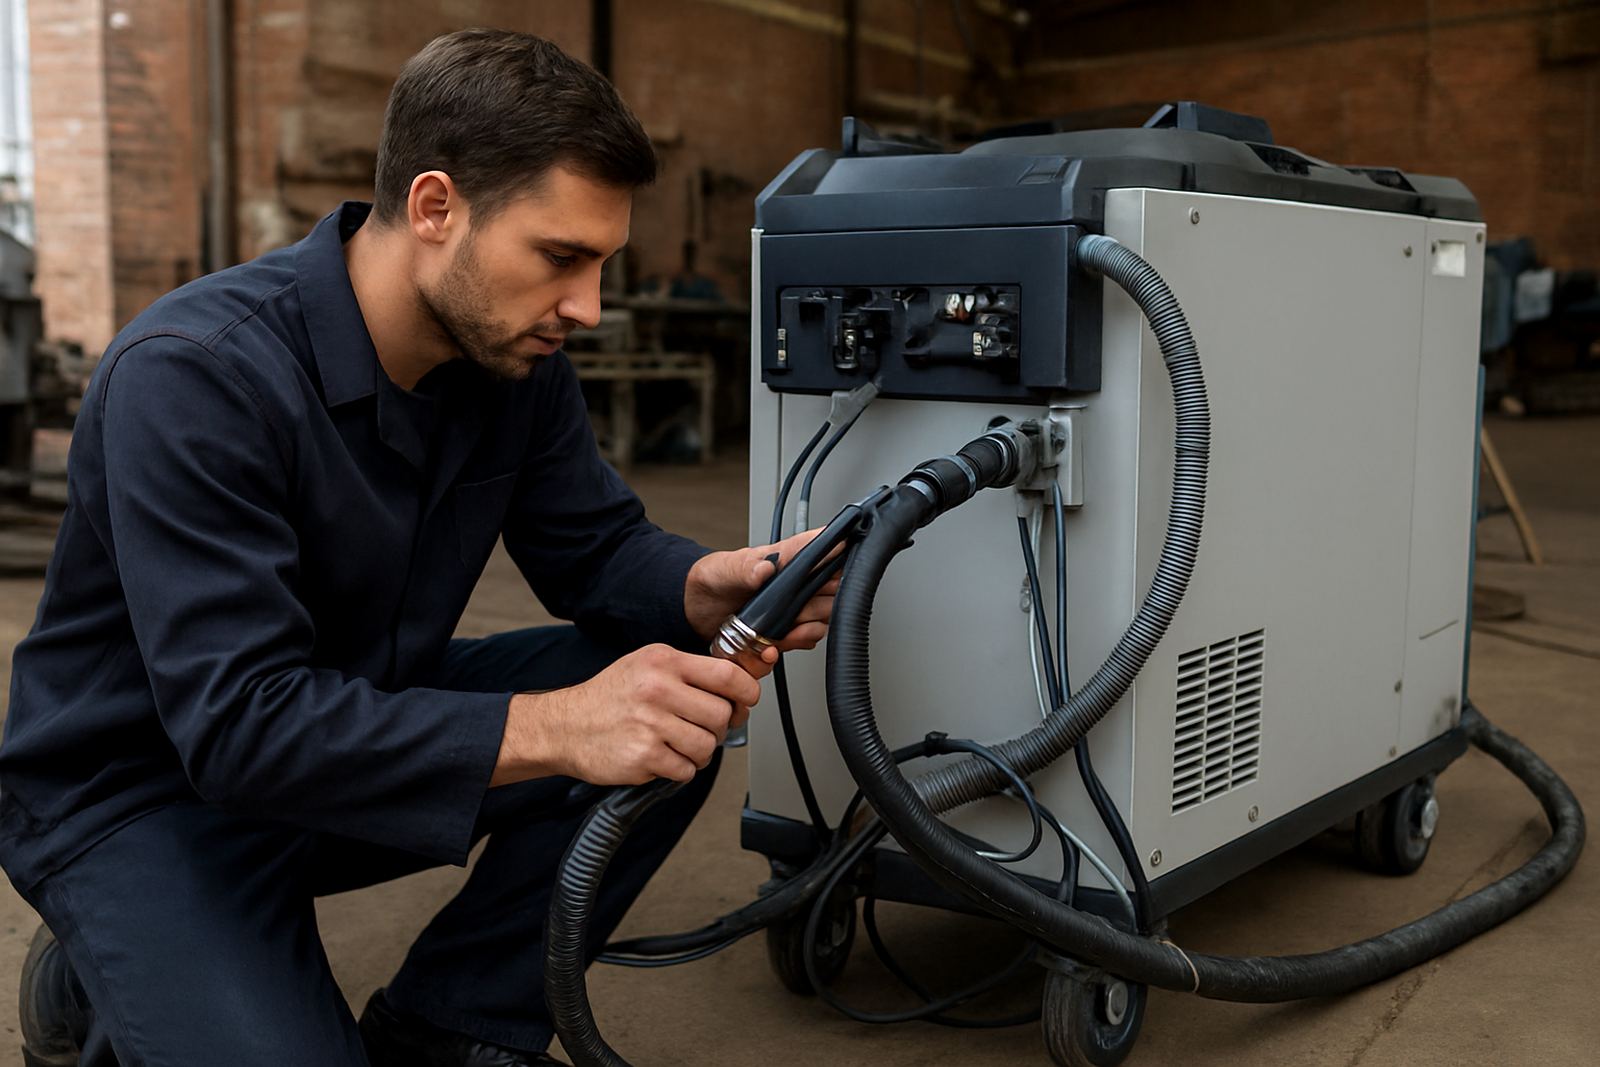
Even a skilled welder needs repeatable settings, clean consumables and well maintained equipment to keep visible work consistent. Check torch condition, contact points, wire feed and cooling performance before a run. If the machine has been standing idle, run a short test weld first. Small faults often show up first on polished stainless, not on hidden brackets.
Refresher training is useful when new staff join, when a shop changes material thickness, or when customer standards get tighter. In a busy fabrication bay, it only takes one poor setup to affect a whole batch. Keep a record of successful settings for common jobs such as tube frames, cabinet skins and panel trims, then reuse them as a starting point. That makes production steadier and helps new operators get up to speed more quickly.
For workshops in Spartan, Kempton Park and surrounding industrial areas, regular commissioning, preventive maintenance and process optimisation can make a noticeable difference to output. If the weld looks better from the start, there is less grinding, less rework and fewer delays before delivery. That is the kind of saving that shows up on the job card, not just on the machine.