Why fit-up matters before the first arc starts
Laser welding is often chosen because it can give a narrow bead, low heat input, and a tidy finish on stainless steel. But none of that helps if the parts are not prepared properly. When edges are uneven, gaps change from one end to the other, or panels have been pulled out of shape during handling, the weld pool has to compensate for poor preparation. That leads to underfill, burn-through, or a joint that looks neat on top but is weak underneath.
In many South African fabrication shops, the pressure is on to keep production moving. A team may be cutting, folding, tacking, and welding in the same shift, sometimes with load-shedding breaking the rhythm. If fit-up is rushed between power cuts or before a delivery run to Germiston or Boksburg, small errors quickly turn into scrap. The answer is usually not more heat. It is better alignment, cleaner edges, and a repeatable setup method.
The gap is too wide for the joint design
One of the most common problems is a gap that is simply too large for the joint. Handheld fibre laser welders can tolerate some variation, but they are not a cure for poor assembly. On thin stainless work, a gap that is fine on mild steel may be enough to cause drop-through or an inconsistent bead. This is especially true on visible work like covers, sinks, panels, guards, and food-grade fabrications.
For many shops, the issue starts at cutting or forming. A slightly bowed strip, a burr on one edge, or a bad bend line can open the joint by a millimetre or two. That might not sound like much, but it is enough to create trouble on a clean stainless seam.
- Check part dimensions before welding, not after the first tacking pass.
- Keep the gap consistent along the full length of the joint.
- Use clamps, magnets, or a simple fixture to hold the parts square.
- If the gap keeps changing, review cutting, bending, or press brake settings.
Heat distortion from earlier steps
Fit-up problems do not always begin at the welding table. Sometimes the sheet was already distorted during cutting, drilling, grinding, or poor storage. Stainless sheet can pick up a curve if it is stacked badly, left against a warm wall, or handled too roughly after a long day in the workshop. By the time it reaches the welder, the joint no longer sits flat.
That matters because laser welding does best when the seam is held in a stable, repeatable position. If the faces are rocking, twisting, or lifting at one end, the operator will spend more time chasing the joint than welding it. In a busy Spartan or Isando shop, that means slower output and more rejigs. A simple flat check on the assembly table can save a lot of trouble later.
Good handling also helps. Store cut parts level, avoid leaning panels at odd angles, and let hot material cool before final assembly. It sounds basic, but many fit-up faults start because the material was moved too soon or clamped while still stressed.
Burrs, contamination, and edge damage
Clean stainless still needs proper edge prep. Burrs from cutting, grinding dust, oil from handling, and marker residue can all affect how the joint closes up. On a laser weld, contamination is a bigger nuisance than many people expect because the process is fast and focused. There is less time to push through grime, so the weld can show porosity, colour change, or inconsistent penetration.
Edge damage is another one. If the corner of a panel has been knocked or the edge has been folded over slightly, the parts may look aligned from a distance but fail to sit properly under close inspection. This is common when parts are moved from one workstation to another on open trolleys or handled by more than one team.
- Deburr cut edges before assembly, especially on thin stainless.
- Wipe off oil, layout marks, and dust before clamping.
- Inspect edges for dents, nicks, and folded corners.
- Keep consumables and grinding areas separate from final assembly where possible.
Tacks that hold the joint but distort it
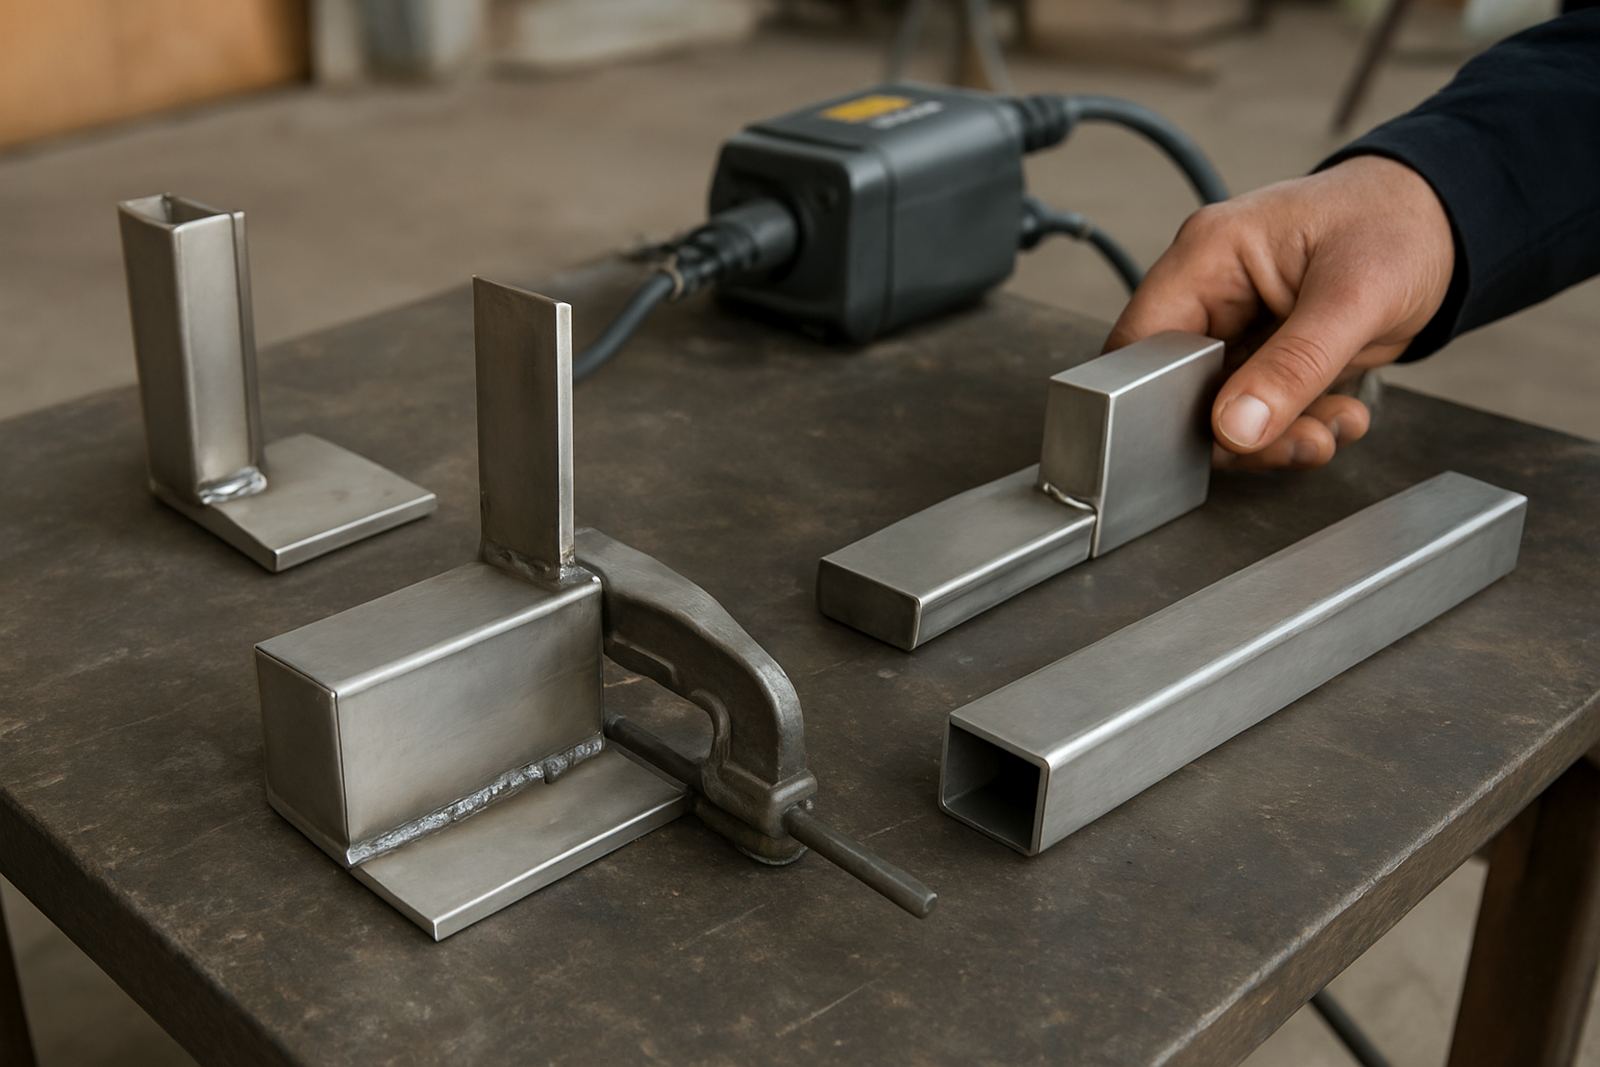
Tacks should help the fit-up, not fight it. If they are too large, too hot, or placed unevenly, they can pull the joint out of line. This is a common problem on long seams and box sections where the first few tacks look fine but the middle starts to wander. The result is a weld that follows the distortion instead of the intended line.
On stainless steel, that can also create visible heat marks around the tack area. Once the surface changes, the final finish may need extra cleaning or brushing, which adds time and cost. A better approach is to use smaller, more frequent tacks, check alignment after each one, and confirm that the fixture is holding the parts instead of the tacks doing all the work.
If the job is going into production, test the tack sequence on one sample piece first. That gives the team a chance to see how the material behaves before the full batch is run through. It is a small step, but it often prevents a larger batch of rework later on.
What good fit-up looks like in a working shop
Good fit-up does not have to be complicated. It just needs to be repeatable. A shop in Kempton Park making stainless components for food, dairy, or general fabrication should be able to produce the same joint size and edge condition from batch to batch. That is where training, clear work instructions, and a sensible welding sequence make a real difference.
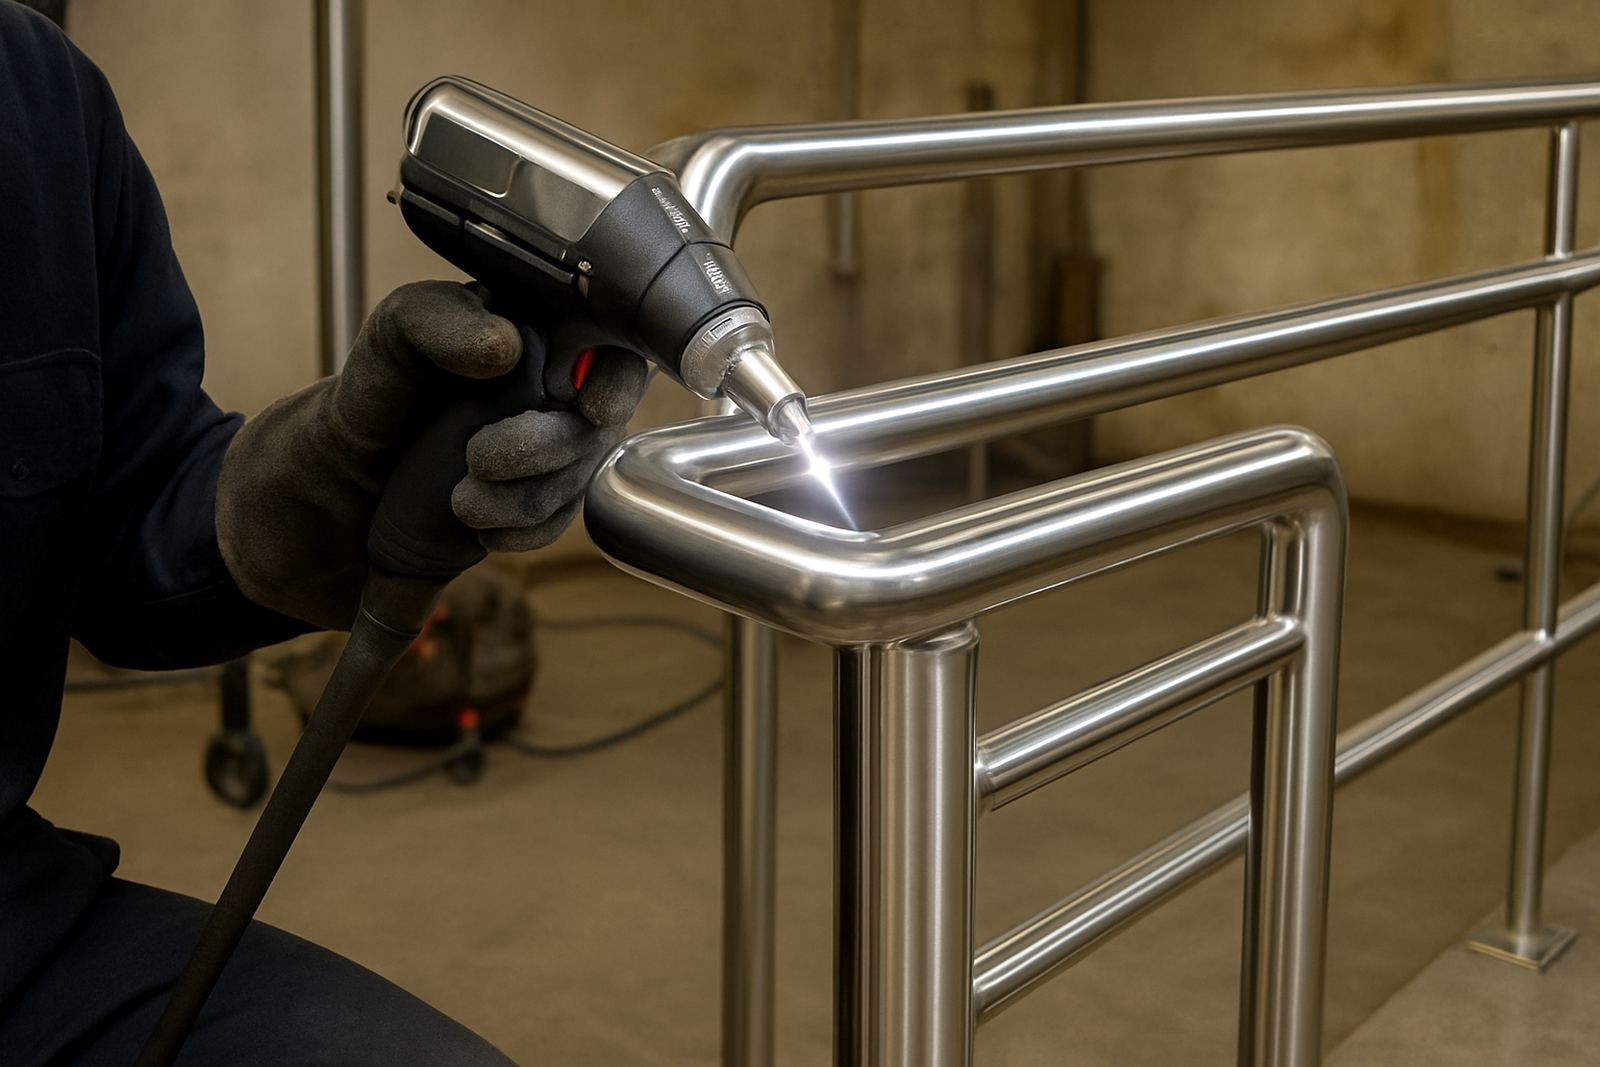
Laser welding helps when the basics are already under control. It can speed up production, reduce finishing time, and make it easier to keep a neat appearance on exposed stainless parts. But the machine should not be used to compensate for poor assembly. If the seam is open, warped, dirty, or badly tacked, the operator will spend more time correcting the job than welding it.
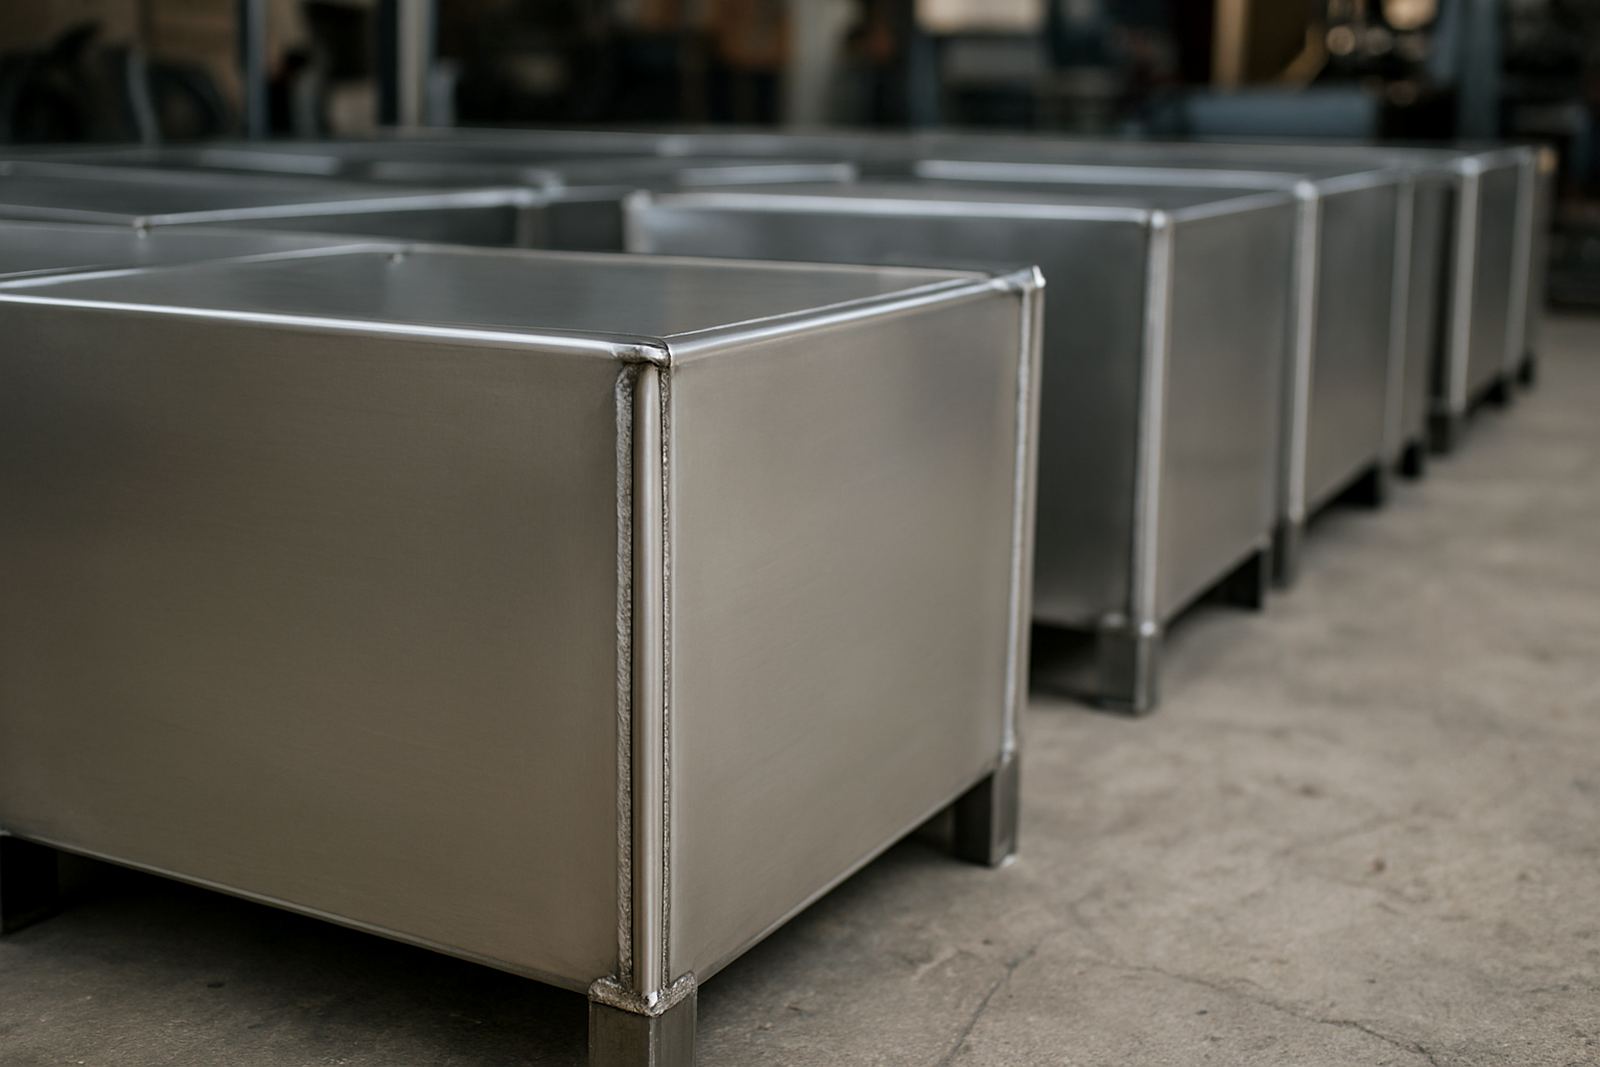
A local example comes up often in Ekurhuleni workshops: a stainless enclosure arrives for final weld-out after a long day of cutting and handling. The parts are clean enough, but the corners are slightly out and one side has a wider gap than the other. With a quick fixture adjustment, a better clamp point, and a check on the tack order, the same job can usually be finished with less rework and a much tidier result. That is the difference fit-up makes.
Training the team to spot faults early
Many fit-up issues are picked up too late because the team assumes the weld will sort them out. That is why practical operator training matters. Welders, supervisors, and fitters should all know what to look for before a part reaches the welding station. A short check at the start of the shift can prevent a day of frustration later on.
For workshops across Johannesburg, the East Rand, and nearby industrial areas, it helps to build a simple routine around every job:
- Check the part against the drawing before tacking.
- Confirm the joint gap with a feeler or visual reference.
- Look for distortion after clamping and after each tack.
- Stop and correct the setup if the seam starts to drift.
- Record repeated faults so the cutting or forming step can be improved.
When fit-up gets better, laser welding becomes easier to control, safer to repeat, and more productive. The process is not magic. It still depends on sound preparation, steady hands, and a workshop that pays attention to the small things.