Start with the finish the client will actually see
On polished tanks, catering counters, lift surrounds and retail displays, the eye goes straight to the joint line. That means the weld plan must match the final look, whether the job is brushed, satin or mirror-polished. If the seam will stay visible, do not treat it like hidden structural work.
In South African workshops, the quickest way to lose time is to chase a neat finish after the weld has already been overheated. Decide early how much of the joint will remain visible, how wide the heat affected zone can be and what level of dressing is acceptable. A small change in preparation can save hours later.
Fit-up is the first visible weld control
Clean visible joints begin with accurate fit-up. Gaps that are too wide force extra filler, which usually means more grinding and a greater chance of discolouration. On thin stainless, even a slight step between panels will show once the light hits it.
- Cut edges square and remove burrs before assembly.
- Clamp panels evenly so the joint does not open under heat.
- Use copper or stainless backing where the job allows it.
- Check alignment from the viewing side, not only from the inside.
For decorative work in Kempton Park or Isando, a few extra minutes on fit-up often matters more than speed at the weld bench. Tight joints give you a better bead profile and less rework, simple as that.
Choose a process that keeps heat under control
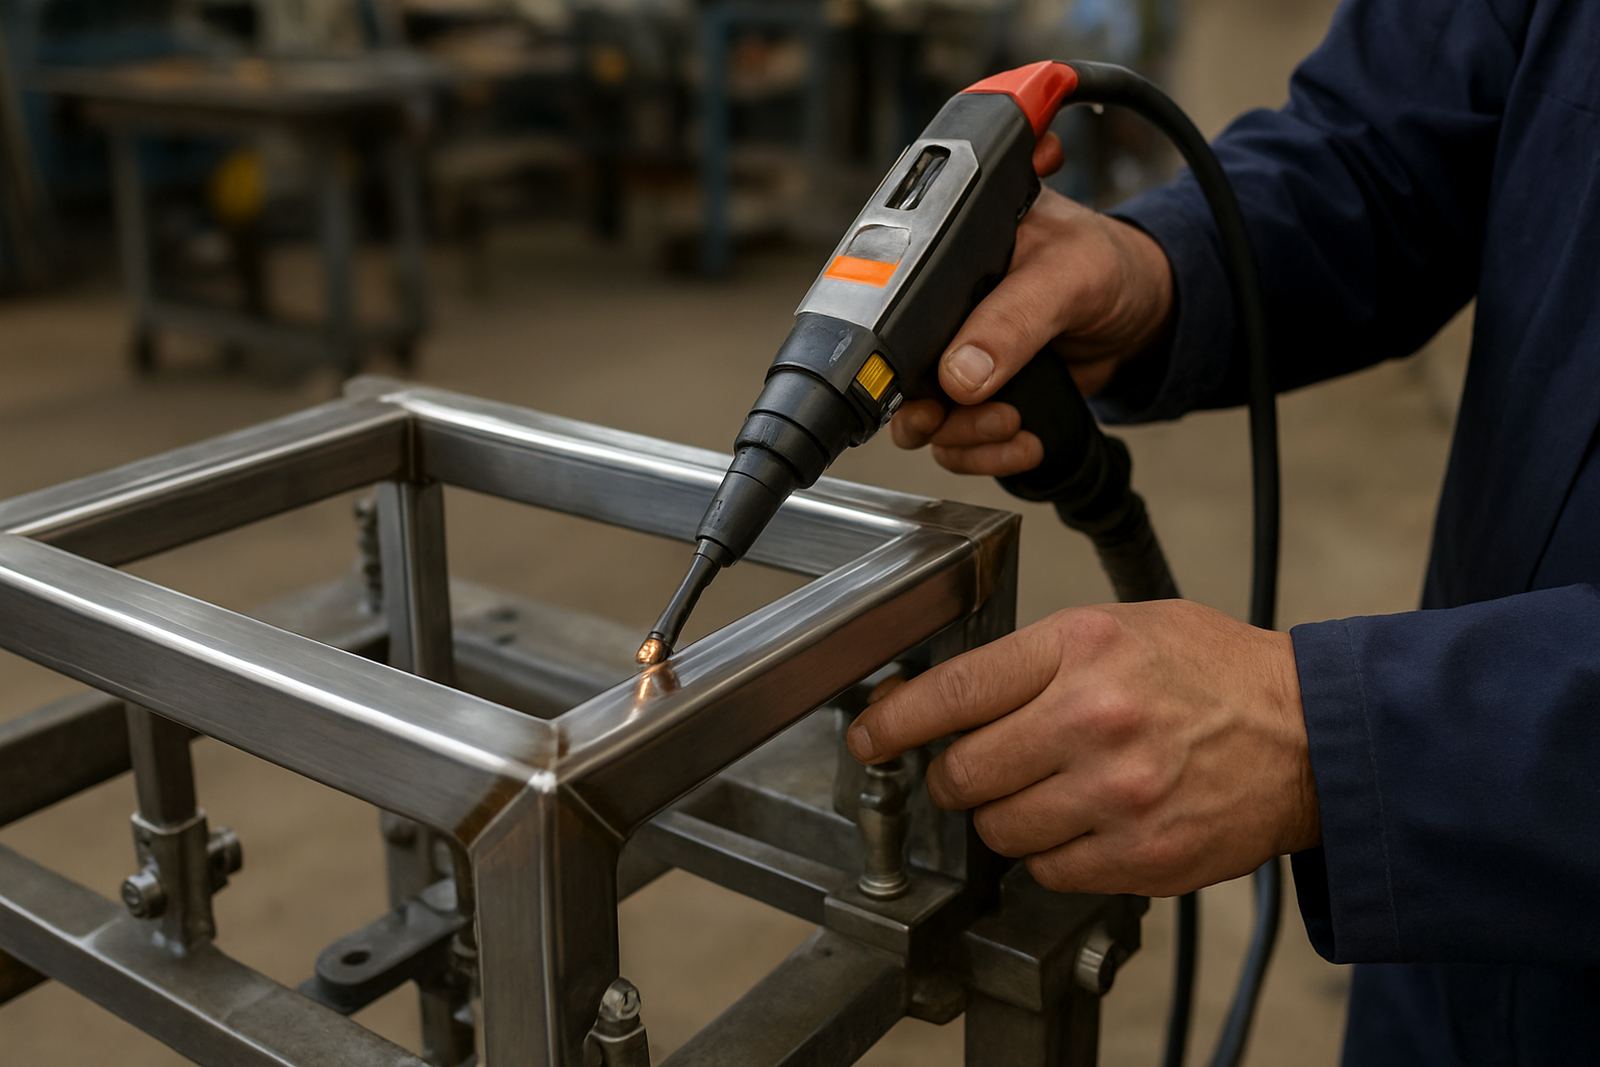
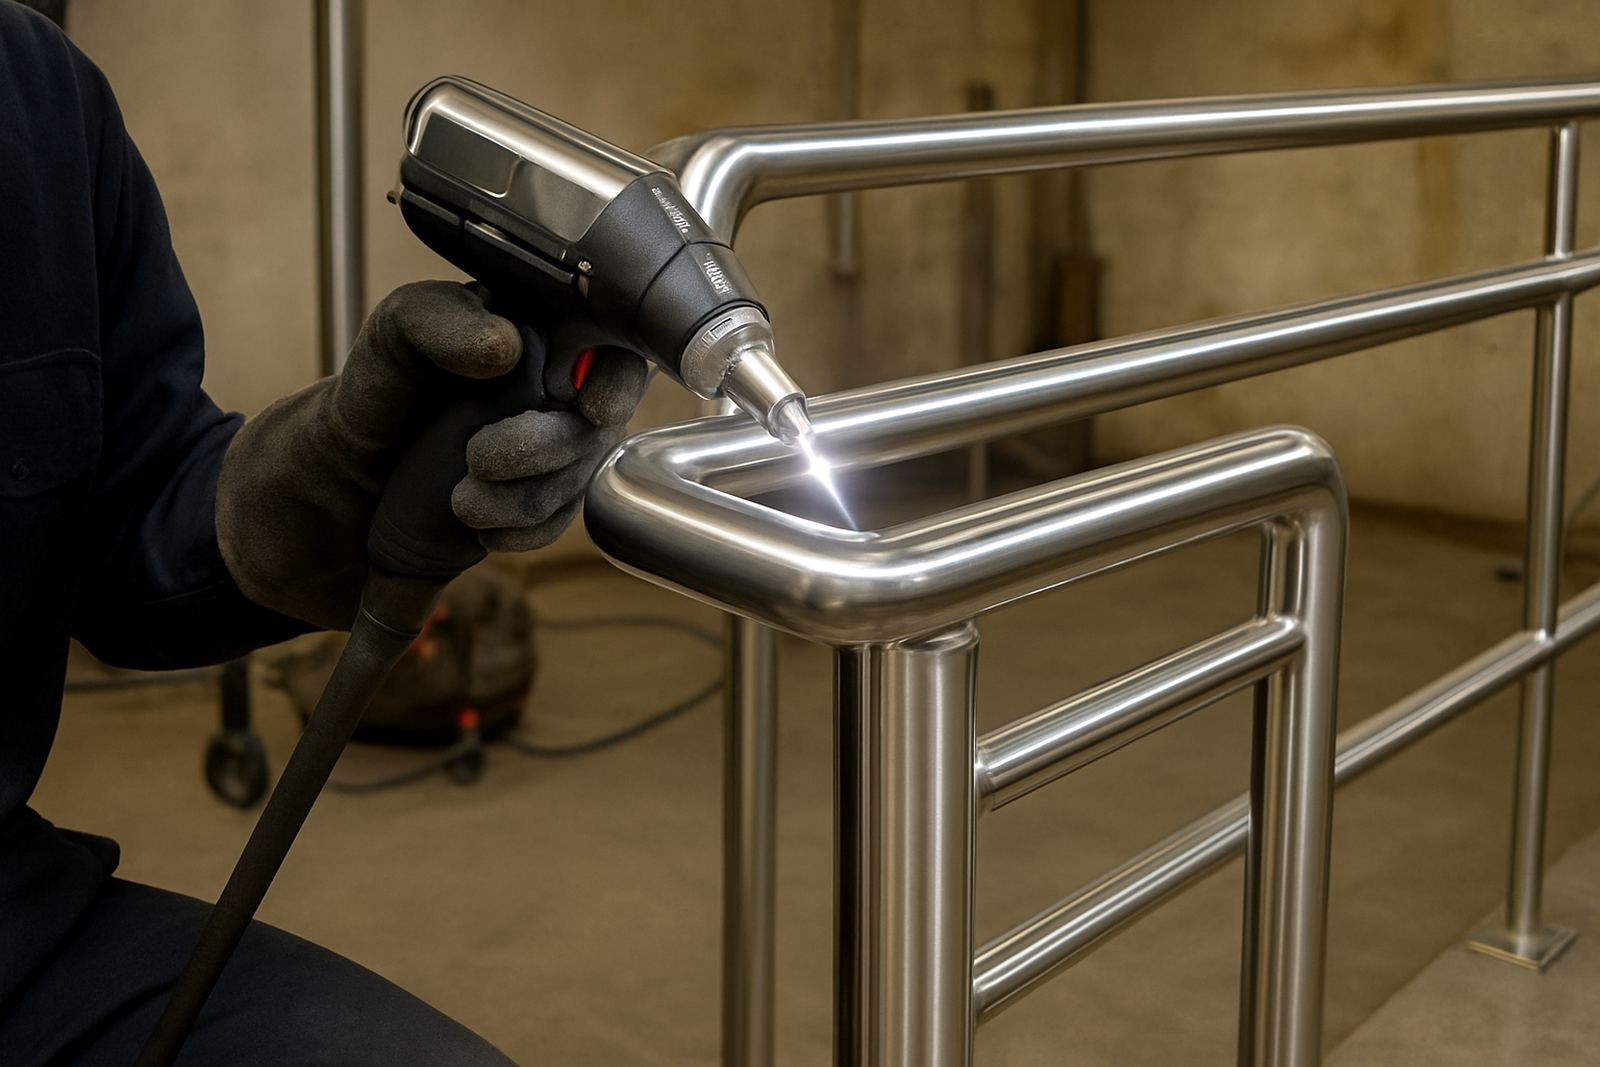
Visible stainless work needs a process that gives control over heat input and bead width. Handheld fibre laser welding is useful here because the heat can be concentrated, which helps reduce distortion and keeps the weld cleaner on thin material. That is especially handy when fabricators are working with sheet, tube and small enclosures in the same week.
For customer facing assemblies, the goal is not just strength. It is a narrow, repeatable weld that does not pull the panel out of shape or leave heavy oxidation. In many cases that means fewer passes, less filler, and less time spent on dressing. Where the parts are thin or polished, process stability matters more than raw speed.
- Keep travel speed steady to avoid ripples and scorching.
- Use the smallest practical weld size for the duty.
- Test on offcuts before starting the main job.
- Watch the back side for heat marking on thin panels.
Plan the weld sequence around distortion
Stainless moves when it gets hot, and visible jobs punish poor sequencing. If you weld one long side first, the panel may pull away from the corner and leave a gap that was not there at the start. A better sequence balances heat and keeps the assembly flat.
On a polished service counter for a Johannesburg client, for example, the order of the welds can matter more than the weld size itself. Short runs, alternating sides and allowing cooling time between sections will usually give a neater result. That also reduces the amount of straightening needed after welding, which is often where surface damage starts.
It helps to mark the weld order on the job card before the first tack. When the team is busy and load-shedding changes the day, a clear sequence keeps the work moving instead of relying on memory.
Finish work without ruining the surface
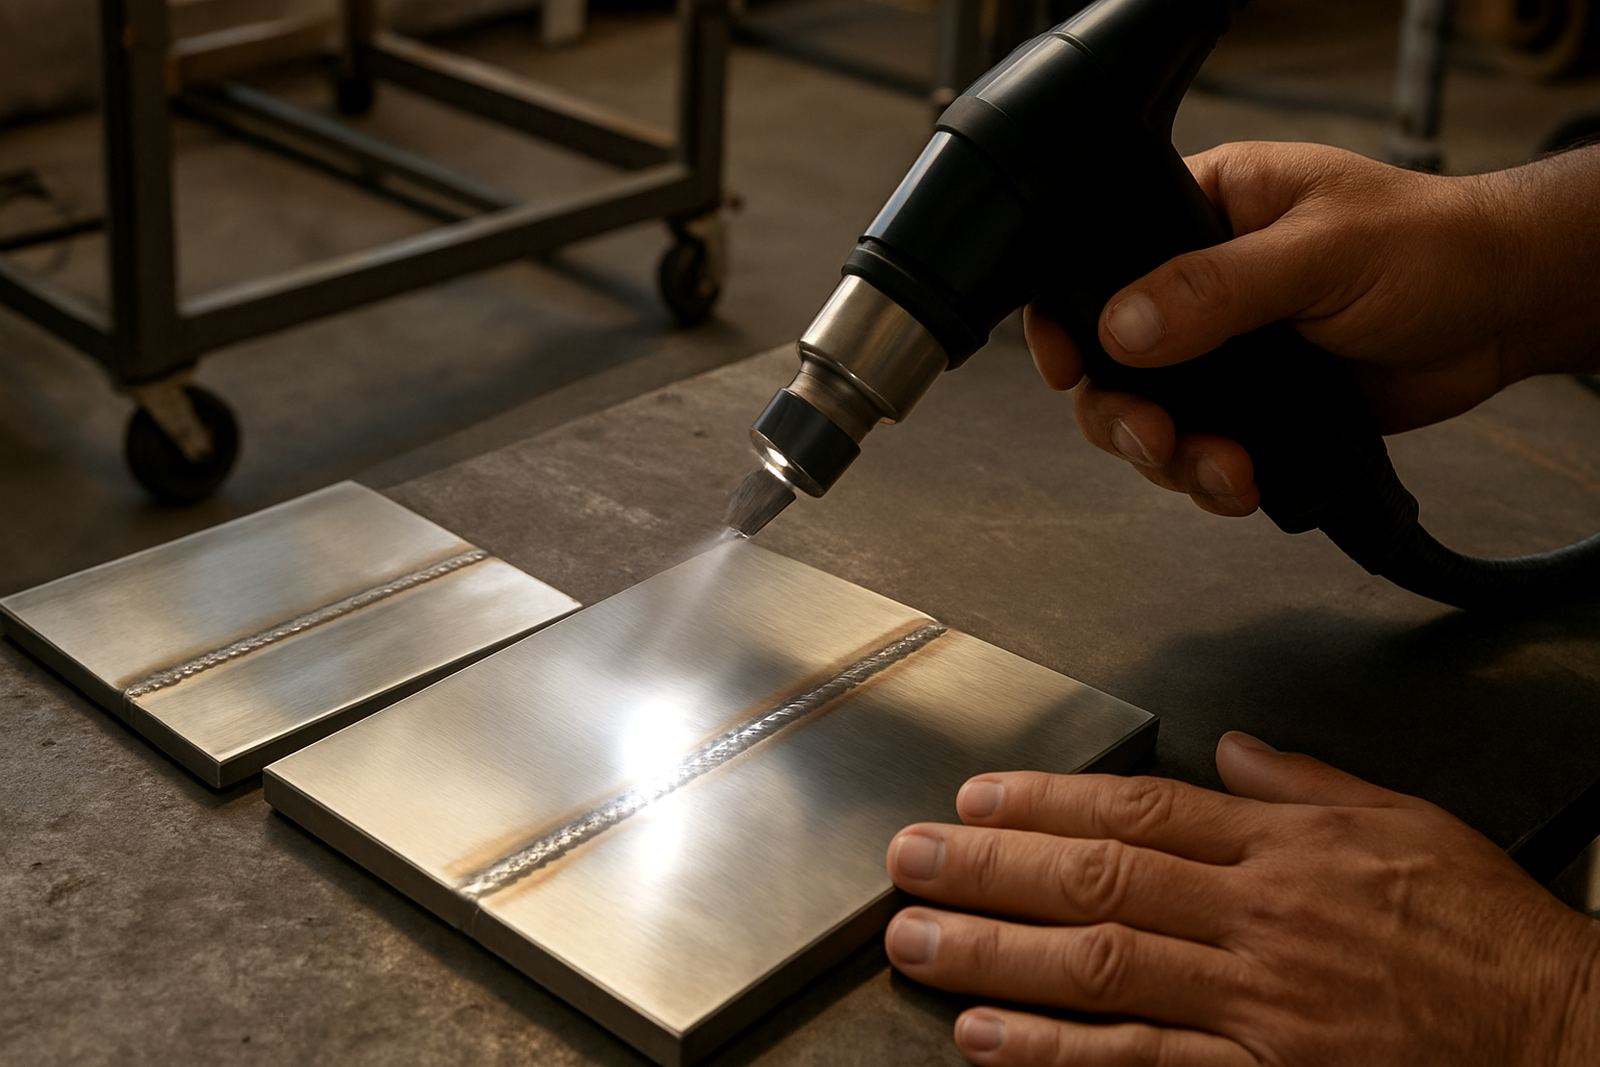
Once the weld is in, the real discipline begins. Grinding too aggressively can flatten the surrounding finish and make the repair more obvious than the original joint. The aim is to blend, not to erase every trace of the weld at all costs.
Where the design allows it, keep the weld bead consistent and limit dressing to the minimum needed for the application. Match the final surface direction to the rest of the part so the eye does not catch a patch of random scratch marks. On brushed stainless, always work with the grain. On polished work, keep contamination out of the finishing area or you will chase rust spots later.
- Use clean abrasives reserved for stainless only.
- Remove heat tint before the job leaves the shop.
- Wipe down with suitable cleaners, then dry properly.
- Check corners and underside joints under bright light.
Training the operator changes the result on site
Visible joint work depends on the person handling the torch as much as the machine. A machine can be capable, but if the operator is unsure about speed, angle or heat control the finish will suffer. That is why operator training and refresher sessions pay off quickly on stainless fabrication floors.
Laser-Welder works with fabrication shops across Ekurhuleni and nationwide, including Spartan, Jet Park, Edenvale, Germiston and Boksburg, to help teams set up repeatable welding routines. In practice that can mean commissioning on arrival, process optimisation on a tricky job, or a short workshop demo before production starts. The best improvement often comes from adjusting the method, not replacing the whole setup.
A practical example from a Kempton Park workshop
A stainless fabricator in the Spartan area may be building a run of customer facing wall panels for a commercial kitchen. The brief is clear: the welds must be tidy, the surface must stay flat and the finish must survive daily cleaning. In that case the team should trial the joint on offcuts first, confirm the bead profile and agree who will handle final cleaning before the production run starts.
When that kind of job is planned properly, the workshop can move faster with less scrap and fewer complaints at handover. If the result looks good under shop lights, it usually holds up better when the client sees it on site. That is the real test for visible joints, not just whether the weld held together.
For fabricators working in coastal humidity or in busy plants where downtime is expensive, the same basic rules still apply: clean prep, controlled heat and disciplined finishing. Get those three right and customer facing stainless becomes a lot easier to deliver.