Why tube corners are the jobs that show everything
On stainless tube, a corner joint does not hide much. If the cut ends are square, the gap is even and the torch stays steady, the weld can look clean with very little dressing. If the fit-up is poor, the puddle drops away on one side and the whole frame starts to pull out of line. That is why corner work is often the quickest way to judge a fabricator's control.
In workshops around Spartan, Kempton Park and Isando, the same pattern comes up again and again: good tube work is less about forcing more heat into the joint and more about preparing the joint properly. A handheld fibre laser welder makes that easier because the heat is concentrated, but it still punishes a sloppy corner. The beam will follow the gap, and any mismatch shows up straight away.
For stainless tube frames, especially on trolleys, food equipment, guards and display units, the aim is not just strength. The aim is a joint that looks right, cleans easily and keeps its shape after the final weld. That matters in Gauteng workshops where jobs move fast and customers still expect neat finish, even when load-shedding interrupts the day.
Start with fit-up before you touch the trigger
Corner technique starts with the cut, not the weld. Tube ends must meet with as little mismatch as possible. If one leg sits proud, the beam concentrates on the higher edge and leaves the lower side starved. That is when you get underfilled corners, extra oxide and a wider heat mark than necessary.
Before welding, check the following:
- Cut ends are square and free from burrs
- The corner gap is consistent all the way through
- Tube faces are clean, dry and free from oil
- Clamps hold the frame true with no twist
- Any tack welds are placed where they will not disturb the final pass
On thinner stainless tube, even a 0.5 mm gap can change how the joint behaves. If the frame is long, make sure the clamping points are spaced well enough to stop movement when the first side heats up. A small twist at one corner can run through the whole frame and turn a neat rectangle into a crooked one.
Torch angle and travel speed on a corner joint
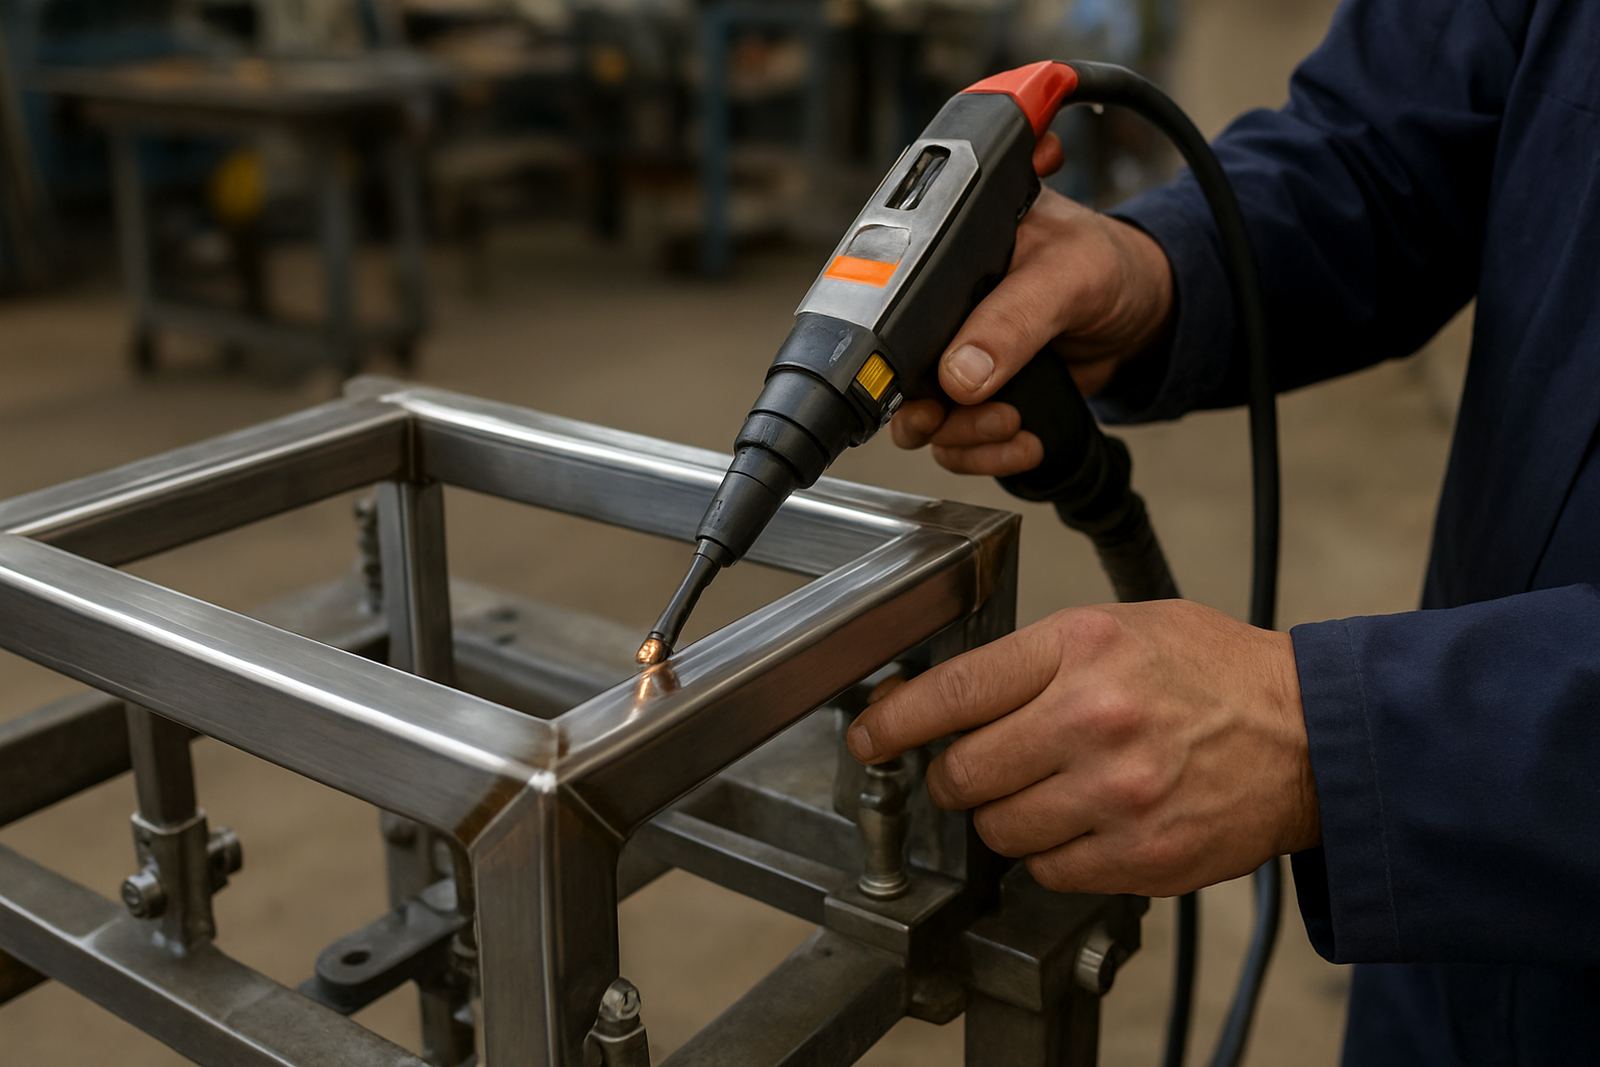
With tube corners, torch angle is doing a lot of work. Keep the beam aimed into the centre of the joint, but do not lean so far toward one face that the other side loses fusion. The best angle is usually the one that keeps both edges active at the same time while letting you see the puddle form evenly. That sounds simple, but in practice it takes steady hands and a repeatable stance.
Travel speed should be fast enough to avoid over heating, yet slow enough to build a continuous bond through the corner. On stainless tube, too much dwell can darken the metal and widen the heat-affected zone. Too little dwell and the weld sits on top instead of tying in. The sweet spot is found by watching the puddle shape, not by guessing from sound alone.
A practical trick is to practise on off-cuts cut from the same tube size. A 25 x 25 mm frame will behave differently from a 50 x 25 mm section, and wall thickness changes the response again. If you are moving between jobs in Edenvale, Germiston and Boksburg, that habit saves time because you can dial in your hand position before you get to the customer's frame.
When the corner is tight, keep the nozzle path smooth and avoid sudden wrist flicks. A sharp change in angle can cause the beam to wash one edge and leave a visible line on the face. For appearance work, that is often the detail that separates acceptable from rework.
Managing heat so the frame stays square
Stainless tube moves quickly once it starts warming up. A corner weld that looks fine on the bench can still pull the frame out of square after the third or fourth joint. That is why sequence matters. Do not run around the frame in one direction every time. Stagger the corners so the heat spreads more evenly across the job.
For small workshop pieces, the usual approach is to tack all four corners, check the diagonal measurements, then weld opposite corners in sequence. On larger assemblies, you may need to break the work into sections and let the metal cool between passes. This becomes even more important in summer when the shop floor is already warm and the metal does not shed heat as quickly.
Heat control is also where handheld fibre laser welders help fabricators working near Kempton Park and Spartan. Because the process is concentrated, you can often use less filler and leave less distortion than with more traditional methods. That said, the machine cannot fix poor sequencing or badly prepared tube. It still needs a thoughtful operator.
- Weld opposite corners to spread heat
- Check squareness after tacks, not only at the end
- Let the frame cool if the joint starts pulling
- Use clamps that hold without marking the visible face
What a clean stainless corner should look like
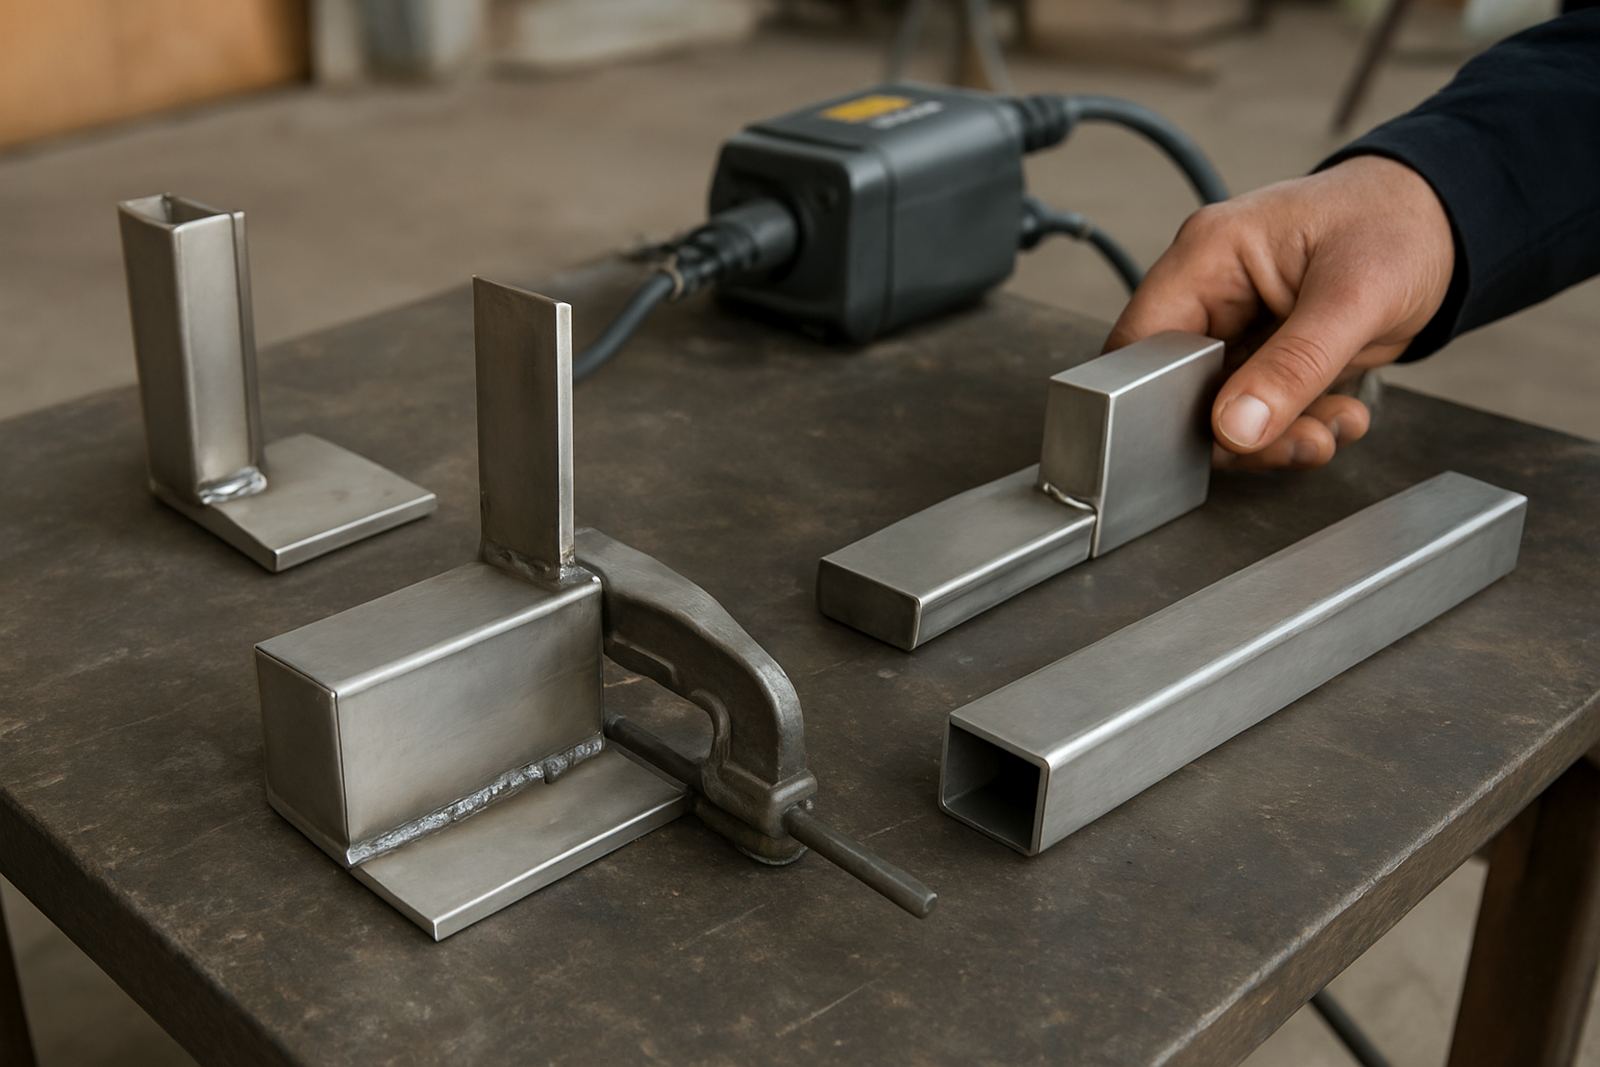
A good corner weld on stainless tube should have even bead width, full tie-in and a finish that does not need heavy grinding. The colour should stay controlled, especially if the frame will be used in a visible or hygienic environment. If the weld is dark blue or black, the process probably ran too hot or the shielding was not steady enough.
Look for these signs of a sound joint:
- The weld starts and stops cleanly without lumps
- Both tube faces show equal fusion at the corner
- There is no visible collapse on thin wall sections
- The frame remains square after cooling
- The finish is consistent from one corner to the next
In fabrication shops that produce stainless racks, oven stands or service trolleys, these details affect both appearance and cleaning. Rough edges trap dirt and make the final product harder to maintain. A corner that looks neat on day one also saves time during final handover.
Training the hand is half the work
Good corner welding is built through repetition, but the repetition has to be deliberate. Operators need to understand how each tube size behaves, how to adjust for different wall thicknesses and when to stop and correct the fit-up instead of trying to rescue a bad joint. That is often the difference between steady output and shop-floor frustration.
In Ekurhuleni workshops, training usually works best when it happens on the same material the team uses every day. A crew welding light stainless frames for catering equipment will need a different rhythm from a crew making heavier structural tube assemblies. If the training only happens on sample pieces that do not match the real job, the results fall away once production starts.
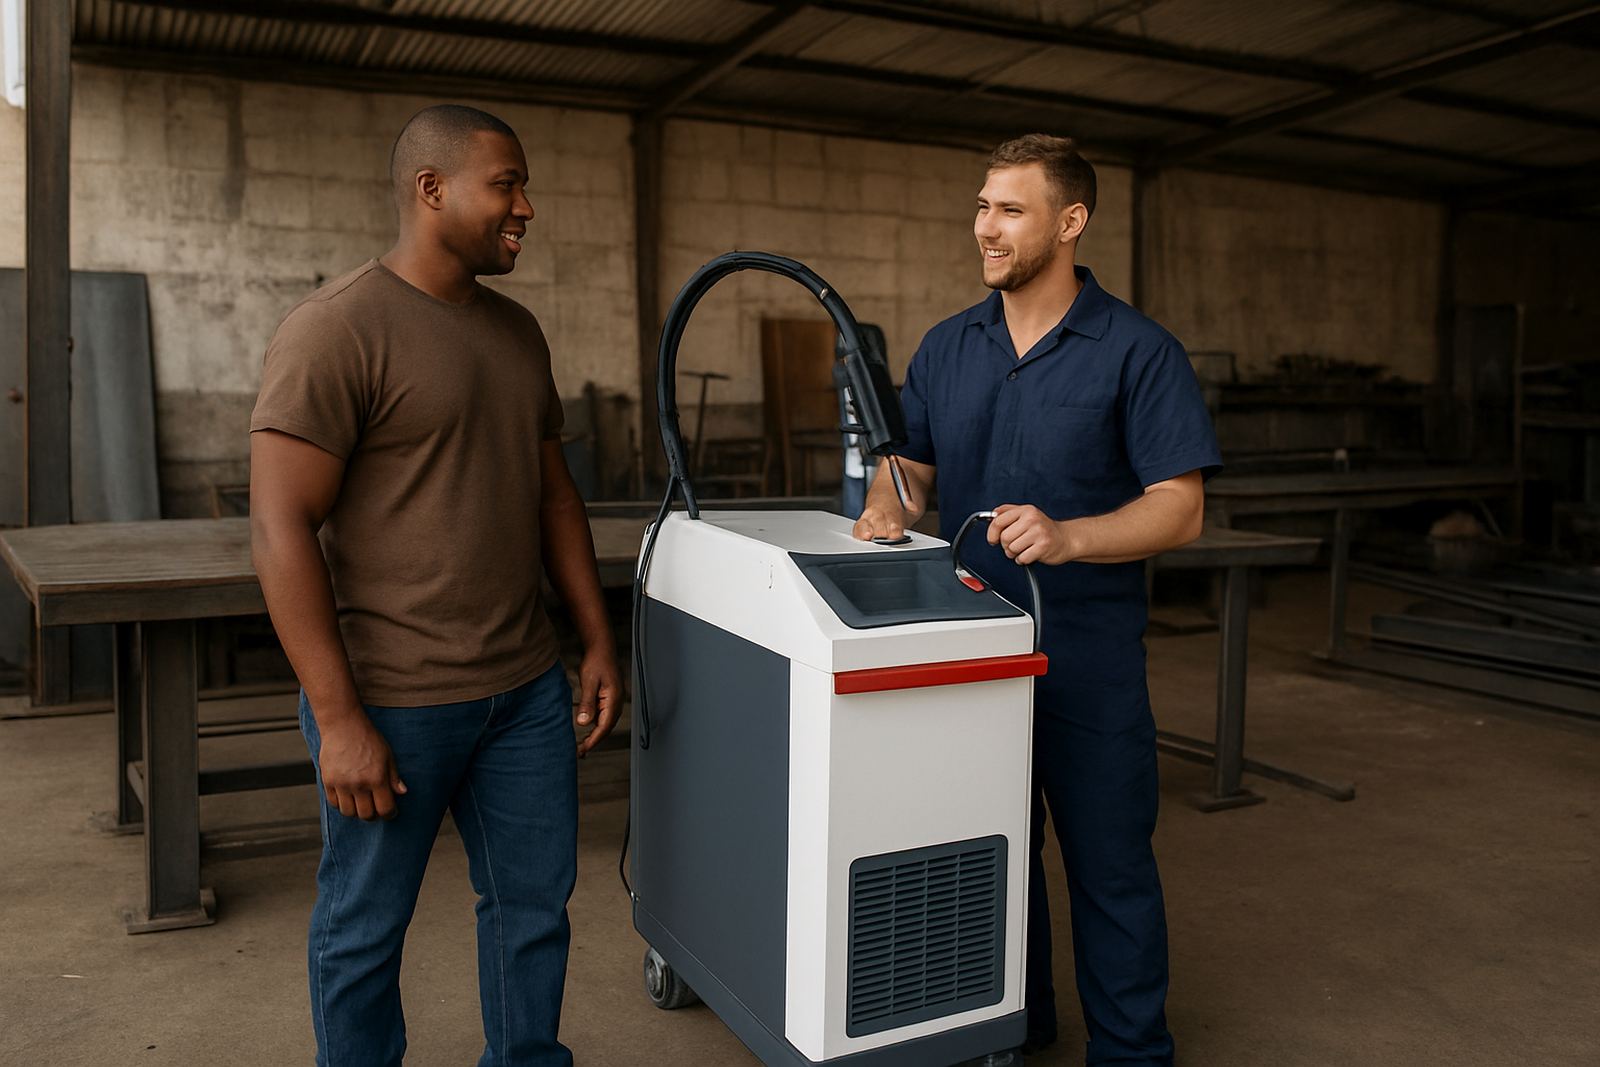
At Laser-Welder in Spartan, Kempton Park, we see that most fabricators improve fastest when they combine hands-on practice with process checks. That includes machine commissioning, operator training, process optimisation and refresher sessions after a staff change or a production shift. If a corner keeps opening up or the weld colour keeps changing, the answer is usually in the setup and the sequence, not in pushing harder at the torch.
A Kempton Park example from a busy stainless shop
A stainless fabrication shop in Kempton Park recently had a run of tube frames for a small processing line. The corners looked acceptable at first glance, but the frames kept drifting out of square after the second side was welded. The team had been chasing the problem with more clamping force, yet the real issue was a slight mismatch in the cuts and a welding sequence that loaded heat into one side too early.
After a proper check, the corners were re-cut, the tacks were balanced and the sequence was changed to alternate opposite joints. The welds became more even, the frames stayed square and the finish needed far less dressing. That kind of improvement is common when the joint prep and torch control are treated as part of one process, not separate jobs. It saves time, reduces scrap and makes the whole cell easier to run, even when the day gets interrupted by power cuts.
For fabricators working across Spartan, Jet Park, Alberton and the wider East Rand, the lesson is plain: clean tube corner work is not luck. It is the result of accurate preparation, steady hand technique and a process that matches the job.