Why visible seams need a different approach
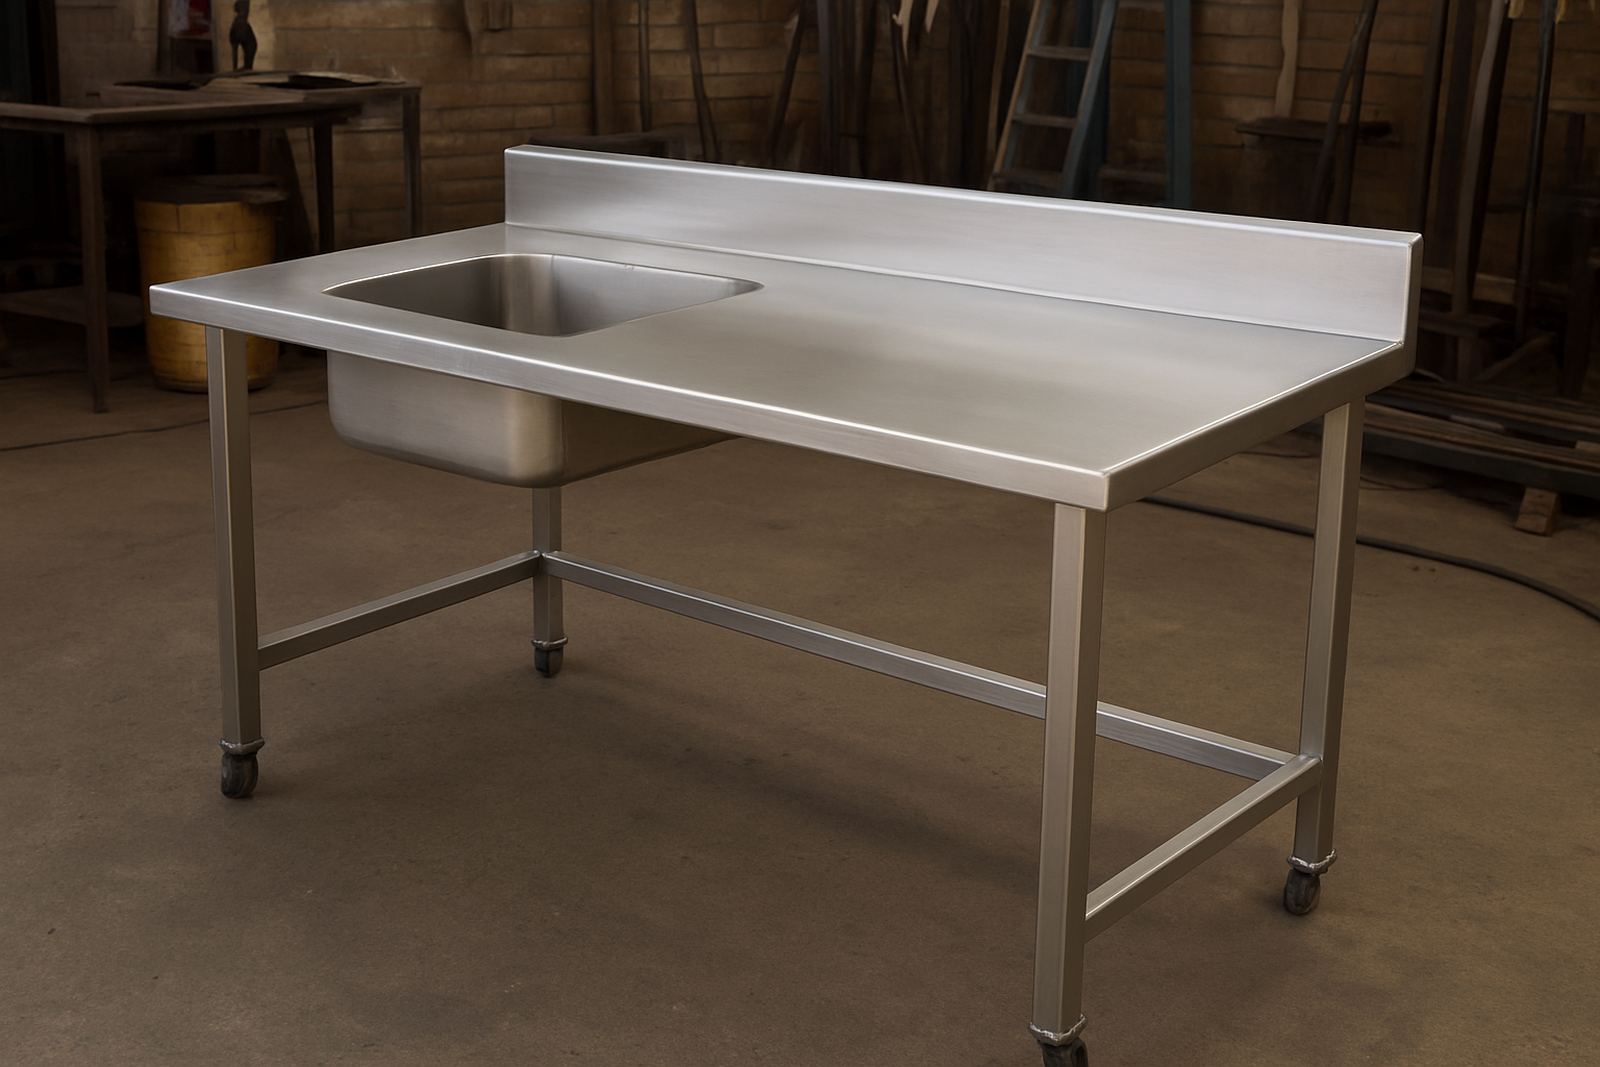
On a stainless countertop, the customer notices the join before anything else. If the seam sits on a prep line, a service counter, or a restaurant splashback return, the weld has to do more than hold the pieces together. It has to look tidy after grinding, take cleaning chemicals, and still cope with heat, vibration, and constant wiping.
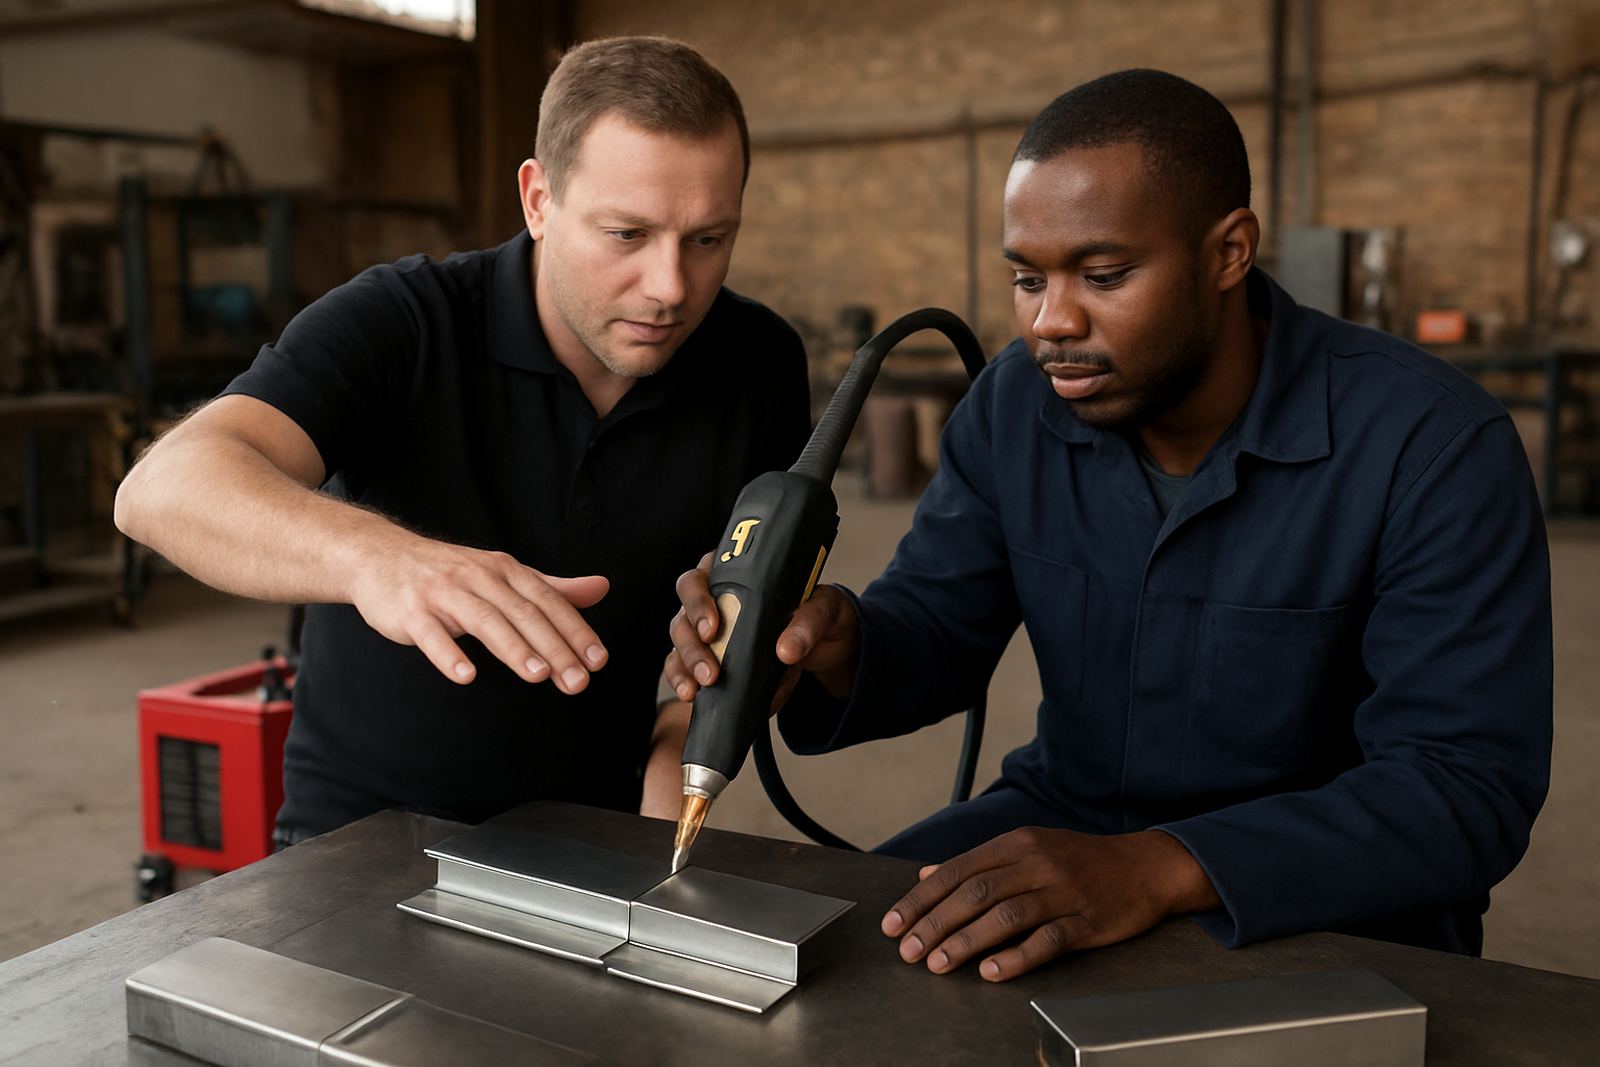
A handheld fibre laser welder suits this kind of work because the heat is concentrated and controlled. That helps reduce distortion on thin stainless sheets, especially where tops are folded with returns and welded around sink cut-outs or corner joints. You still need proper fit-up and clamping, but the welding stage becomes faster and easier to repeat.
For many fabricators, the real gain is not just appearance. It is the time saved on finishing. Less heat input means less pulling, fewer highs and lows, and less effort on the linisher or polishing wheel afterwards.
Set up the joint before you strike an arc or beam
Good countertop welding starts long before the machine is switched on. Stainless sheet that is not square, clean, or properly supported will fight you at every step. In small workshops around Spartan and Kempton Park, the best results usually come from a simple routine: cut accurately, deburr the edges, clean off oil, and clamp the joint tight along its full length.
Pay close attention to gaps. A laser weld can bridge minor imperfections, but it is not a cure for poor preparation. If the seam opens up in one section, the finish will show it and the underside may need more rework than planned. For thin kitchen tops, especially 1,2 mm to 1,5 mm stainless, keep the joint line even and use backing support where needed.
- Use clean, flat jigs so the top does not twist during welding.
- Mark sink cut-outs and fold lines before final assembly.
- Keep filler and tools dry, especially in coastal humidity or after rain.
- Check your earth path and cable condition before starting a long run.
How laser welding helps on stainless counter seams
When the seam is visible, a laser first approach can give a more controlled result than traditional methods on many jobs. The weld bead is narrow, so there is less heat spread into the surrounding sheet. That helps on long straight seams, front edges, and mitred corners where distortion can ruin the line of the top.
For fabrication shops handling both one-off counters and repeat production, this consistency matters. Once the operator is trained, the same settings and movement can be used across similar jobs, which makes quoting and scheduling easier. It also helps when a client wants several matching counters for a retail site, school canteen, or hospital prep area.
That said, machine skill still matters. The hand must stay steady, travel speed must be consistent, and the seam must be monitored as you go. A clean weld is one part equipment and one part process discipline. When those two work together, the finishing stage becomes much shorter.
Finishing the top for food areas and public use
After welding, the finish has to suit the space. A back-of-house prep counter may accept a more practical brushed look, while a front-of-house serving counter often needs a cleaner visual line. Either way, the aim is the same: remove sharp edges, blend the seam, and leave a surface that is simple to clean.
Be careful not to over-grind the area around the weld. Overworking the surface can leave a hollow, and that hollow becomes obvious once the counter is installed under bright lighting. It can also trap dirt or water. On food service jobs, a flat and consistent finish is easier to keep sanitary than a patchy one with deep scratch patterns.
- Finish in one direction so the grain looks consistent across the full top.
- Test the seam under workshop light before the job leaves.
- Wipe down with a clean cloth and inspect for heat tint.
- If the client wants a brushed finish, keep the brush pattern even across joins.
Plan for power interruptions and busy production days
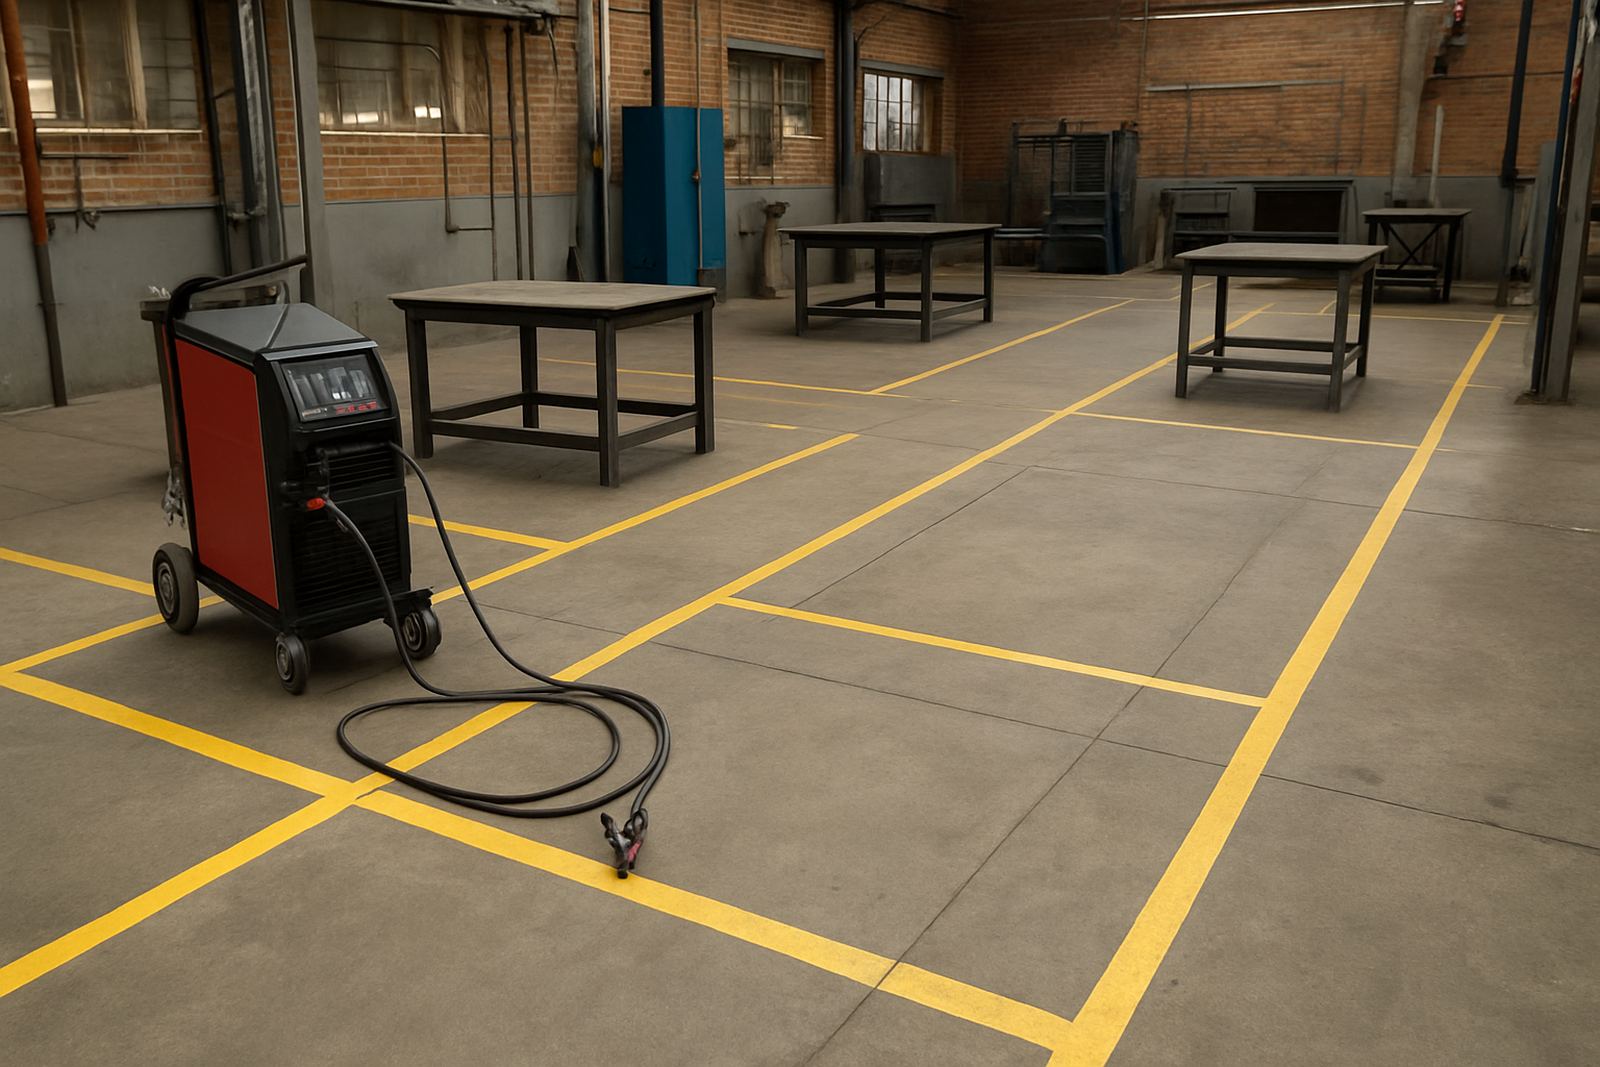
In South African fabrication shops, load-shedding changes how work gets scheduled. Countertops are often made in batches, so it helps to plan welding, grinding, and final inspection around available power windows. A handheld fibre laser welder can fit well into that workflow if the shop has its supply, prep tables, and extraction sorted before the shift starts.
Preventive maintenance also plays a part. Keep lenses, nozzles, and cooling checks on a routine, and do not leave maintenance for the day before a handover. A breakdown on a Friday afternoon can hold up an entire fitment team, and it is usually the smallest part that causes the biggest delay.
For larger projects in Ekurhuleni, a good production flow is often the difference between profit and rework. When the machine is set up correctly and the operator knows the process, you can move from one top to the next with less stop-start time and fewer quality issues.
A local example from a Kempton Park fabrication shop
A recent countertop job in the Kempton Park area involved multiple stainless worktops for a food preparation area with several sink openings and visible front seams. The workshop had the sheet cutting sorted, but the client wanted cleaner joins than the normal grind-and-polish finish would allow. The team brought in a laser welding approach for the visible sections and kept the rest of the structure in their usual process.
The result was less distortion across the long front edge and a neater look around the sink surrounds. More importantly, the shop finished the job faster because the seam cleanup was lighter. The client got a surface that was easier to wipe down, and the fabricator had a process they could repeat on the next order without reworking the setup from scratch.
That is where proper training matters. A machine can only help if the shop understands fit-up, travel speed, cleaning, and aftercare. With the right guidance, the same team can handle small café counters in Edenvale or larger production runs in Jet Park with the same level of care.
What to ask before you switch to a laser process
If your workshop is considering a laser first approach for stainless countertops, it helps to ask a few practical questions before committing to a new workflow. The answers will tell you whether the machine suits your thickness range, your daily output, and the kind of finish your clients expect.
- Will you be welding mostly visible seams, internal joints, or both?
- What thicknesses do you handle most often on countertop jobs?
- Do you need training for one operator or a full team?
- How quickly must the machine be ready after power cuts or maintenance?
- Will you need support for process setup, weld testing, or production rollout?
Laser-Welder works with fabricators from Spartan, Isando, Jet Park, Edenvale, Germiston, Boksburg and Alberton, and also supports shops further afield with demos, training, and process help at customer premises. For stainless counter work, that local support can make a proper difference when deadlines are tight and the finish has to be right the first time.