Why seam appearance matters on stainless steel jobs
When a seam is going to be seen, appearance becomes part of the product. That applies to catering equipment, balustrades, shop fittings, medical frames and fabrication work for food plants where the finish must look tidy as well as perform well. A neat weld is not just about looks, it usually shows better control of heat, travel speed and fit-up.
In many South African workshops, post weld dressing eats time. Grinding, blending and repolishing can stretch a simple job into an all day task. If you can reduce spatter, undercut and distortion at the weld stage, the seam needs less finishing afterwards and you keep more margin in the job. That matters when power cuts, mixed material batches and tight delivery dates already put pressure on the floor.
On stainless steel, poor appearance often comes from small issues rather than one major fault. Dirty edges, poor clamping, wrong shielding gas flow or inconsistent torch angle can all leave a seam that looks heavy, rough or uneven. The good news is that these are usually fixable with process discipline, not major redesign.
Start with fit-up and joint prep before the first arc
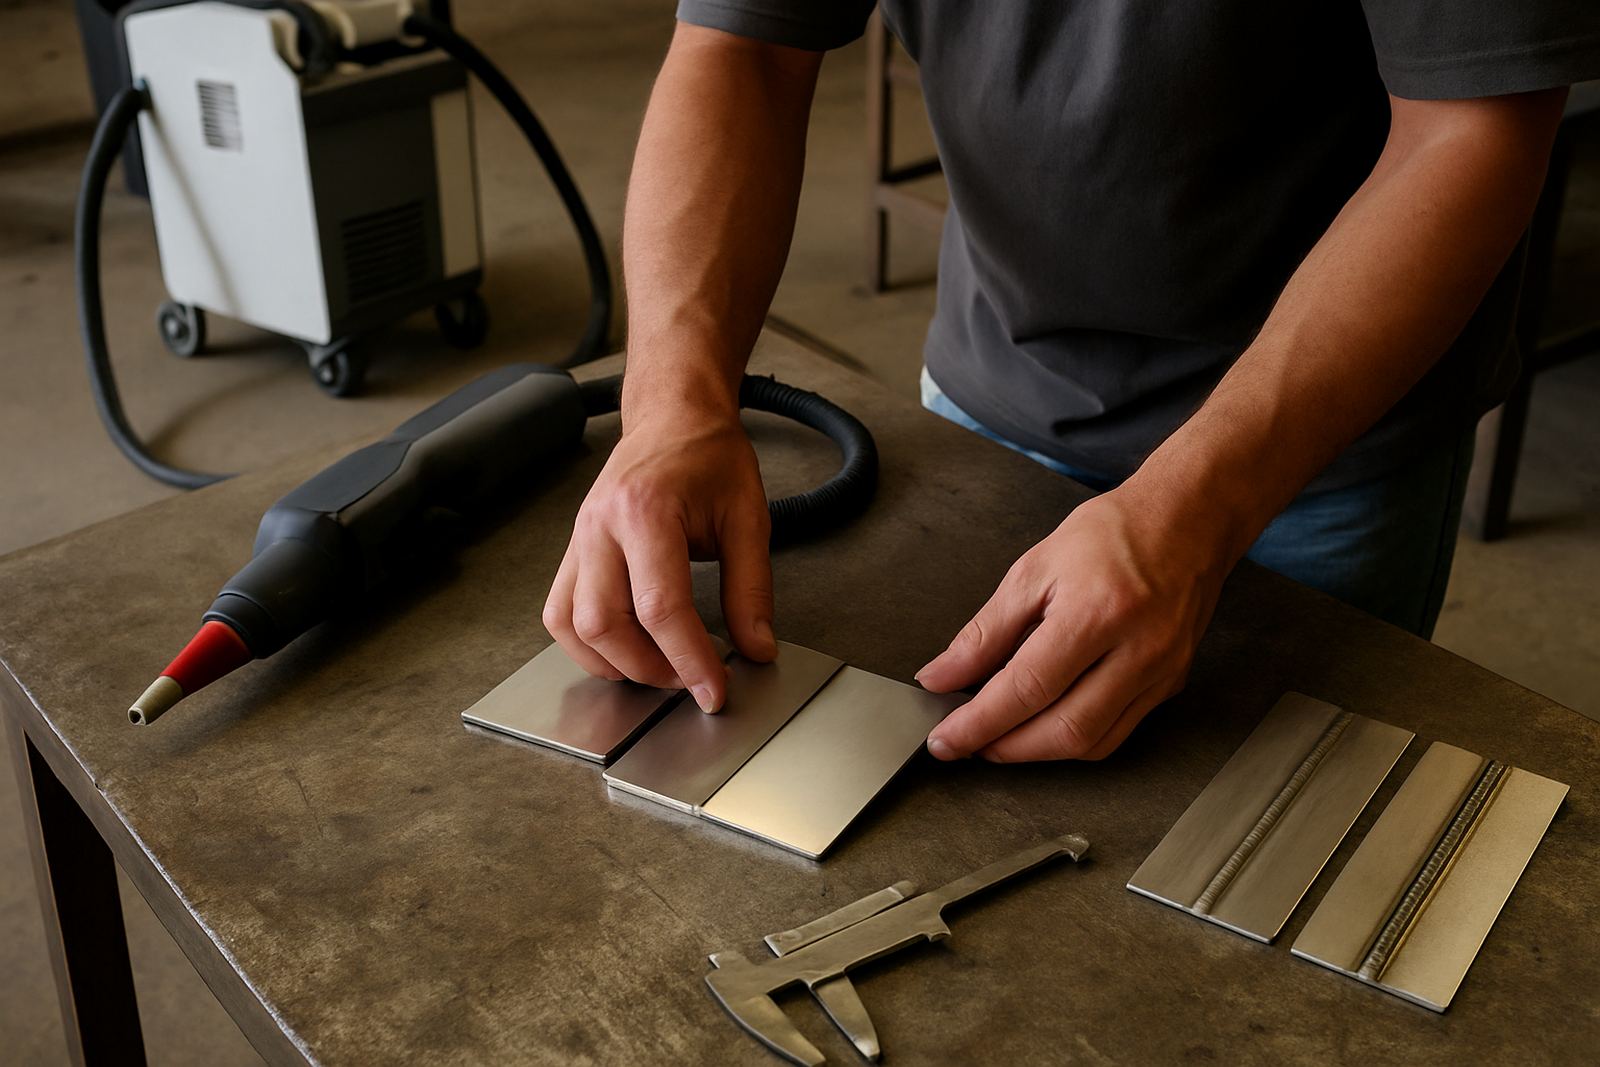
A clean seam starts before the torch is switched on. If the gap is too wide, the weld pool has to bridge more material and the bead tends to grow wider and less even. If the edges are not aligned, the seam will show a step that catches the eye straight away. Good fit-up is often the cheapest way to improve the final look.
Before welding, check the following on every visible joint:
- Edges are clean, dry and free of oil, marker residue and grinding dust
- Parts are clamped flat so the joint does not open up under heat
- Material thickness is matched, or the transition is planned
- Back sides are supported where movement could change the bead line
- Tacks are small, even and placed where they will not distort the finish
Stainless steel also shows contamination quickly. If the area has been handled with carbon steel tools or stored in a dusty corner of the shop, the seam may still weld, but the appearance suffers. A wipe-down and a quick visual check before every run saves a lot of unnecessary dressing later.
Use a stable process, not just a steady hand
Hand skill matters, but appearance improves fastest when the process is repeatable. That means the same torch angle, similar stick-out, consistent travel speed and the right heat input for the joint. On thin stainless steel, too much heat leaves a wide coloured band and can pull the seam out of shape. Too little heat gives a lumpy bead that sits on the surface instead of blending in.
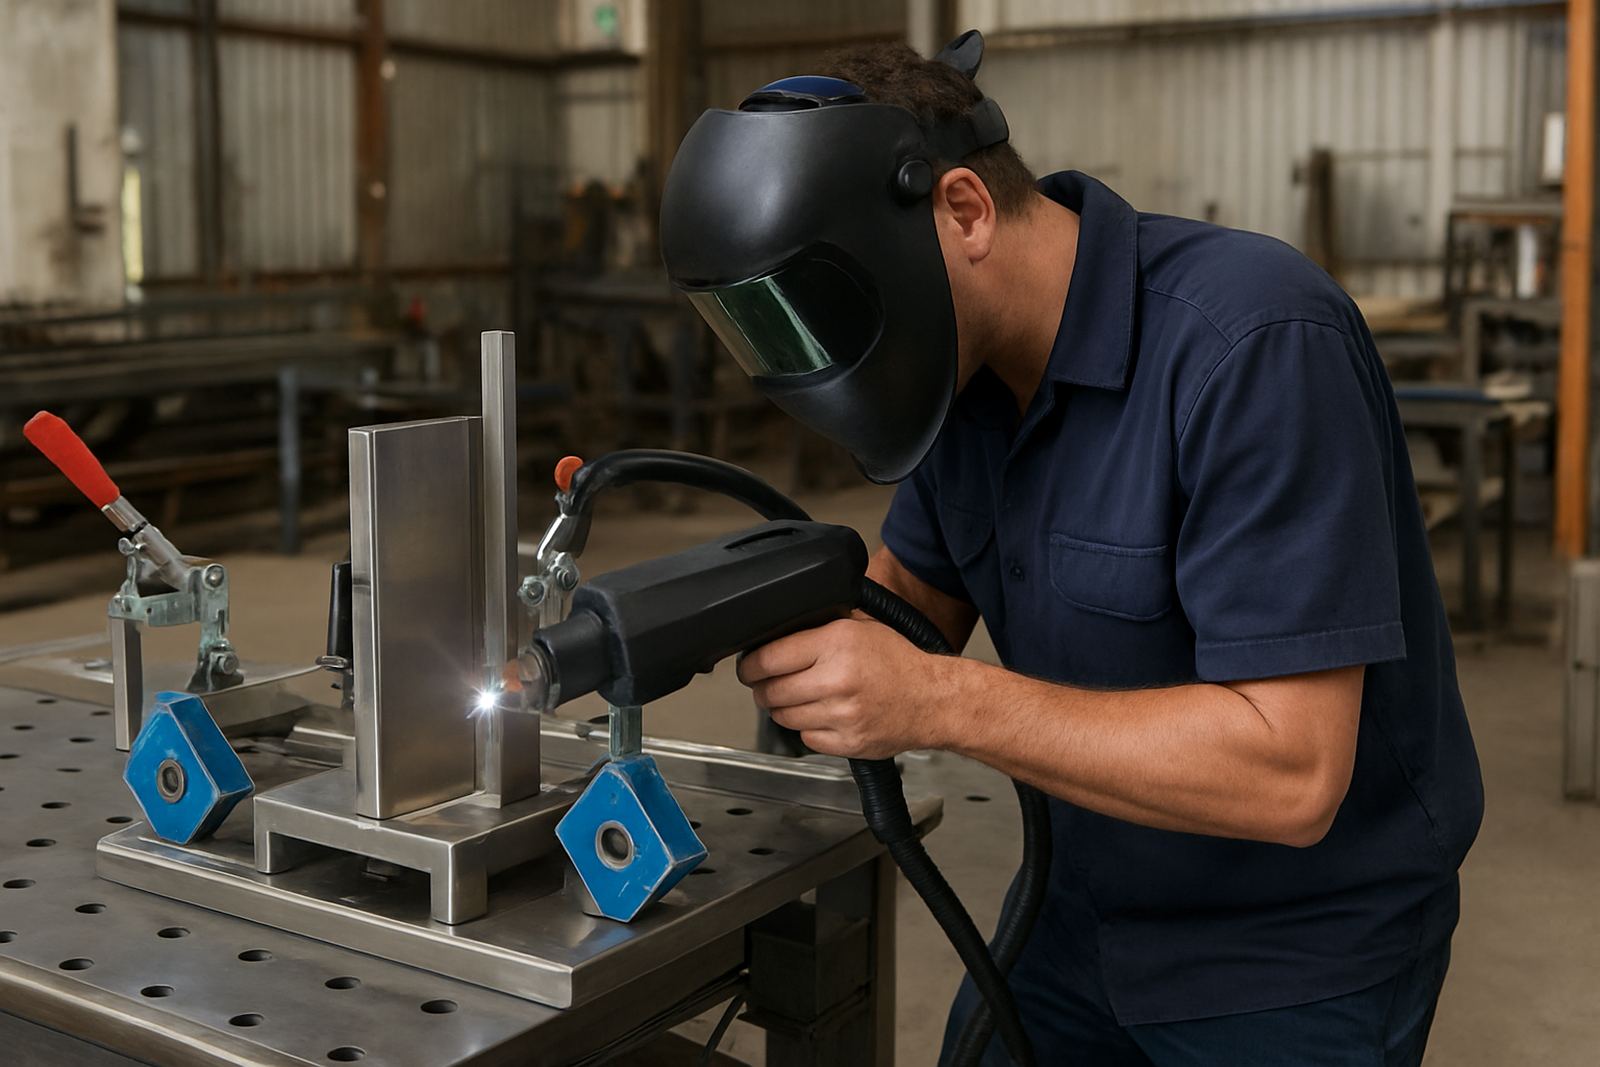
Many fabricators have taken to handheld fibre laser welding because it produces a controlled, narrow seam with less spatter and less heat spread than many older methods. In a small workshop in Jet Park, for example, a team making display frames can often cut the time spent cleaning each visible seam just by tightening the process and using the same settings across similar joints. The result is not magic, just more consistency.
When settings are changed job to job without a proper note, the finish changes too. Keep a simple record of material thickness, joint type, focus position and speed for each successful setup. That makes the next batch easier to repeat, which is important when the same product is made on different days with different operators on shift.
Shielding, cleanliness and colour control on stainless steel
Colour on stainless steel tells you a lot. A light straw colour can be acceptable on some work, but blue, grey or black oxidation usually points to too much heat, poor shielding or contamination. The cleaner the colour, the less finishing work is generally needed afterwards.
Good shielding gas coverage helps protect the molten pool and the cooling seam. If the flow is too low, air can get in. If it is too high, the gas can become turbulent and lose effectiveness. That balance matters even more on thin sheet and on cosmetic work where the line is right in front of the client.
Watch for these common causes of poor seam colour:
- Drafts from open workshop doors or extraction fans placed too close
- Leaking hoses, loose fittings or worn seals
- Dirty filler wire or contaminated wire feed paths
- Overheated material from stopping and restarting too often
- Fingerprints, polishing compound or cutting oil left on the joint
In coastal areas around Durban or Gqeberha, humidity can also affect storage and surface cleanliness. In Ekurhuleni, dust from busy fabrication yards and traffic can do similar damage. A covered storage rack and a simple wipe before welding can make a visible difference.
Reduce distortion so the seam stays straight and tidy
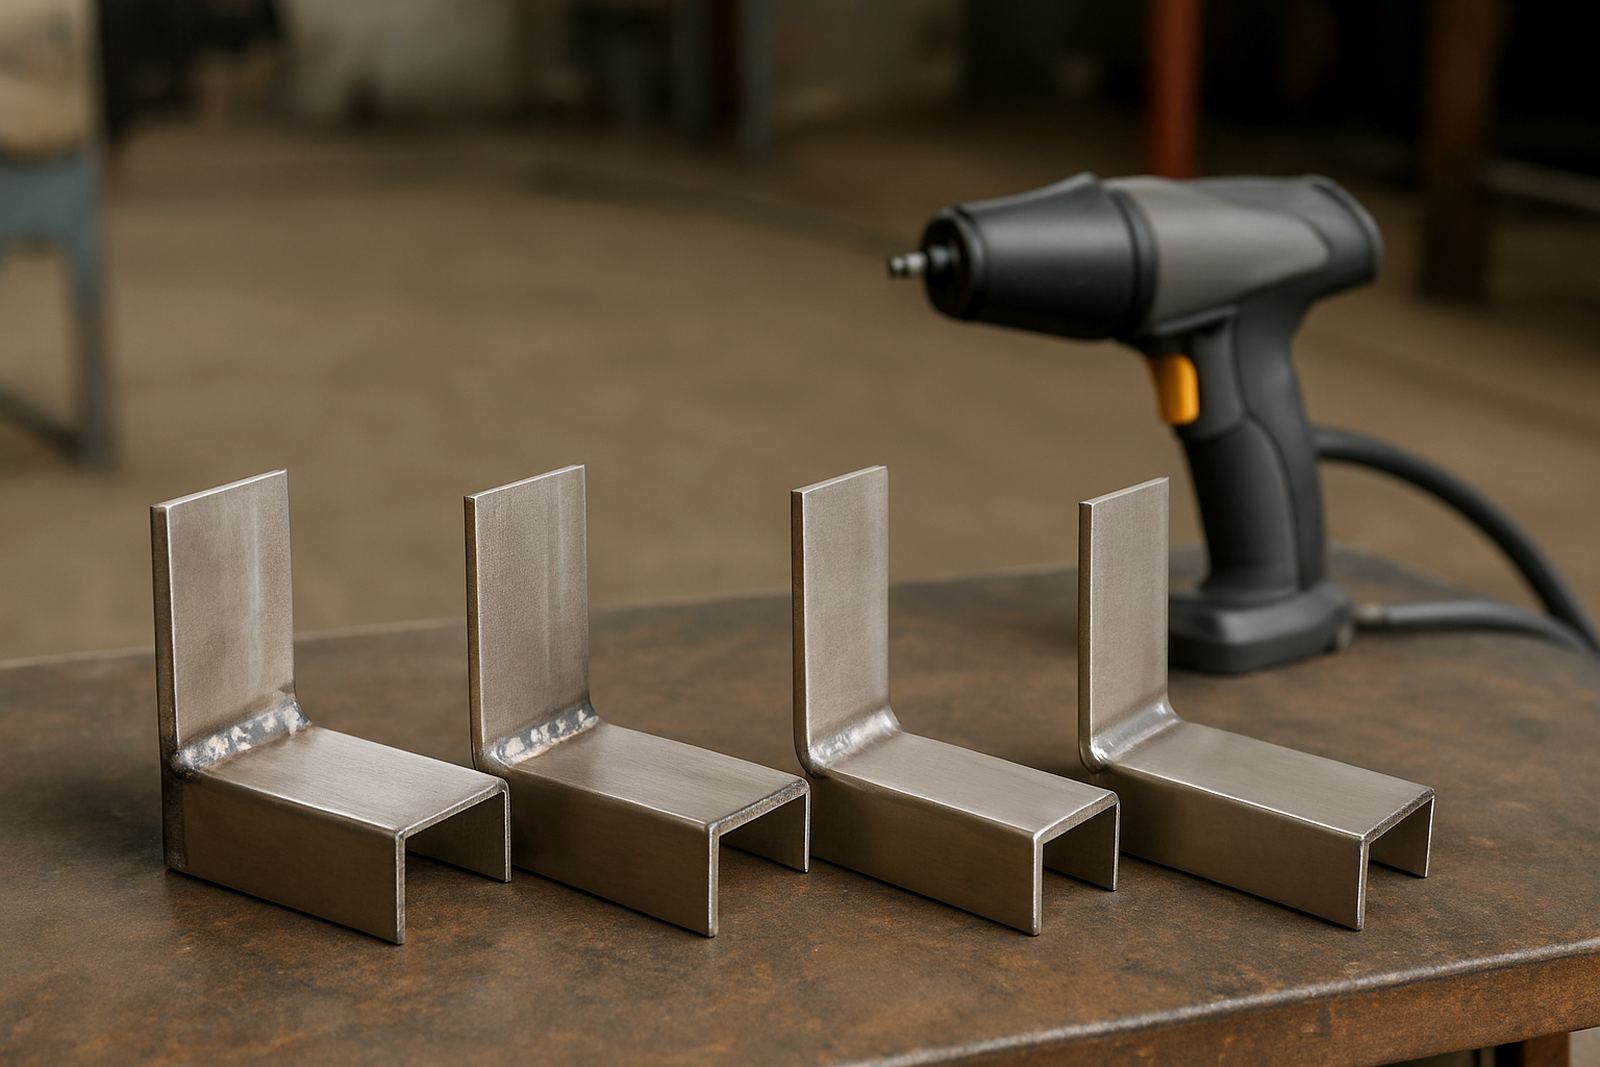
Even a neat bead can look bad if the panel moves. Distortion pulls edges out of line, opens up corners and makes the weld appear uneven. On long runs, the seam may snake slightly, which becomes obvious once the item is polished or installed against a straight edge.
To keep the seam straight, break the job into manageable sections and use the least heat that still gives full fusion. Short tacks, balanced welding sequence and proper clamping all help. On frames and covers, weld opposite sides in stages rather than running one full side at a time. That spreads the heat and helps the final line stay true.
For production work, it can help to separate the welding task from the finishing task and inspect the first pieces before the rest of the batch is released. If the first seam shows distortion, adjust the setup before the whole order is made. That approach saves steel, time and a fair amount of frustration.
A local Ekurhuleni example from a working shop floor
A fabrication shop in Spartan making stainless steel enclosures for a food processing site needed a cleaner visible seam on front panels. The welds were sound, but the finish needed too much grinding and polishing before dispatch. The team changed three things: they improved edge prep, tightened clamping on the long panels, and standardised the welding settings for that thickness range.
They also added a quick in-house check after the first few panels each morning, before the day’s batch moved ahead. That helped catch contamination from overnight dust and picked up any setting drift after load-shedding interruptions. Within a short time the shop was spending less time dressing seams and more time moving completed work out the door.
The point is simple. Better seam appearance usually comes from small, repeatable controls rather than one big change. Once the team knows what clean looks like, it becomes easier to keep every job at that standard.
What to check before you sign off a visible seam
Before handing over visible stainless steel work, use a quick inspection routine. It helps catch issues while they are still easy to fix and keeps the final finish consistent across the job.
- Is the bead width even along the full length?
- Has the seam stayed straight without pull or twist?
- Is there any visible undercut, porosity or spatter?
- Has the heat tint stayed within the acceptable finish range for the job?
- Does the seam meet the client’s finish expectation without extra dressing?
If the answer to any of those is no, stop and adjust before moving to the next item. For workshops that want cleaner visible seams with less rework, it often pays to review the welding process on site, test a few settings and train operators on what to look for. That is where practical support, demonstrations and refresher training can make a real difference.