1. Start with the exact jobs you want to test
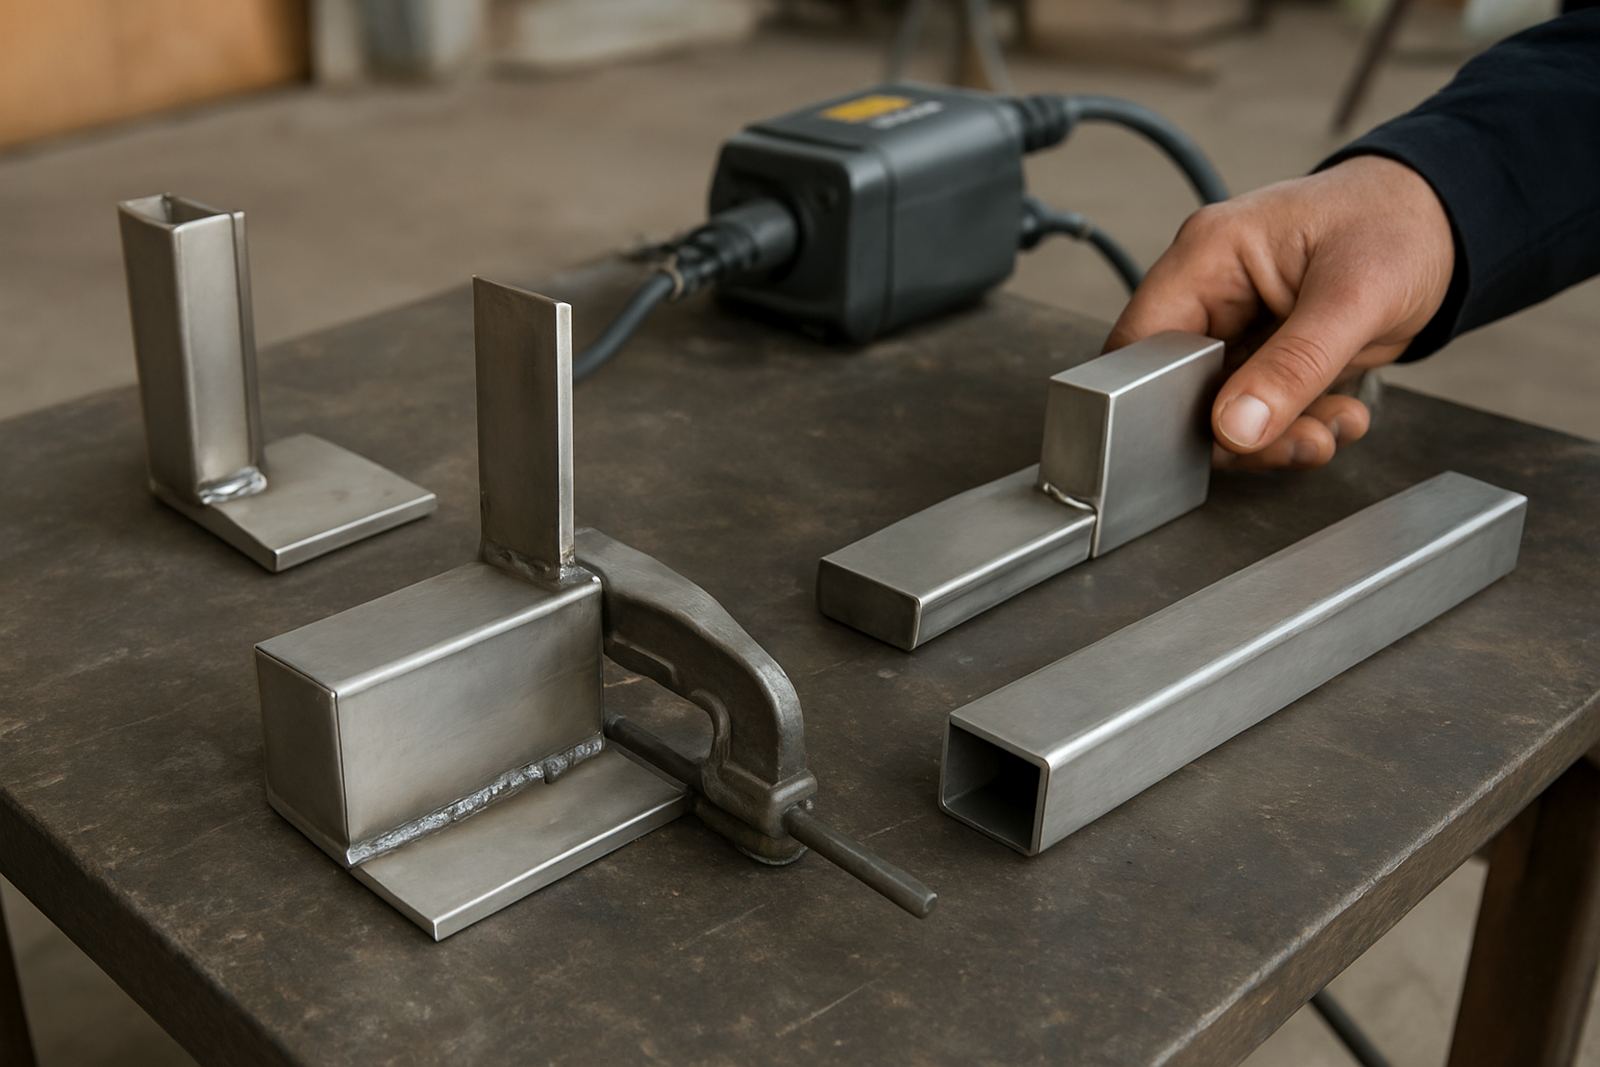
Before the machine arrives, choose the real work you want to see welded. A demo on a clean coupon tells you less than a trial on the parts your team actually builds every week. For stainless steel fabricators in Spartan, Kempton Park or Jet Park, that usually means brackets, guards, tanks, frames, handrails or cladding details with the same thickness and joint type you run in production.
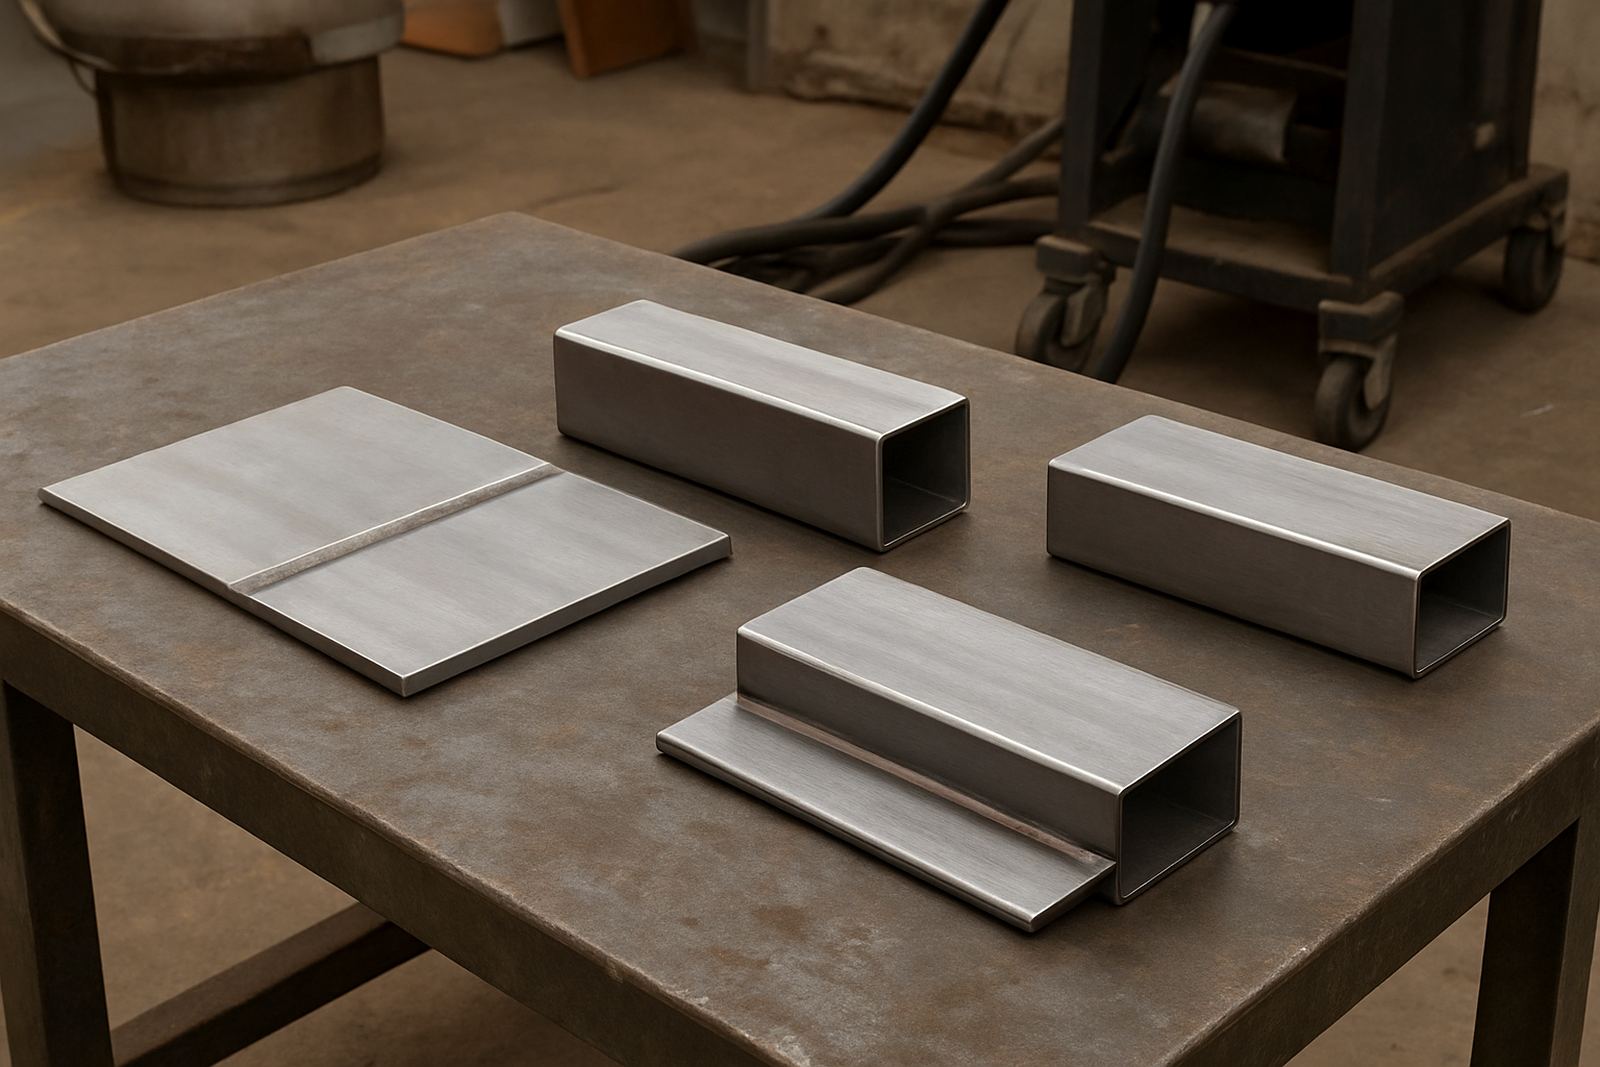
Bring at least three sample joints so the demonstration covers more than one condition. If possible, include different material thicknesses, gap sizes and edge prep. That gives the operator a fair picture of how the system behaves when the day gets busy and the parts are not all perfect, which is often the real world anyway.
- Flat butt joint in your common thickness
- Lap joint with the usual overlap
- Corner joint or outside edge detail
- A part with a small gap or light distortion
2. Prepare parts the same way your workshop does
The best demo is not a showroom test, it is a shop floor test. Clean the parts as your team normally would, then leave them in the condition they arrive in after cutting, bending and handling. If your crew uses jigging, clamps or simple fixtures, have those ready too. That shows whether the setup is practical for your output, not just whether the weld looks neat on a bench.
Take note of surface contamination, oil, grind marks and oxide. Stainless can be fussy, especially near coastal humidity or after storage in a warm bay with little airflow. If your material has a protective film, decide in advance whether it stays on for the trial or gets removed before welding. One missing prep step can change the result enough to hide the machine's real capability.
- Wipe down parts and remove loose contamination
- Set up the same clamps, fixtures and jigs you use daily
- Mark out the weld sequence so the test follows production flow
- Keep spare consumables close by for the trial
3. Agree on the questions to answer during the demo
A good demonstration should leave no grey areas. Decide upfront what matters most to your team: weld appearance, penetration, speed, distortion, training time or operator comfort. If the goal is to reduce rework on visible stainless parts, then appearance and heat control may matter more than raw travel speed. If the goal is output, then cycle time and consistency need to be measured carefully.
Have your supervisor, leading hand and quality person present if you can. That way the people who approve production changes can see the same results at the same time. It also avoids the common problem where one person sees a promising test, but the rest of the team only hears about it later and misses the context.
- What travel speed is realistic on our parts?
- How much heat is going into the workpiece?
- How much dressing or clean-up is needed after welding?
- How much training would a new operator need?
4. Check power, space and workflow before the unit arrives
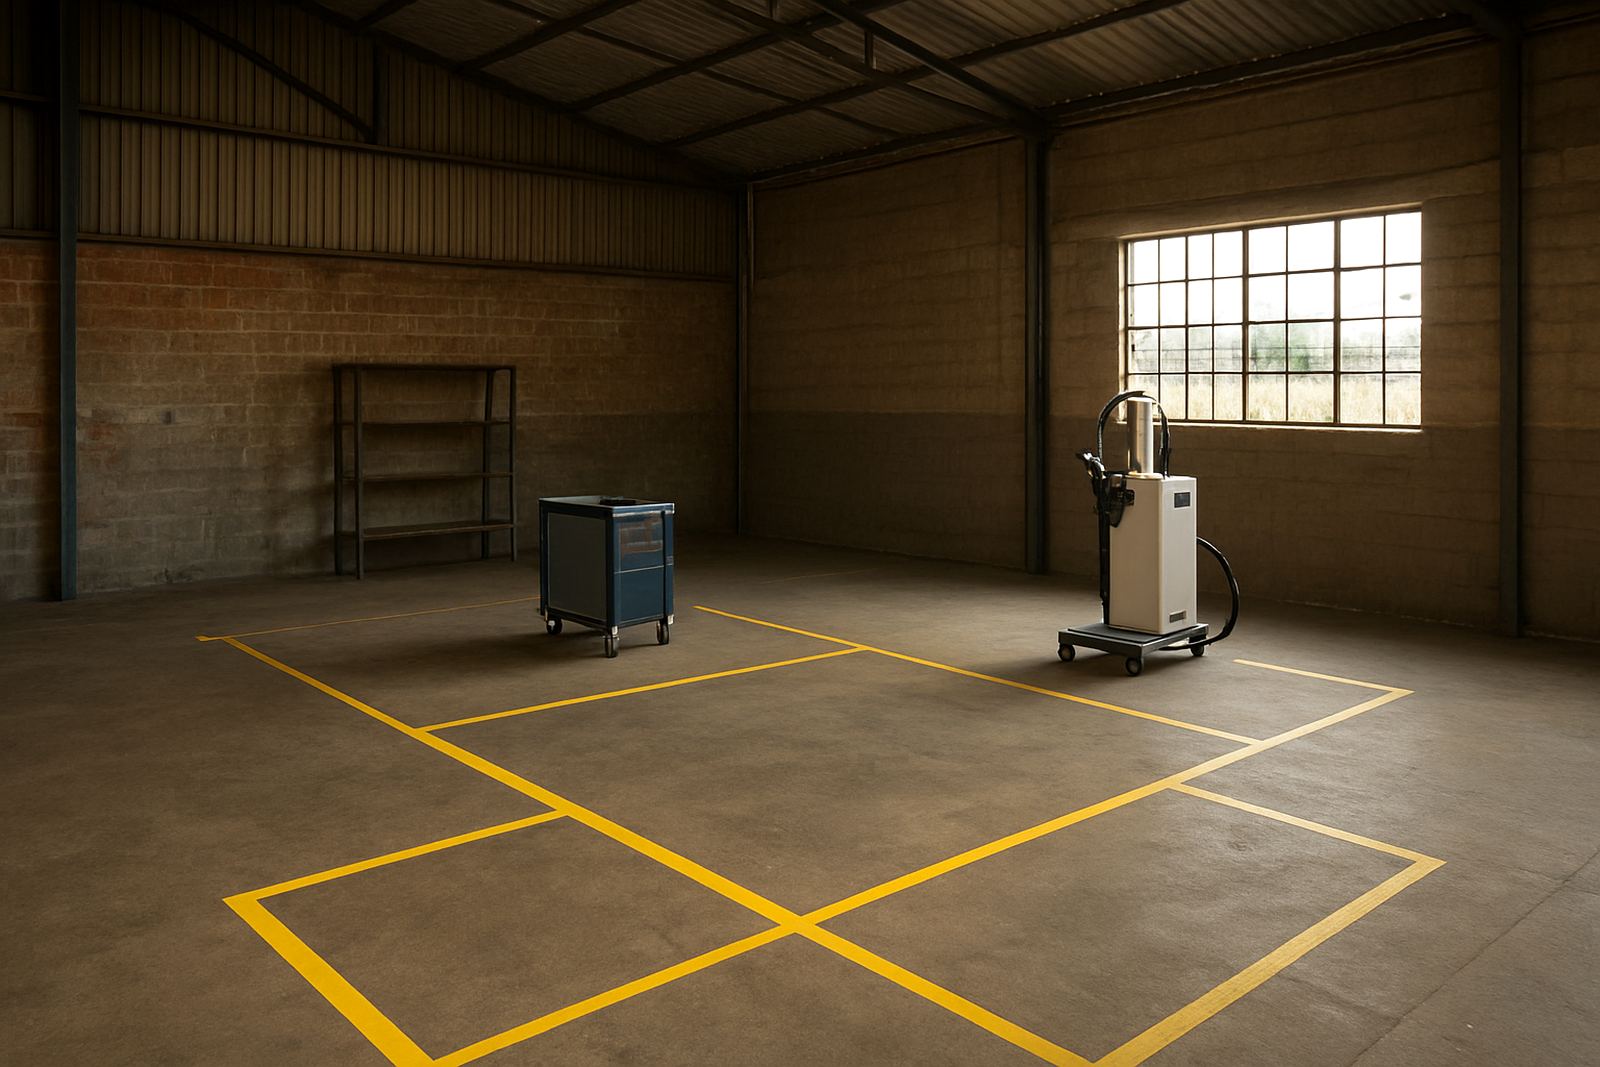
Handheld fibre laser welders are compact, but they still need proper planning. Confirm where the machine will stand, how the cables will route, and whether the area has enough room for safe movement around benches and parts. In Ekurhuleni workshops, the practical concerns are often simple ones: space near the cutting table, a clear path for gas bottles if required, and a stable surface near the work cell.
Also think about power availability and load-shedding. If your workshop runs on generator backup or inverter support, tell the demo team in advance so the test can be planned around the actual supply conditions. That matters when you want a realistic view of uptime, not a perfect test that cannot be repeated on a normal Tuesday afternoon.
- Confirm power points and breaker capacity
- Clear a safe demo area with enough access on all sides
- Plan for extraction or ventilation where needed
- Check what backup power is available during the visit
5. Use the demo to test training, not just the weld bead
A handheld laser welder is only useful if your people can run it confidently. During the demo, watch how quickly the operator learns the torch position, travel speed and joint control. Ask for more than one person to try the same joint if possible, because the easiest machine in the world still needs proper handling to stay consistent across shifts.
For many fabricators, the real value shows up when a fitter or welder who already knows stainless work can pick up the process and get productive quickly. That is where training, process optimisation and refresher support matter. If the demo team can explain the settings clearly, in plain terms, your workshop is more likely to use the equipment properly after the machine leaves the bay.
- Can a trained welder get acceptable results quickly?
- Are the controls clear enough for shift use?
- What mistakes cause poor fusion or extra heat?
- How often would refresher training be useful?
6. Record results while they are fresh
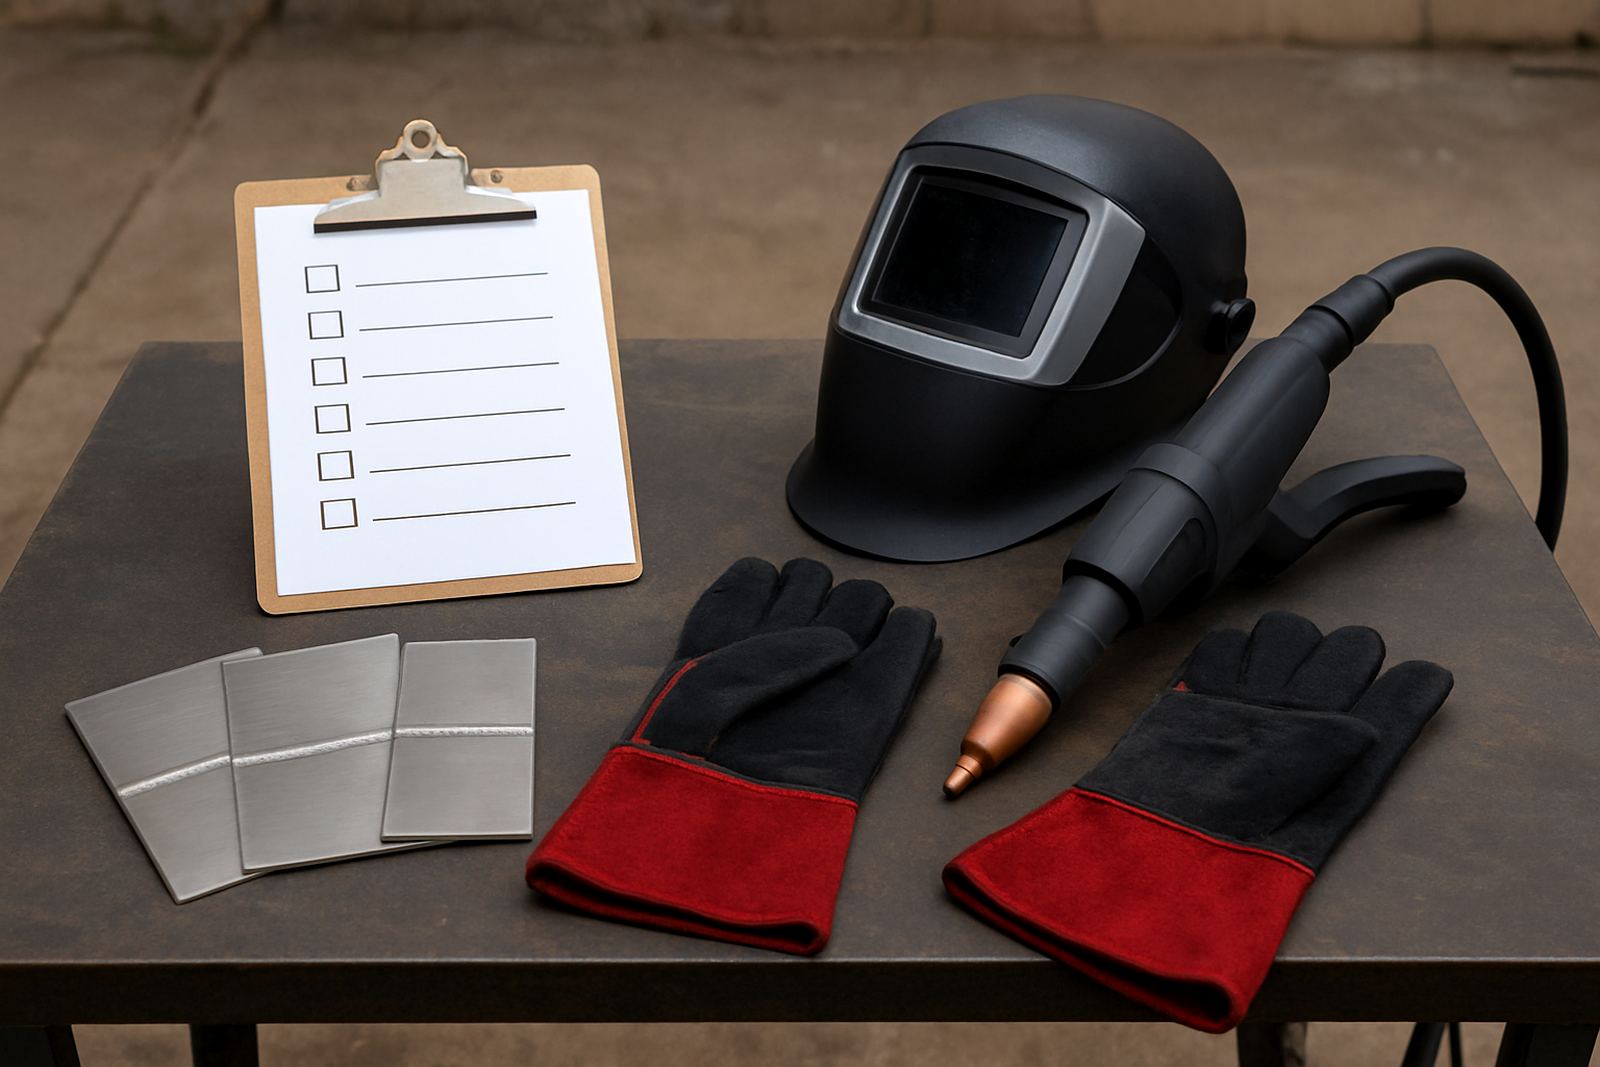
Do not rely on memory once the demo is over. Photograph the joints, note the settings, and write down the comments from the people who handled the parts. If the team tests multiple jobs, label each sample clearly so you can compare them later. A small notebook is enough, but even a simple checklist prevents confusion when several parts look similar by the end of the session.
It also helps to compare the trial pieces with your normal method. Look at edge colour, distortion, clean-up time and whether the finished part needs less polishing before assembly. If the job is for a customer in Germiston or Alberton, the value may be in better cosmetic finish and faster handover, not only in weld strength. The numbers matter, but so does what the part looks like when it leaves the shop.
After the demo, ask for next steps on commissioning, spares, maintenance and production rollout. If the trial showed a clear gain, the follow-up should be about making that gain repeatable across your shop, not just on one good test piece.