Start With the Tank Shape Before You Strike an Arc
Good seam planning begins long before the first weld. A cylindrical tank, cone top, flat base or rectangular vessel all pull differently when heat goes in, so the weld order must suit the shape and the material thickness. On stainless steel tanks, especially where the finish must stay clean for food, beverage or water service, the aim is to control movement and keep the welds neat enough that there is less grinding later.
In a busy fabrication shop in Spartan or Kempton Park, it is tempting to weld the longest seams first and move on. That can work on simple jobs, but tank work usually rewards a more measured approach. Plan where the shell will be held, where the seams can be reached comfortably, and which joints will lock the structure into shape too early if you close them first.
Choose a Seam Sequence That Controls Heat and Movement
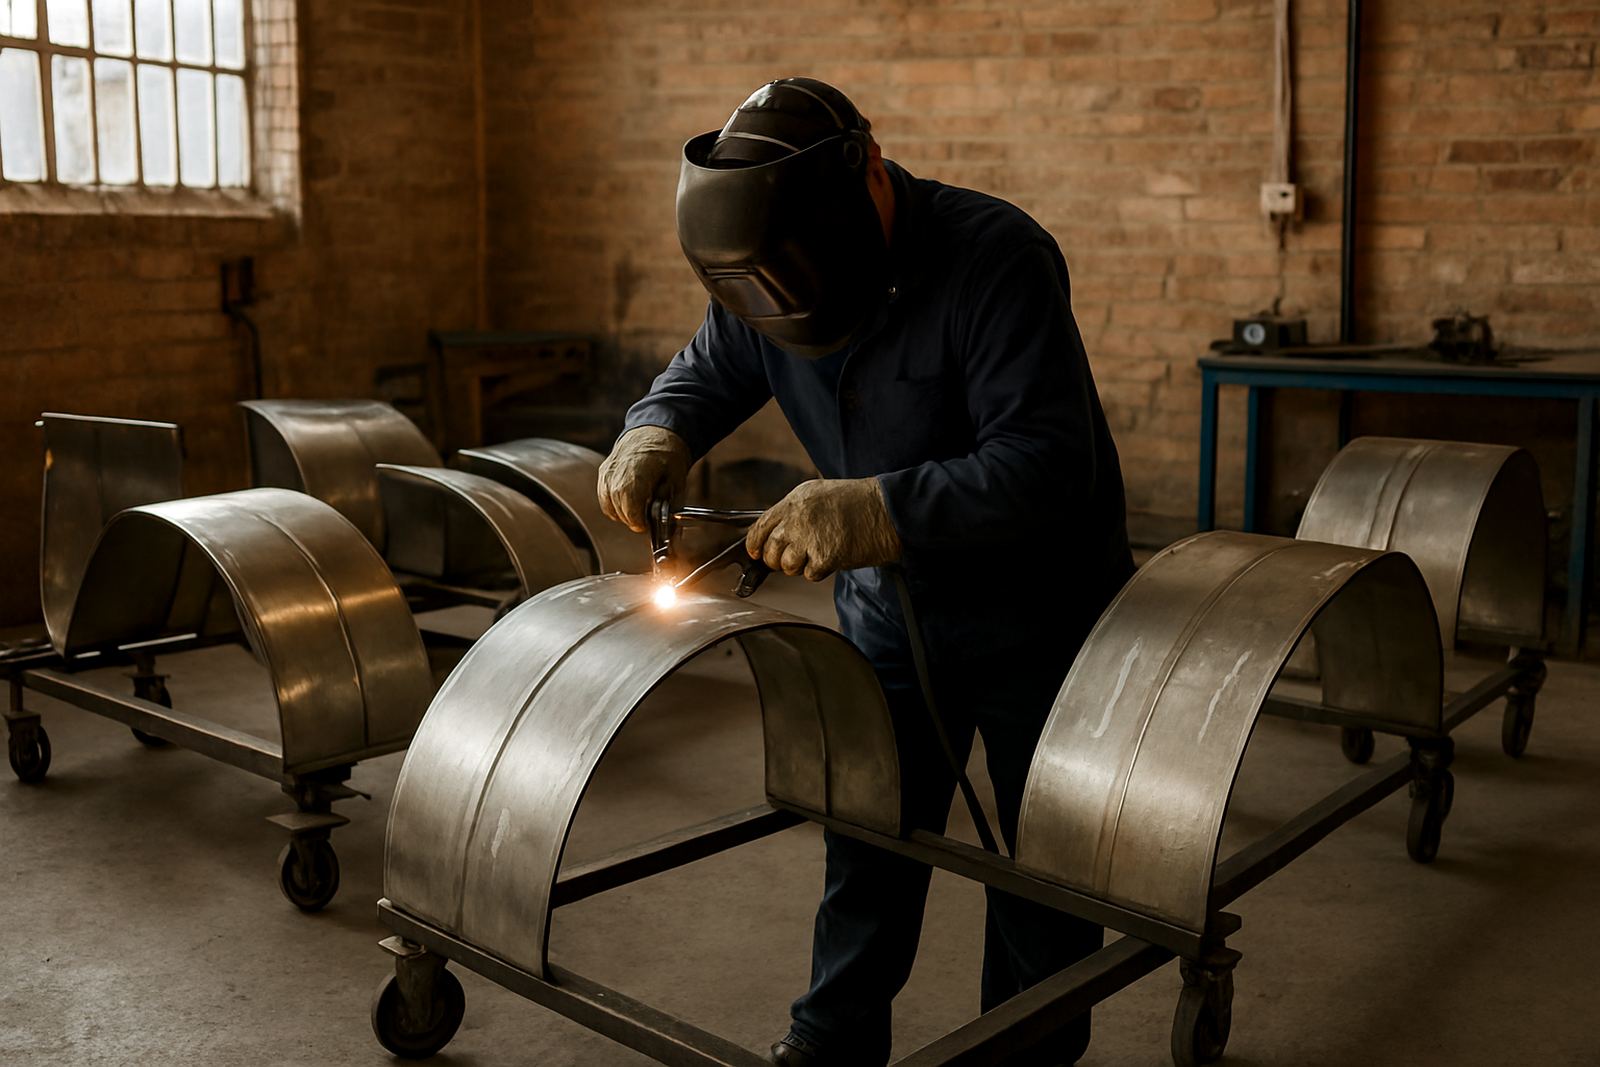
The basic rule is to balance the heat. Do not load one side of the tank while leaving the other side untouched for too long. Break the job into manageable sections and move around the shell in a planned order. That helps to keep round tanks round, and it reduces the chance of a panel drawing in or a lid lifting at one corner.
- Tack the full assembly first and confirm alignment before full welding
- Alternate sides or opposite seams where the design allows it
- Leave short closing seams for later, after the structure has settled
- Work from the most stable reference edge so the rest of the fit-up stays true
- Check every stage against the drawing, not just at the end
For stainless fabricators, a steady seam sequence also helps keep the bead appearance more even. That matters when the tank is staying visible in a plant room or process area where clients will see the finish every day.
Plan Access Around the Weld, Not Just the Drawing
Tank work often goes wrong when the weld is placed where the operator cannot see or reach properly. If a seam sits too close to a flange, lifting lug or support ring, the torch angle becomes awkward and the weld quality usually suffers. Before production starts, walk around the job and check where the operator, fixture and hand tools need to fit.
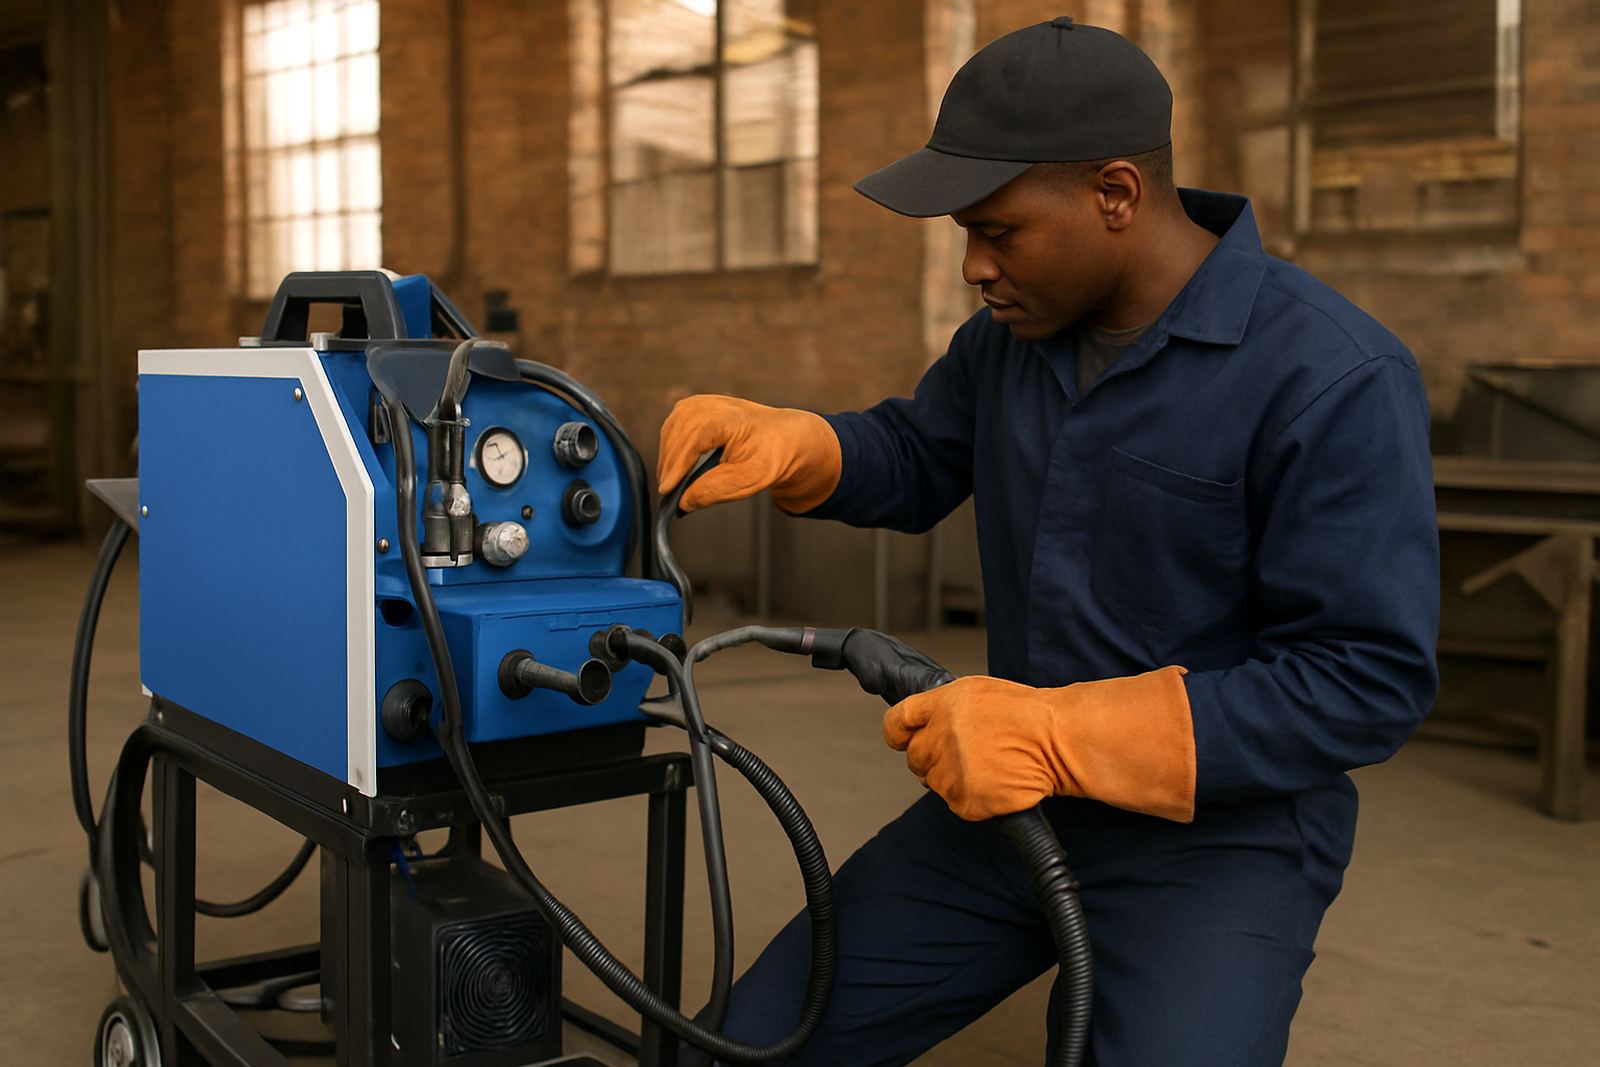
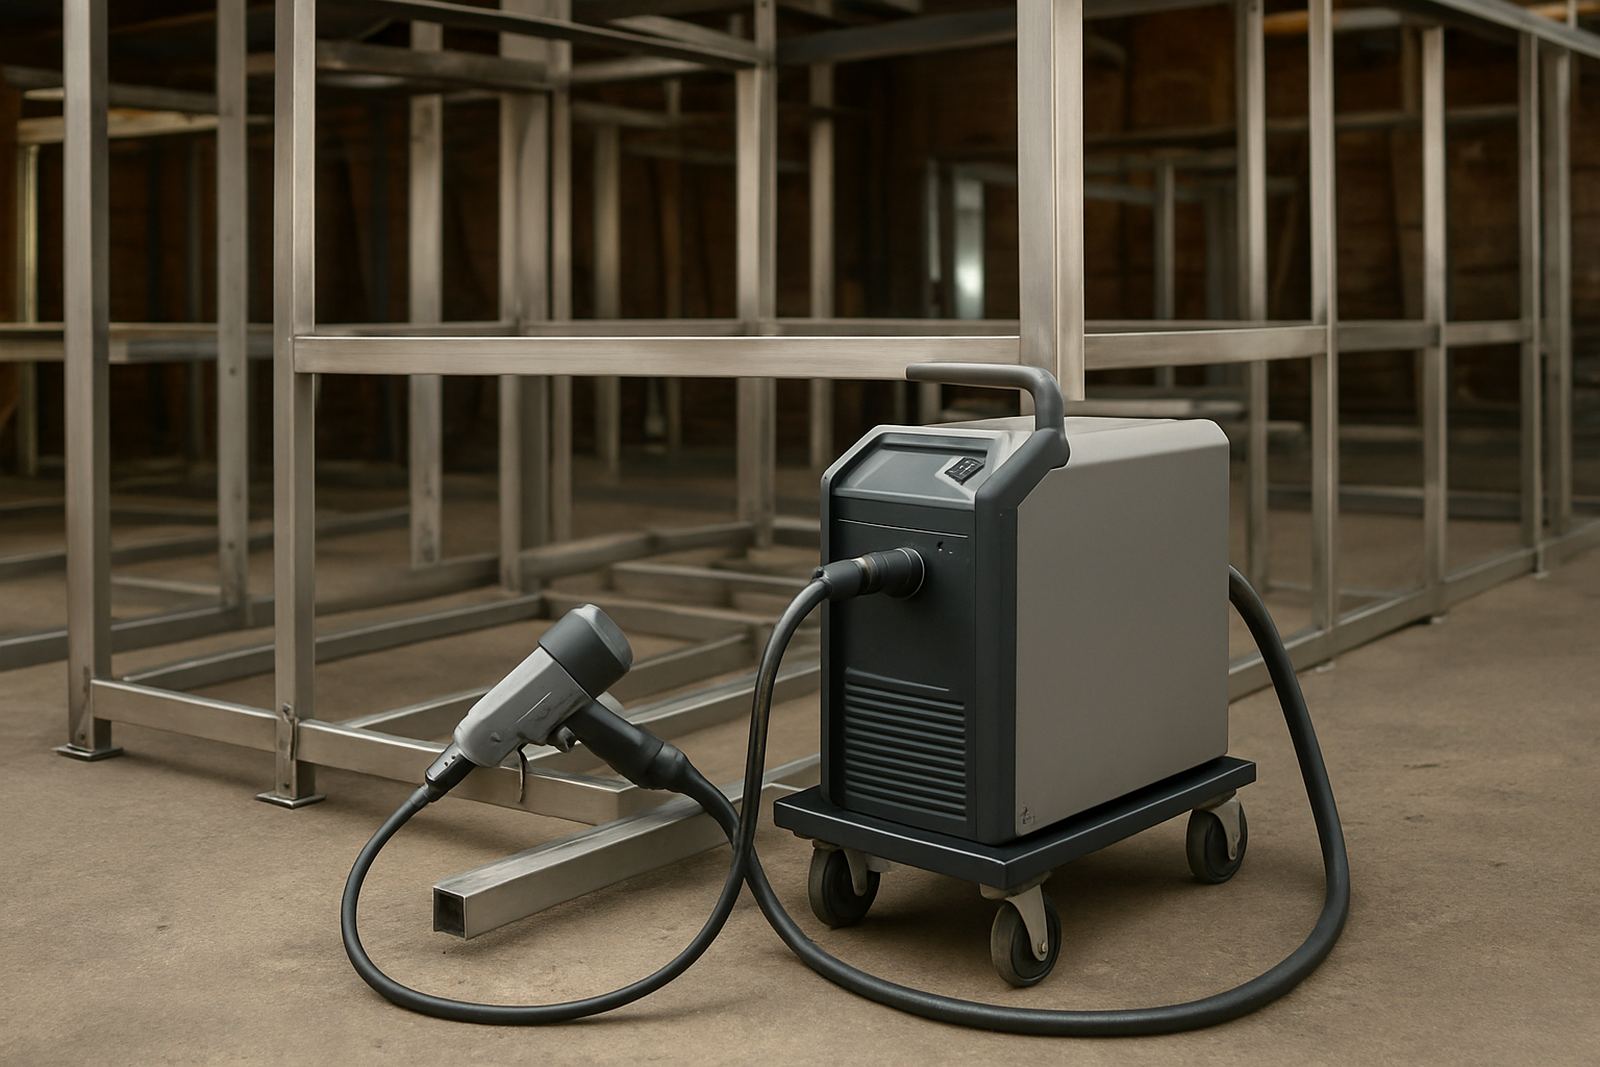
A handheld fibre laser welder gives fabricators a practical advantage here because it can work cleanly on tight stainless joints with less post-weld finishing than older methods. That does not remove the need for planning though. If the seam is hidden under a bracket or blocked by a stiffener, the best machine in the workshop will still struggle to deliver a tidy result.
- Leave space for the head, wire feed if used and the operator’s hand position
- Confirm that clamps will not block the seam line
- Allow for safe turning, lifting and re-positioning of the tank shell
- Mark weld starts and stops before the part goes into the fixture
Reduce Handling Time by Grouping Similar Seams
One of the quickest ways to improve tank output is to group seams in a logical order. If the tank needs internal and external work, try to complete operations in a sequence that reduces turning the vessel more than once. Every time a tank is lifted, shifted or rotated, there is time lost and there is also a risk of dinging a finish that was already right.
On larger jobs in Ekurhuleni, handling is often the hidden cost. A workshop may have enough skilled people, but not enough time is spent thinking about the movement between prep, tacking, welding and inspection. A good sequence can save an hour or more on a medium tank, and on repeat work that adds up quickly across a week.
Keep in mind the pressure of municipal or site installation deadlines too. If a tank is going into a plant with limited shutdown windows, the fabrication stage must be predictable. A well planned seam order helps you get there with fewer surprises.
Use Training to Standardise the Way the Team Seams a Tank
In many shops, one operator has a neat method and everyone else does it differently. That creates variation in finish, heat input and rework. Training helps the whole team follow one agreed approach so that the tank builds are more consistent from job to job.
That matters whether the team is working on small water tanks in Alberton or larger stainless process vessels for a plant in Isando. Once the seam sequence has been agreed, it should be written into the job card or production sheet. The fitter, tacker and operator should all know the order before the tank enters the welding bay.
- Set a standard seam order for the common tank types your shop builds
- Train operators to recognise where distortion starts and how to stop it early
- Use sample welds to compare finish, penetration and heat tint
- Review completed jobs and note what slowed the team down
A Local Example From a Spartan Fabrication Shop
A stainless steel tank shop in Spartan had a recurring problem with ovality on mid-sized cylindrical tanks. The team was welding long seams first, then closing the top and base seams after the shell was already warm and slightly pulled. The result was extra straightening, more handling and too much time spent trying to recover the roundness.
After the seam order was changed, the team tacked the full shell, then alternated welds on opposite sides and left the final closing seams until the end. They also marked the access points before clamping, which made the torch approach more consistent. The tanks came out truer, the finish needed less touch-up, and the workshop cut back on repeat handling. That sort of improvement does not sound dramatic, but in a real production week it saves time and keeps the flow going.
Build a Repeatable Tank Process, Not a One-Off Fix
The best tank seam planning is simple enough to repeat. Once your workshop has a clear sequence, the next job should not start from scratch. Keep notes on the tank size, seam order, clamping points and any area that gave trouble. Over time, you build a process that suits your actual work, not just the drawing on the wall.
For fabricators working across Gauteng and beyond, that consistency matters. It helps with production rollout, refresher training, process optimisation and fast weld testing when a client wants proof before release. If your team can plan the seam sequence properly, the tank is easier to finish, easier to move and easier to hand over without drama.