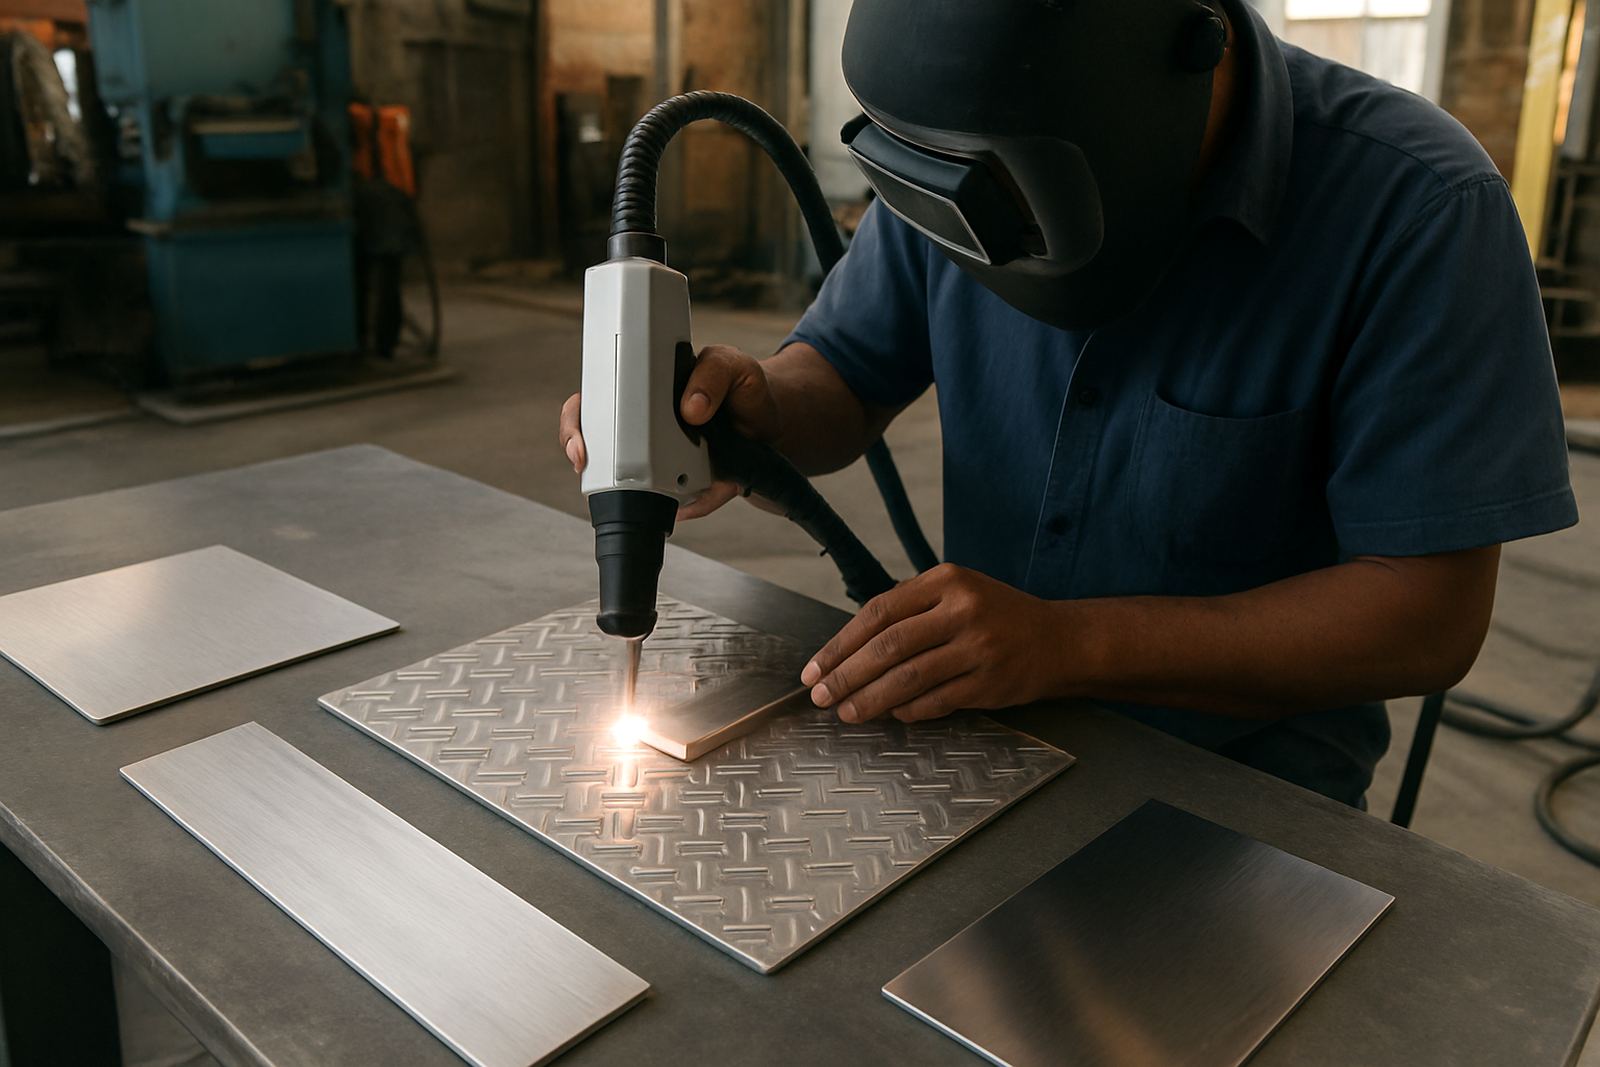
Start by deciding what the weld must do
Before anyone reaches for a flap disc, ask what the weld is actually doing. If the joint is structural, the priority is strength and consistency. If it is a visible stainless feature, the finish matters as much as the weld itself. On many South African jobs, the real mistake is treating every bead the same and then spending time fixing a surface that did not need heavy cleanup in the first place.
A good rule is to work from the spec and the end use. Food equipment, handrails, tanks, shop fittings, and coastal installations all ask for different levels of dressing and treatment. A weld that will be hidden inside an assembly may only need slag, spatter or discolouration removed. A weld on a front facing panel could need blending and passivation so the grain, sheen, and colour sit correctly with the parent metal.
If the client has not written the finish requirement into the drawing, stop and confirm it. That single conversation can save hours later and avoids the awkward moment where a welder has cleaned a joint perfectly, only for the customer to ask why the surrounding panel now looks overworked.
Leave the weld alone when function matters more than appearance
There are plenty of times when leaving the weld as welded is the best option. On internal brackets, pipe support points, machine frames, and access areas that will never be seen, extra grinding can remove more time than value. It can also thin the joint or create an uneven profile where a neat, solid bead would have been better left in place.
For stainless work, over-cleaning can also change the surface in ways that are not welcome. If the weld is sound and the bead profile is within spec, the better decision may simply be to remove sharp edges and keep going. That is especially true when production is under pressure and the shop is trying to keep a flow through the bay during load-shedding windows.
- Leave the weld in place when it is out of sight and the spec allows it.
- Keep the original profile if grinding would weaken the joint.
- Remove only sharp edges or obvious spatter that could catch during handling.
- Protect output when time is tight and the finish requirement is low.
In those cases, a quick visual check and basic cleanup may be all that is needed. The aim is not to make every weld look polished. The aim is to match the finish to the job, and keep the hours where they count.
Blend when the joint will be seen every day
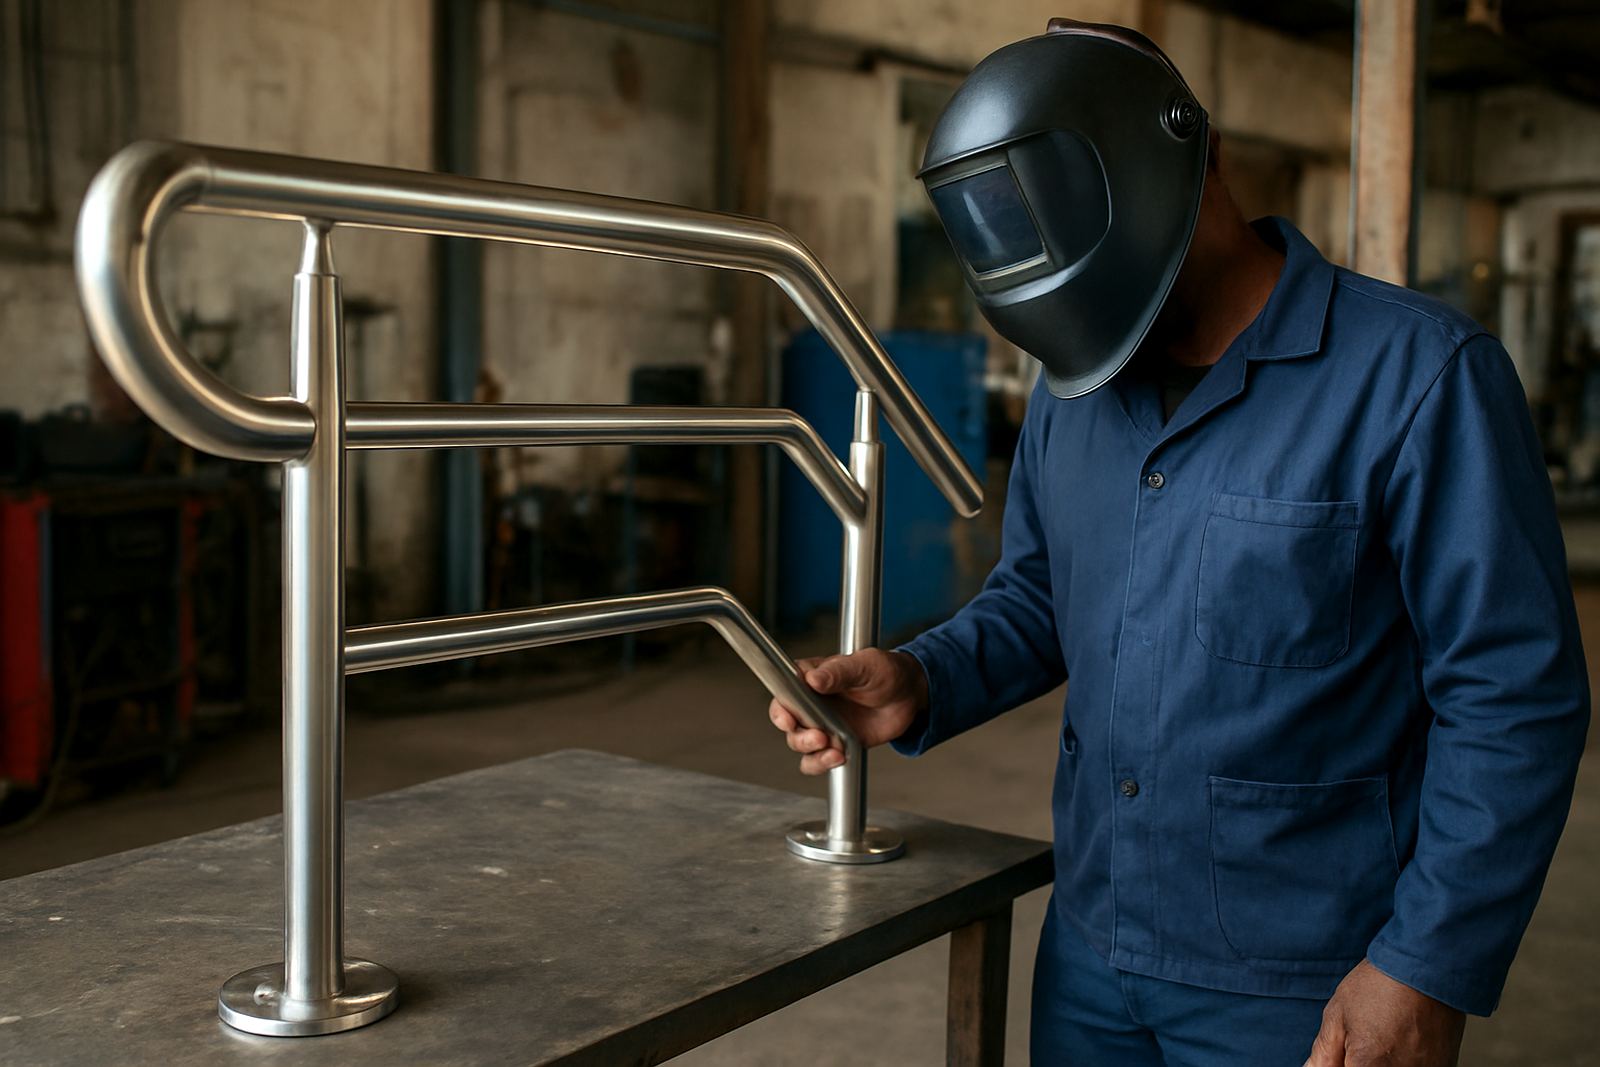
Blending is the middle ground, and for many stainless fabricators it is the most common choice. It is the right call where the weld must remain visible but should sit quietly in the finished product. Think of display counters, handrails, cladding edges, processing frames, and custom units where customers will see the work at eye level.
The point of blending is not to erase the weld completely. It is to reduce the profile so the transition looks intentional. A careful blend also helps with cleaning because there are fewer ridges where dirt and moisture can collect. In a humid coastal site, that matters more than many shops expect. If the finish traps moisture, the weld line can start looking tired long before the rest of the product does.
Good blending starts with control. Use the lightest method that achieves the finish, then check the area under proper light. If the weld is still proud after the first pass, go back in steps rather than forcing it flat in one aggressive move. That keeps the parent metal in better condition and helps avoid heat staining that takes extra time to remove.
Treat the surface when corrosion resistance is part of the job
There are welds that look fine but still need treatment. Stainless steel can pick up heat tint, oxide colouring, and contamination during welding, especially on work exposed to water, cleaning chemicals, or outside air. When that happens, a quick cosmetic clean is not enough. The surface needs to be treated so the weld area can do its job properly.
On fabrication work going into Gauteng factories, commercial kitchens, and plants around Ekurhuleni, this is where discipline pays off. If the weld area will be washed down often, exposed to chemical splash, or left in a demanding environment, treatment after welding is part of the job not an extra. A bright-looking weld is not always a protected one.
- Remove heat tint and discolouration where corrosion resistance matters.
- Clean away any contamination from grinding or handling before final assembly.
- Use the finish method that suits the environment, not just the appearance.
- Check corners, overlaps, and underside areas where moisture can sit unnoticed.
This is also where weld process consistency helps. When the bead is clean and controlled from the start, there is less to correct later. That saves time on treatment, reduces consumable use, and keeps the final finish more even across a batch of jobs.
Choose the cleanup method before production starts
Cleanup decisions should not be made at the end of the job when the parts are already on the floor. They should be part of the process plan. A workshop that decides upfront whether each weld will be left, blended, or treated can assign the right labour, the right tools, and the right inspection point before the first part is cut.
That matters even more when the same shop is running mixed work. A small stainless batch for a restaurant fit-out may need a different finish from a service frame heading to a manufacturing plant in Germiston. If the crew knows the target finish from the start, there is less confusion and fewer unfinished pieces waiting for someone to make a call at the end of the shift.
As a practical check, ask these questions before welding begins:
- Will the weld be visible to the customer or hidden in service?
- Does the spec call for grinding, blending, or post-weld treatment?
- Will the part be exposed to moisture, washdown, or coastal air?
- Is there enough time in the production slot for extra finishing?
These questions sound simple, but they stop a lot of waste. They also help newer operators learn when a clean weld is enough and when extra work is worth doing.
A Spartan example: the right finish saved a full day
A fabricator in Spartan recently brought in a stainless assembly for a local client who needed a neat visible finish and fast delivery. The first parts had been blended heavily because the team assumed that would impress the customer. It did not. The profile was flatter than needed and the surrounding surface showed more work than the spec called for. The shop was losing time on cleanup, and the parts were still not meeting the look the client expected.
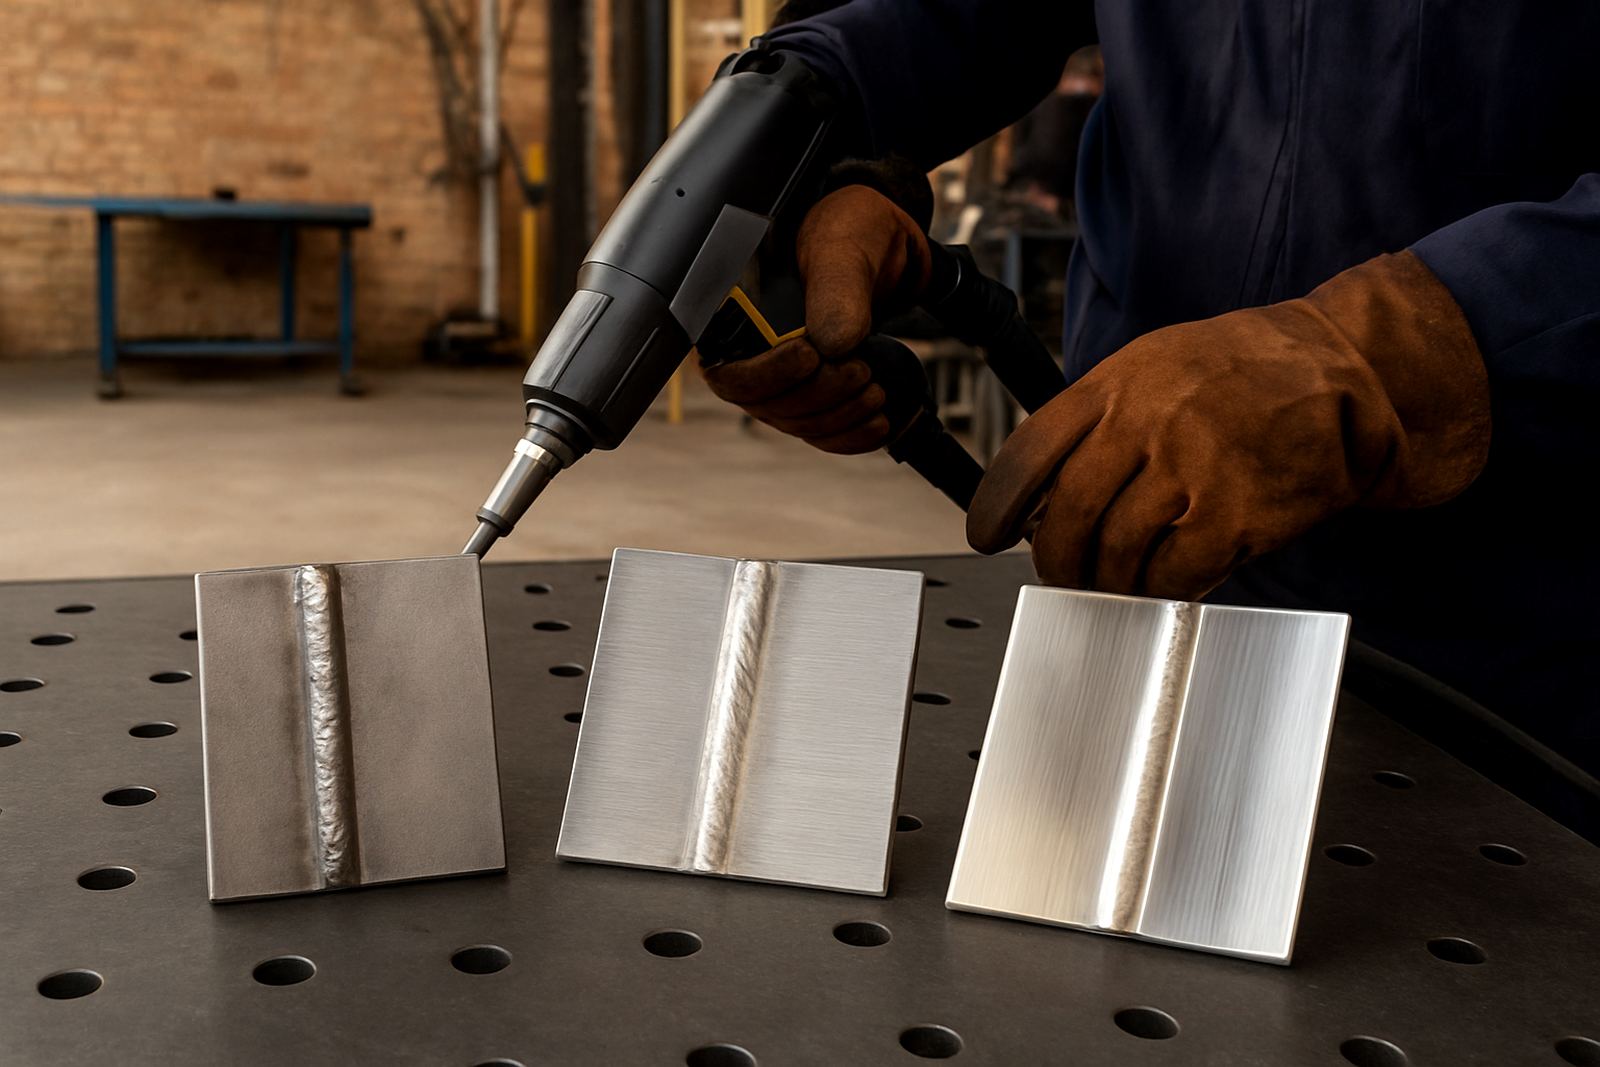
After reviewing the job, the team separated the welds into three groups: hidden joints were left as welded, visible outer seams were lightly blended, and exposed areas with heat tint were treated properly after welding. That changed the workflow straight away. The crew stopped overworking the hidden sections, kept the visible edges neat, and finished the batch with less rework and better consistency. It also made training easier because each operator knew what finish was expected on each section.
That is the value of making weld cleanup decisions early. You avoid guessing, you protect the material, and you spend time where it improves the product. For stainless fabricators across Johannesburg, Kempton Park, Boksburg, and the wider Ekurhuleni area, that is often what separates a busy shop from a controlled one.